A tutorial by Art Director and founder of Pureworks, Victoria Jordan.
In my last tutorial we looked at importing vector files into a Photoshop document. In this tutorial, we’ll be bringing photos into Illustrator in order to create vector files.
Picking your image…
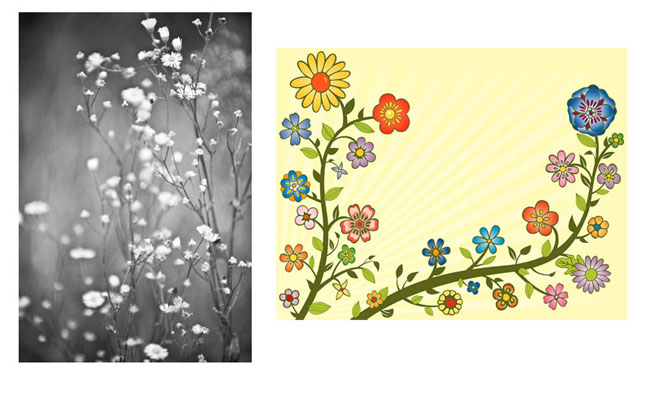
Let’s say I’m working on a baby shower invitation and they’d like to use a baby’s footprint. I usually have no problem finding the perfect illustration, but every once in a while, I can’t find the exact one I want so I have to create my own. Let’s start with this image of footprints by contributor “Actionsports.”

I really like this one, but I might also want to use it on a banner to hang at the baby shower, so I need it to be scalable.
“Vector-fying” your image…
After I buy and download my image, I open it up in Illustrator. I select it, and go up to the Live Trace button in the Control window (Window > Control. The Live Trace feature can also be found in the Object menu.) Clicking on the triangle next to the button will trigger a drop down menu of all the tracing options. Depending on the type of image I’m working with, I can create a color image, a technical drawing, and an illustration with a comic book feel as well as a myriad of other options.

For this baby footprint, I’m going to choose Simple Trace and see what happens. With this option, I get a pretty rough version of my photo. (Tip: You’ll always lose some of the detail when you create a vector file from a photo this way, but the higher in resolution and size the photo is, the less detail you’ll lose, ie., the more detail you start with, the more you’ll end up with.)
The next step in the Live Trace process is to Expand the tracing that’s just occurred. Basically, I’m rendering the tracing so I can see and edit the points and paths that have been made. To Expand my image, I can either go back to the Control Window or go to the Object menu and choose Expand (Fig. 3)
So here’s what we get after we click Expand…

Now I can proceed as I would with any other vector file and make all the changes I want.
For color images…
Color images can get a little tricky, but the results can make all the work worth it. Let’s try to convert photographer Laurin Rinder’s awesome football action shot into a vector file.

This time, let’s try the Color 16 option (meaning I’m converting the photo to an illustration with 16 colors in it). Once I select it, and it gives me the preview rendering, notice that the Control Window format has changed. Now I can cycle through the other options in the Control Window to see if I like what I did best, or would like to try another option.


After I decide which option I like best, I’ll Expand my image and edit away!
Custom Tracing…
The last option we’ll go over is the Tracing Options selection.
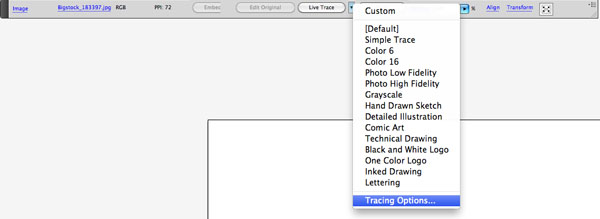
Here’s where I can really tailor the way Illustrator reads my image. In the dialog box that pops up, I’ll find all the editable variables for converting a photo to an illustration. I have a beautiful autumn image that I’d like to make a little more abstract, so let’s play with the variables.

The first thing I’m going to change is under Adjustments. I’m going to change the mode to Color.
Then, I’m going to change the Max Colors to the greatest amount (256) because I really want to capture the nuances of the colors in the photo.
I’ll also add a very slight blur to adjust for any sharp edges that may occur during conversion.
Here’s what I get with those settings…

That worked really well, if I’m looking to do a very similar illustrated interpretation of the photo. Now, let’s try editing the other options.

Here, I’ve upped the Path Fitting (control over the distance between the traced shape and the original pixel shape [lower values create a tighter path fitting, higher values create a looser path fitting], Minimum Area (the smallest feature [in pixels] that will be traced [e.g. 4 pixels = 2 pixels wide by 2 pixels high]) and Corner Angle (the sharpness of the turn in the original image that is considered a corner in the tracing result path) to see the difference. (Don’t worry if you forget what some of these variables do, their functions pop up when you hover over them in the dialog box.) Check it out!

There’s a lot you can control within this dialog box. Let’s try one more set of variables that will make our illustration a little more abstract.


So now I have achieved the abstraction I wanted with the Live Trace tool and I have an image that I can print as big as I like. Why not buy some great photos and “Vector-fy” yourself?
RELATED POSTS: