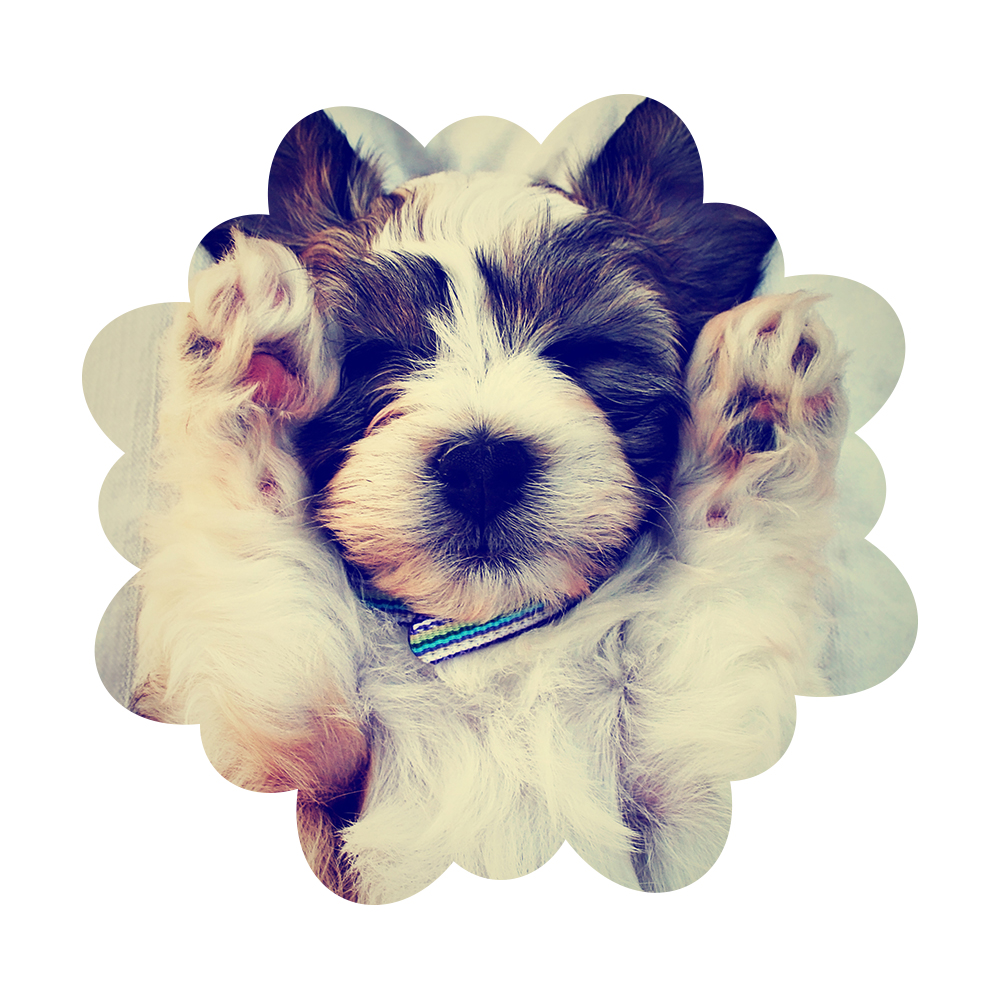
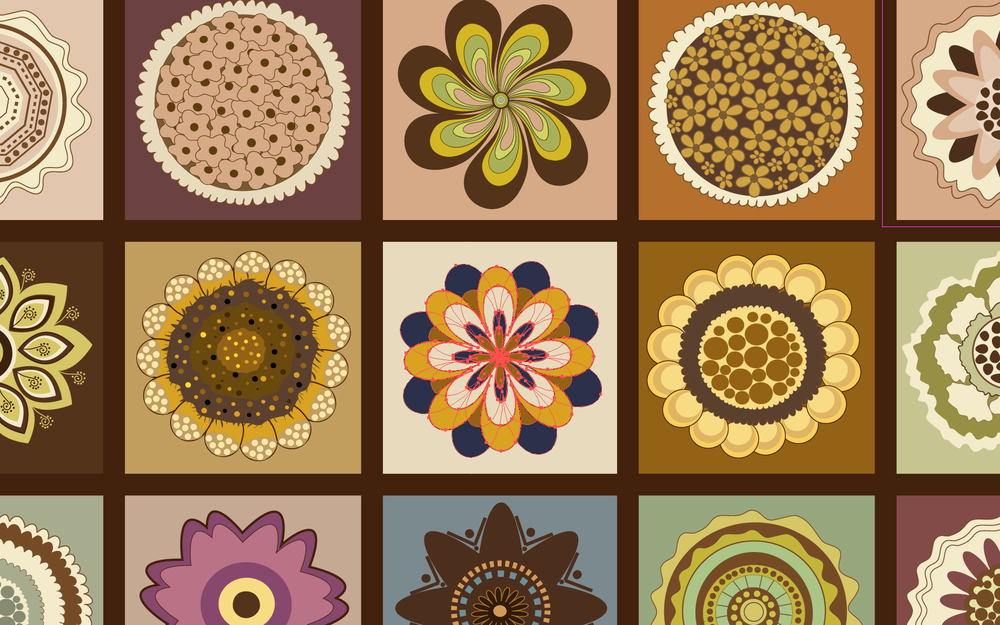
In this quick tutorial, I will show you how to apply any shape or object to your photos using a clipping mask. You will need Photoshop and Illustrator here, but ultimately you only need Photoshop to make a clipping mask. For this example, I will use a flower from this Bigstock vector and give this cute doggy a fun shape.

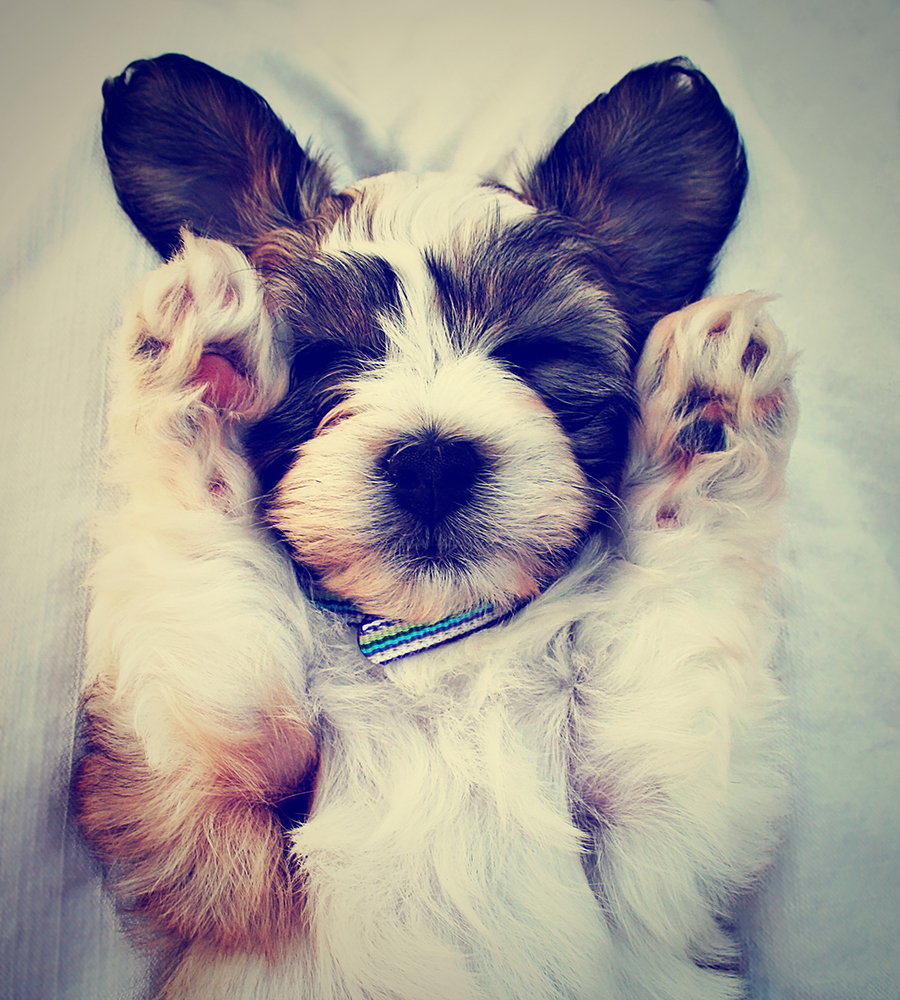
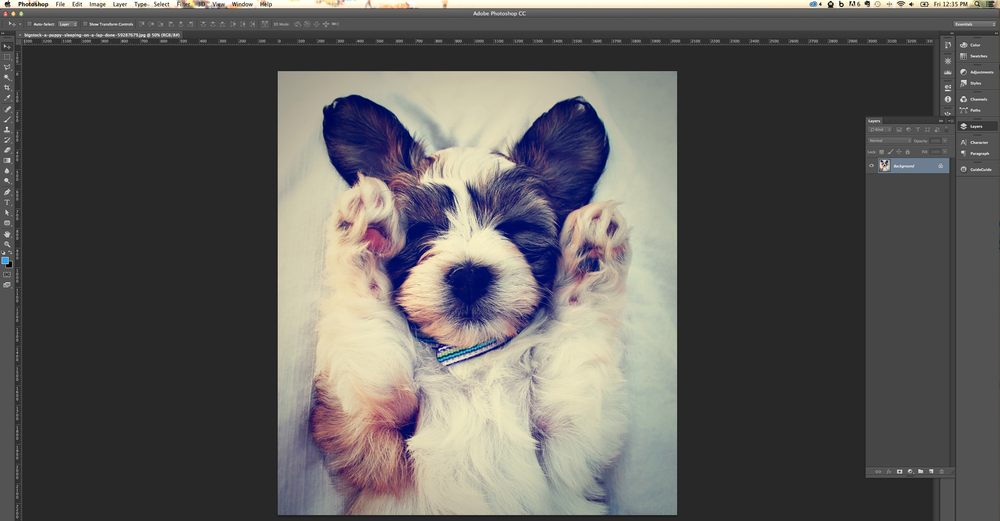
1. Open the two files. Open the doggy photo in Photoshop, and open the flower vector in Illustrator.
2. Select and copy a flower. In Illustrator, select one of the super cool fun flowers and hit Command + C (Control + C on PC) to copy the vector.
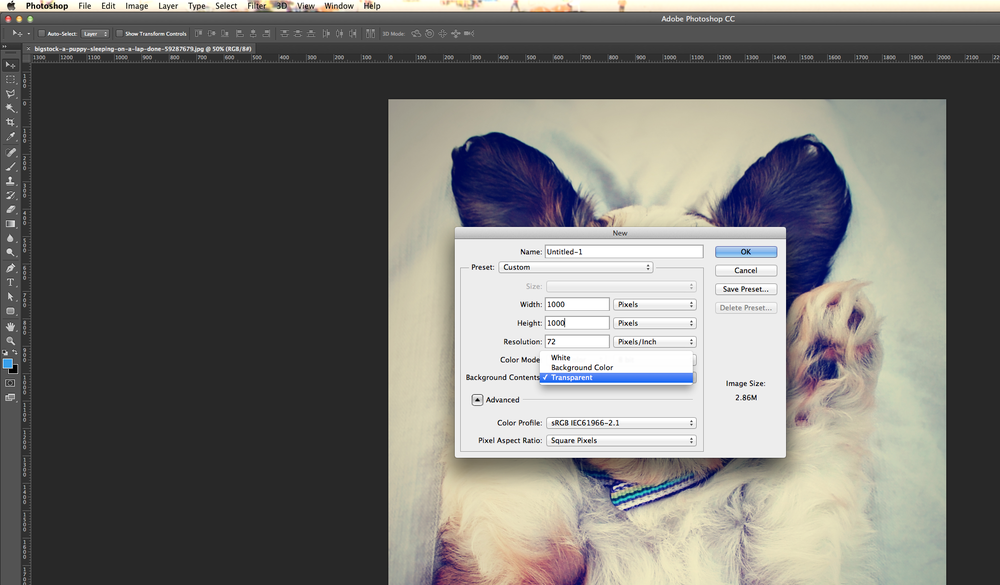
3. Create a new document in Photoshop. In Photoshop, go to File > New and a dialogue box will appear. For this example, I am going to make my document size 1000 x 1000 px at 72 ppi resolution. This will make the image large enough for a blog post (or anything on the web). If the image needs to be printed, make the image 300 ppi. Select Transparent from the Background Contents drop down menu. This will give you the freedom to use this image on any background.
4. Paste the flower and size it. In the new document, hit Command + V to paste the flower. A dialogue box will ask how you want to paste the object. Make sure Smart Object is selected and hit OK. Using a smart object will allow you to edit the shape in Illustrator if you need to.
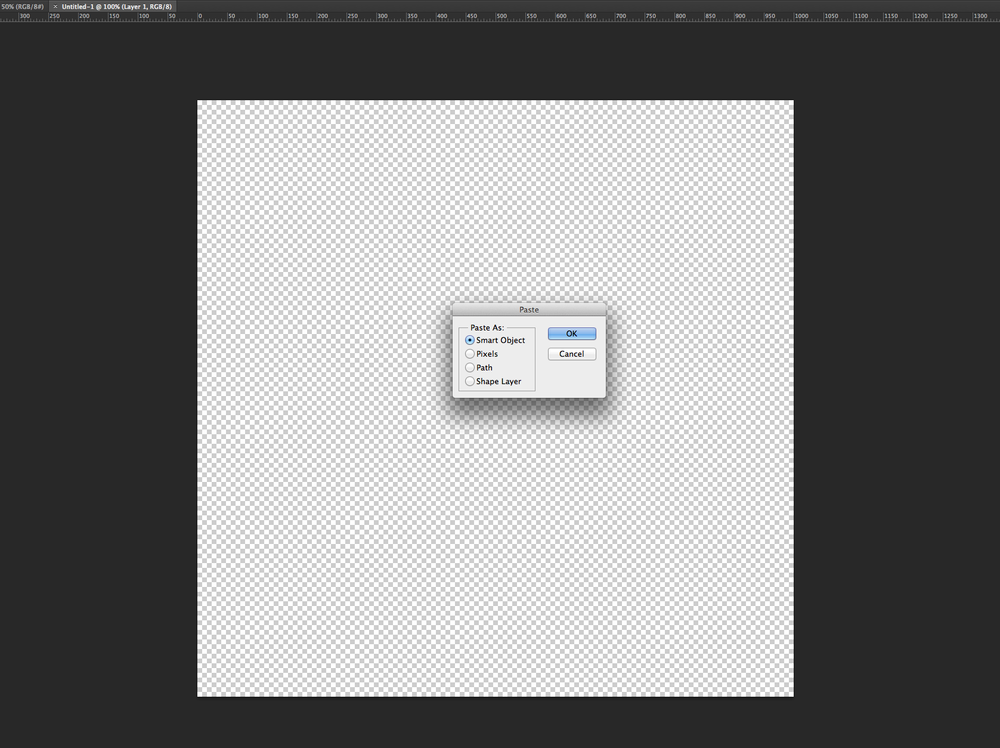
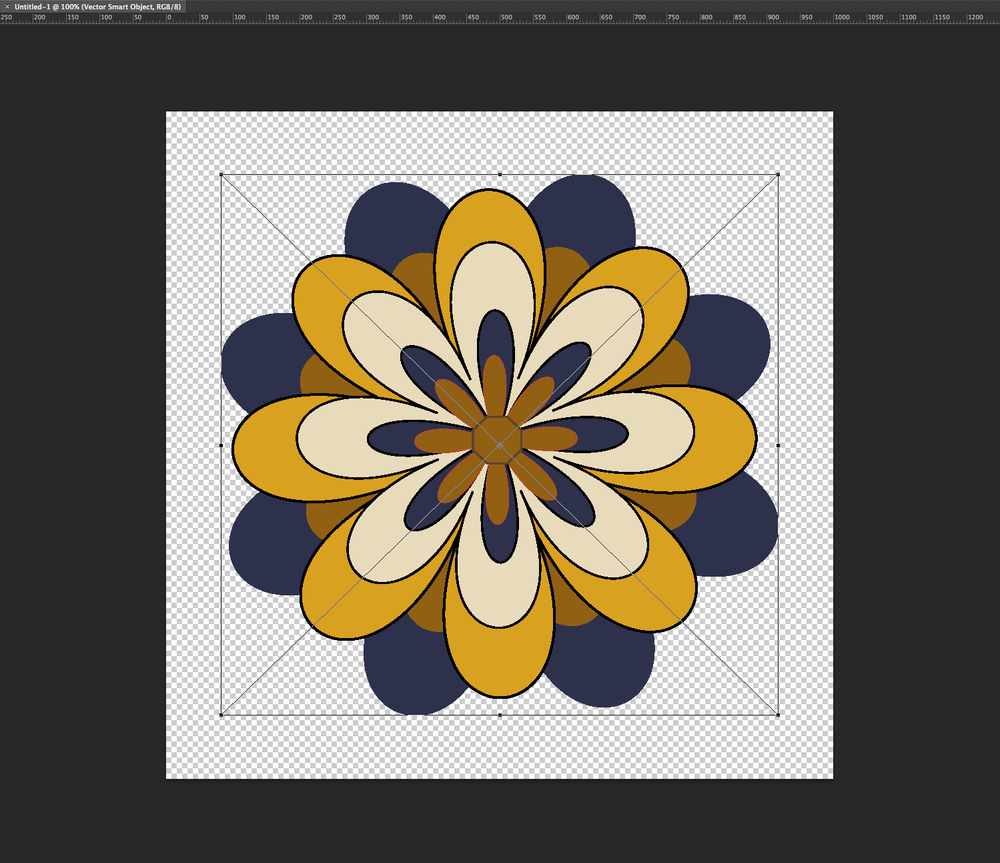
The flower will paste, then hit Enter. From there, you can make the flower bigger by hitting Command + T and then clicking and dragging the frame. If you hold down Option you will resize from the center, and if you hold down Shift, you will maintain the proportions. Hit Enter to confirm the resize.
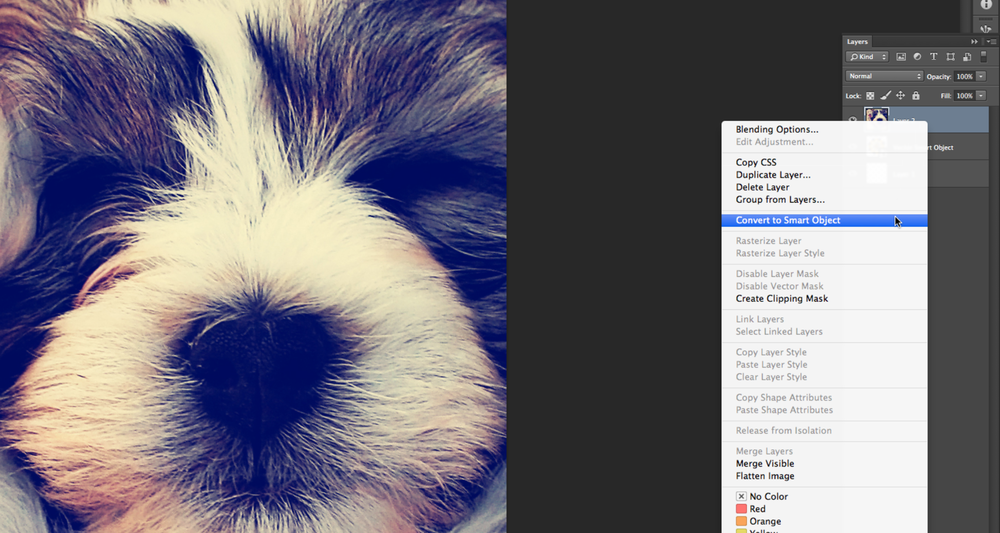
5. Move the doggy photo onto your new document and resize. Go to the doggy photo and click and drag the layer onto your new document. Check the Layers palette and make sure the doggy photo is on the top layer. Right-click or Control-click (Alt-click on a PC) on the layer and select Convert to Smart Object. This will ensure that you have the freedom to resize bigger and smaller without losing any quality.
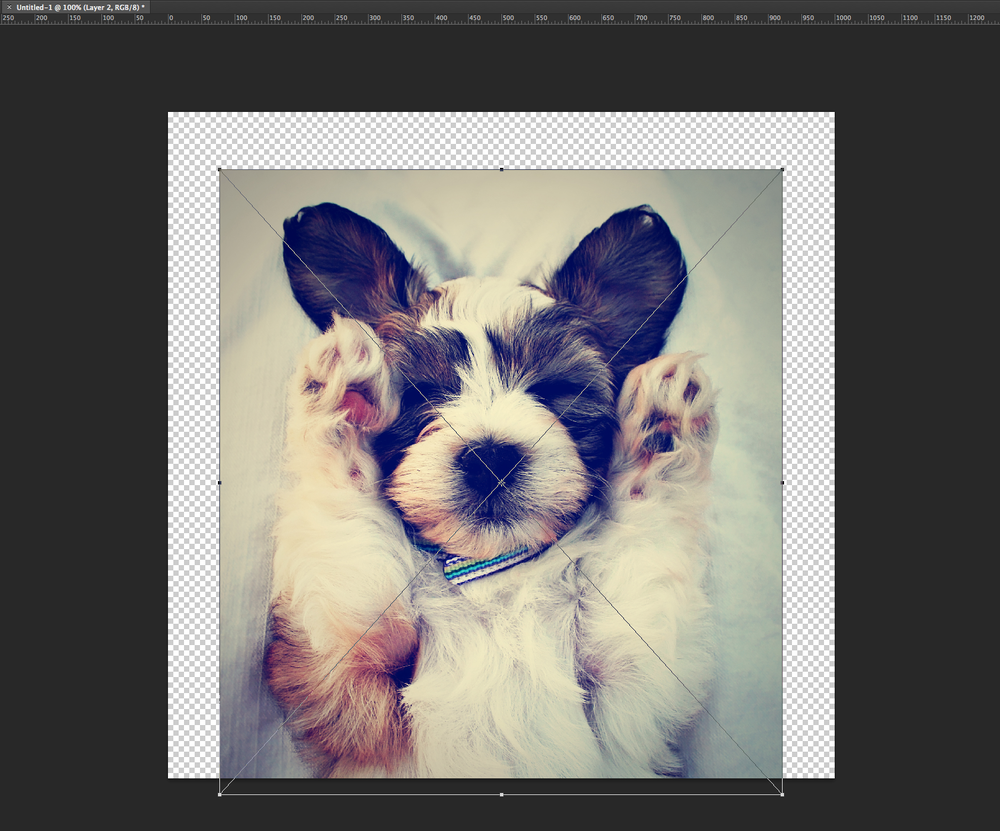
Hit Command–T (Control-T on PC) and then click and drag to resize. Once again, if you hold down Shift, you can maintain the proportions. Hit Enter to confirm the resize.
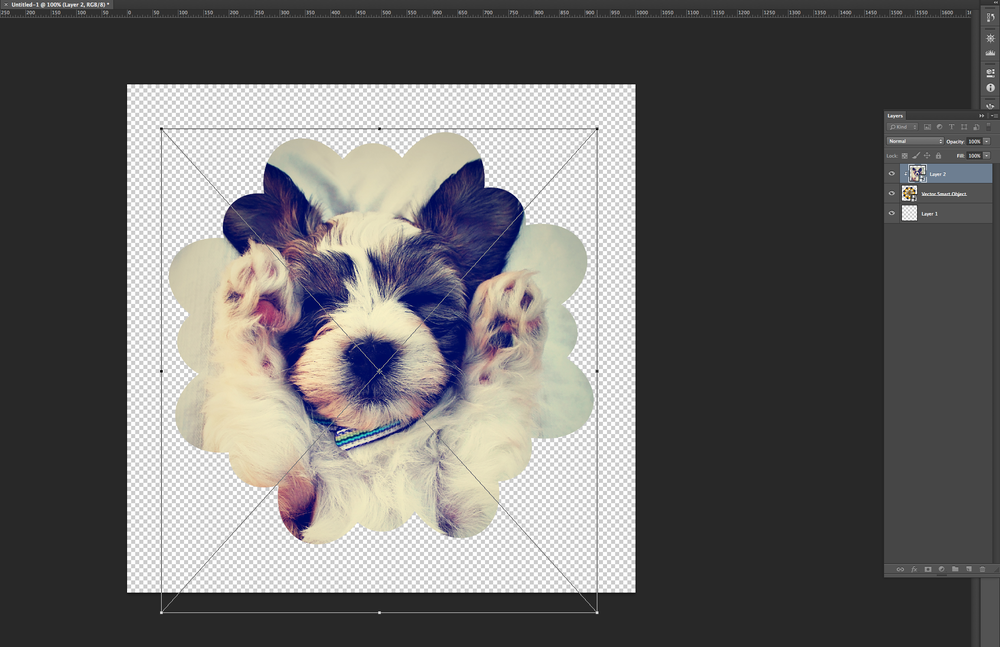
6. Make the clipping mask! Right click on the doggy layer and then select Create Clipping Mask.

Viola! From there, you can select the doggy layer at anytime and resize, rotate, or move the image. Also, since this is a smart object, you can edit the shape by double-clicking on the Layer thumbnail in the Layers palette. Illustrator will open up the object and you can edit the shape.

Extra tips: As I said before, you do not necessarily need Illustrator to make these fun photo shapes. And you don’t have to make a clipping mask with a vector. All you need is a shape!
You can also make a clipping mask with multiple images. For example, you could make a photo grid within a shape by applying a clipping mask to several different images, as long as the fun shape is below the photos in the layers palette.
Also, if you would like to save a flat image but maintain the transparent background, save the file as a .png. (File > Save as then select .png from the pull down menu). When the dialogue box appears, make sure you set it to Interlaced.
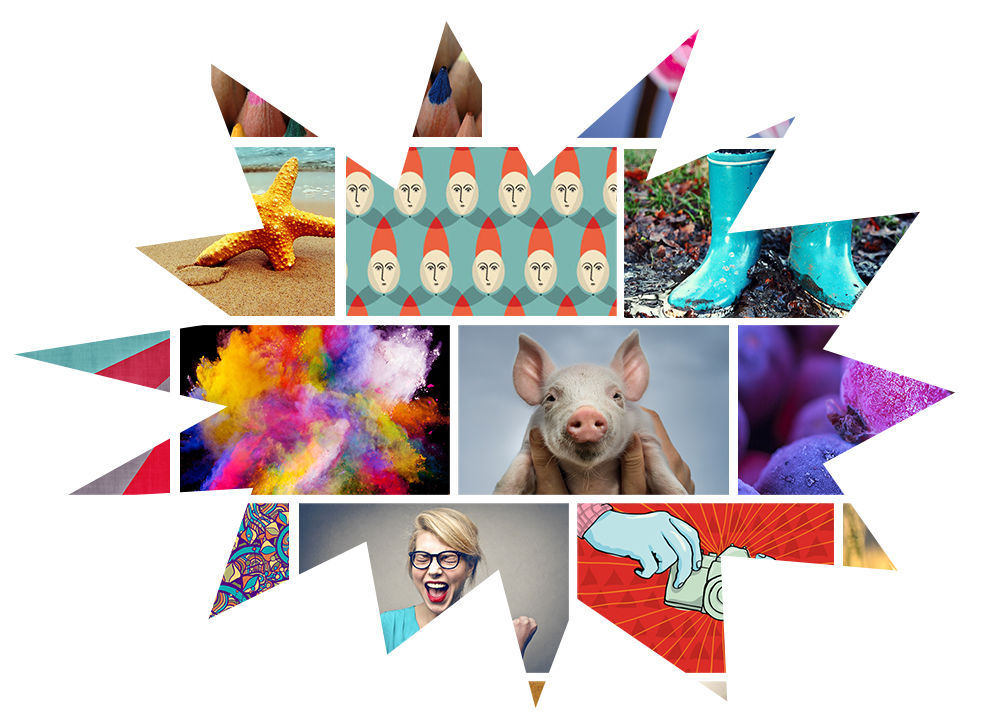
Check out these other examples:
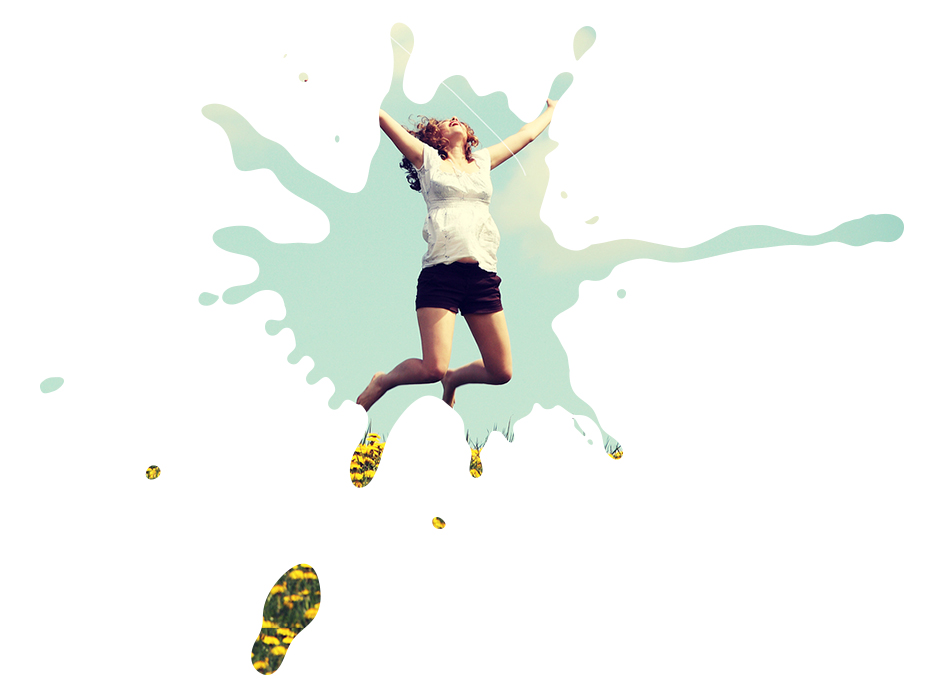
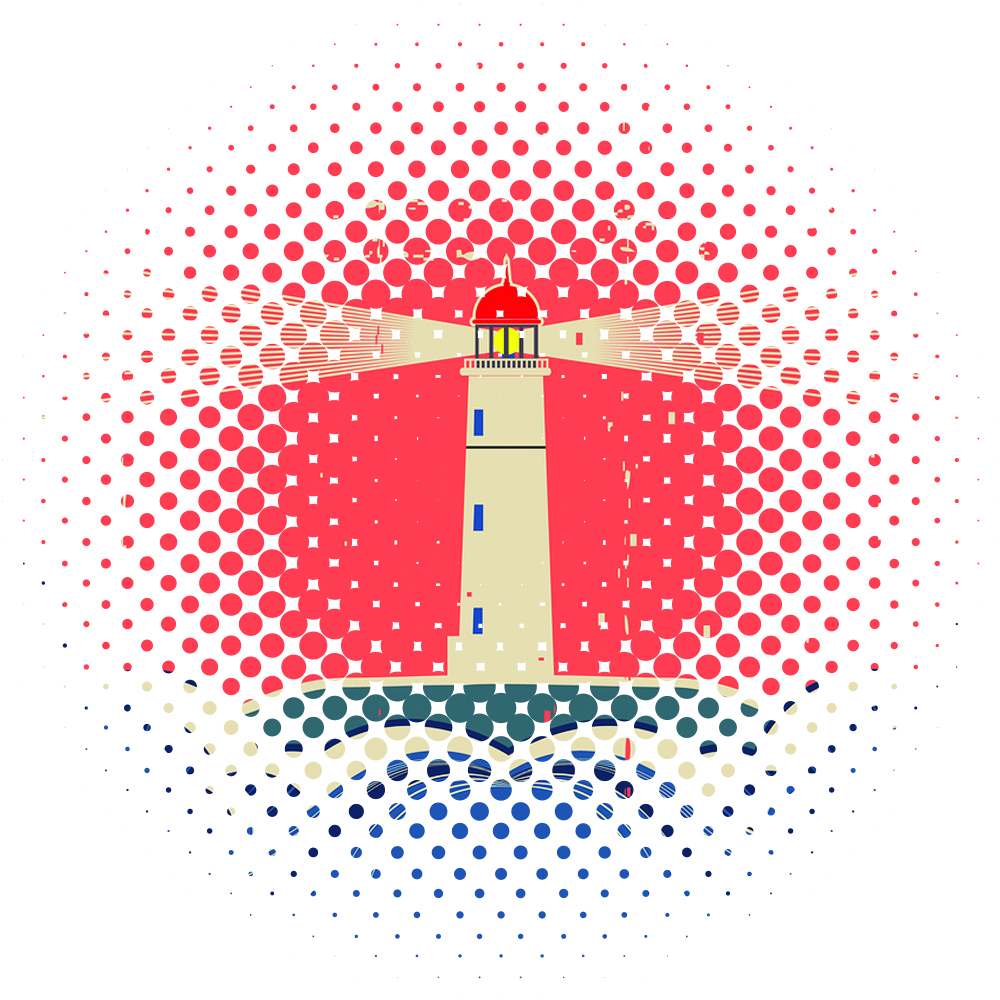
As I said before, you do not necessarily need Illustrator to make these fun photo shapes. And you don’t have to make a clipping mask with a vector. All you need is a shape!
And just in case your curious about all of these fantastic images, here’s a lightbox full of them.