

If you’ve never edited a video, the process may seem a little intimidating at first. But if you have Photoshop or similar editing software, you can add images or make tweaks to your footage quickly and easily. This tutorial will provide a step-by-step guide on how to insert a stock photo into a video.
1. Opening the Movie File
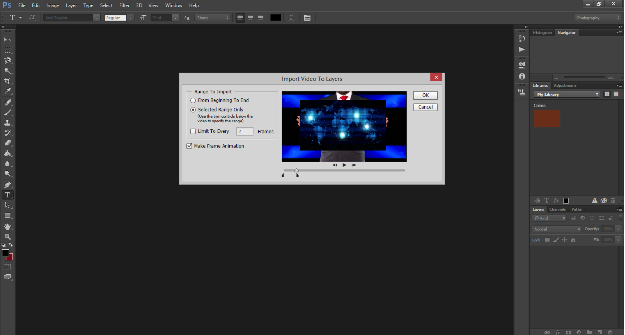
To begin working with your movie file, open Photoshop and go to the File menu. Scroll down to Import and then select the Video Frames to Layers option. Select the movie file in the window that appears. In the next window, you can select several import options—either the entire video or specific frames you wish to work with.
2. Working Within the Timeline
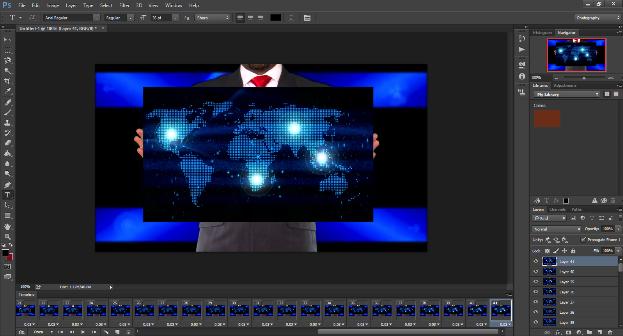
If the Timeline panel isn’t displayed at the bottom of the editing window, go to the Window menu and click on Timeline. In this panel, you can choose individual frames. To edit a frame, select it within the timeline, and then select the corresponding layer in the Layer panel to the right of the editing space.
3. Resizing and Overlaying the Stock Image
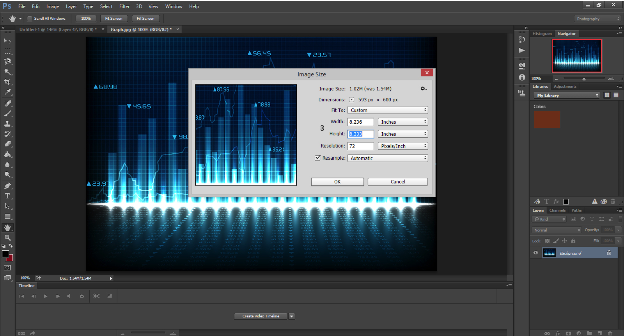
Before you insert the stock image, use the Select tool within the video frame to measure the area that you want to overlay. As you click-and-drag to select, the dimensions of the selected area will appear to the right of the cursor. Write them down, and then go to the File menu and use the Open command to open the stock image file. Go to the Image menu, choose Image Size, and enter the dimensions to resize your stock image.
Now that the image is resized, select it, copy it, and then navigate back to the video file. Click the menu icon on the upper right corner of the Timeline display. Make sure that the New Layers Visible in all Frames option is unchecked. Choose the frame in the Timeline where you want the image overlay to start and then paste the stock photo. It will appear as a new layer in the Layers panel. If necessary, use the Move tool to adjust the photo’s position.

4. Adding Your Image to Multiple Frames Quickly and Easily
With most video files, you’ll be adding the same image to multiple frames. In a video that has 30 frames per second, if you want the image to show for one second, you’ll need to add it to 30 frames. You can add the image to each frame and then position it manually, but this process takes a long time. Make it easier by creating an Action to do most of the work for you.
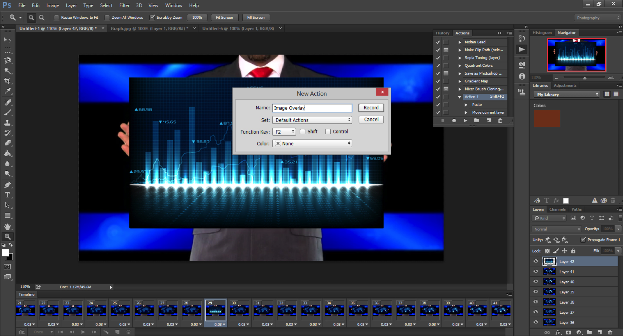
To create an Action:
- Go to the Window menu.
- Select Actions to display the Action panel.
- At the bottom of this panel, click the Create New Action icon.
- Give your action a name and set a function key (in pop up window).
- After you’ve named the action and assigned a key, click the Record button to create your Action.
- Paste your image into the desired frame.
- Adjust its position.
- Click the Stop icon at the bottom of the Action panel.
You can now click each frame and press the function key you selected to automatically paste and position your image.
5. Making Images Move
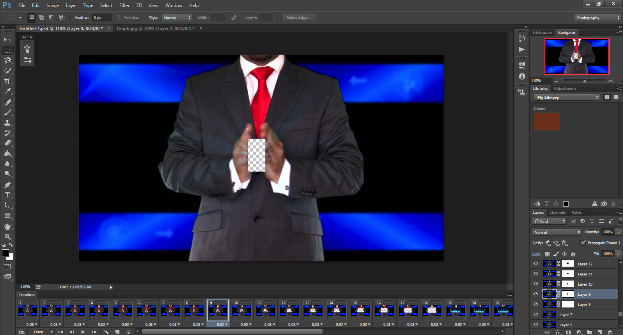
When you add a still image to a video, you’ll eventually reach a point where you’ll need to make that image blend with the motion in the video. In our example, the man’s hands appear to be enlarging the map, but we want him to enlarge the graph instead. To do this, we’ll need to mask out the map in all the frames leading up to the full-sized graph.
To mask individual frames, select the frame that you want to work on in the Timeline and then select that frame’s corresponding layer in the Layer panel. Add a layer mask by clicking the Layer Mask icon at the bottom of the Layer panel, and then use the selection tools to choose the areas you want to mask. Use the Paint Bucket tool to color the selected areas black. Repeat this step to mask each frame that needs it.
Tip: In the example that we’re using here, the image remains motionless while the video moves around it. If you want the image itself to move—up, down or from one side of the screen to the other—you’ll need to position the image in each individual frame so that it appears to move as the video progresses.
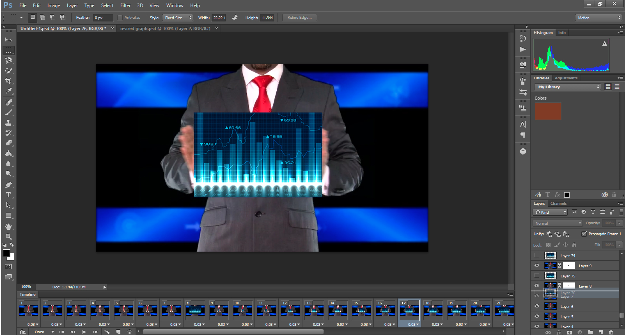
6. Adding Your Image to the Masked Layers
This step is similar to Step 4, but this time you’ll need to position the stock image behind each masked layer rather than on top of them.
Make sure that your stock photo is copied to the clipboard and then select a masked frame in both the Timeline and the Layer panel. Press the function key you selected to run the Action you created in Step 4. This will create a new image layer that you will need to reposition within the Layer Panel.
To move the new image layer, click on it and drag it up or down the list of layers in the Layer Panel. Move the new layer until it is below the masked video frame that you are working with. The image should appear inside the masked area of the frame, not on top of the frame. Repeat this step for each masked frame.
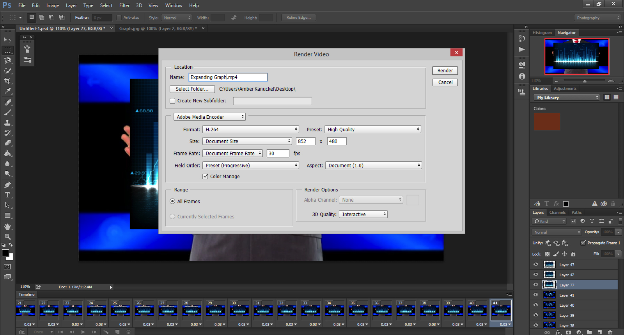
7. Previewing and Exporting
Once you’re happy with the way each frame looks, make sure the video animates smoothly by clicking the Play button in the Timeline to preview it. If everything looks good, go to File, scroll to the Export option, and click Render to Video.
You can export the video as an MP4, QuickTime file, DPX or one of many graphic file formats. Once exported, save your file as a Photoshop file (PSD) or a large format file (PSB) so that, if necessary, you can come back later to make changes to frames or layers.
With this simple process, you can use stock photos and graphics to jazz up your video presentations, explainer videos, advertisements, and a whole lot more. And, be sure to check out these key elements of marketing videos, and some great video-editing tips for beginners for even more video know-how from Bigstock. Have fun.
