
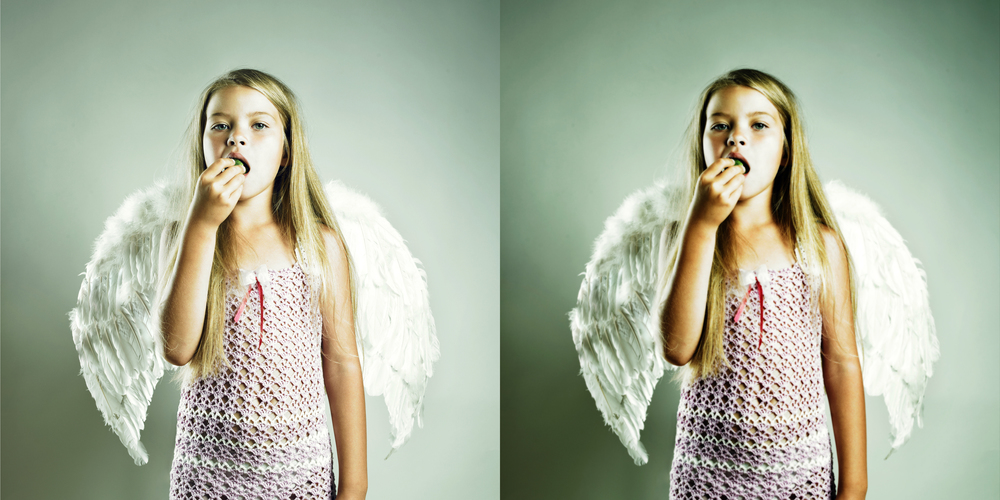
Maybe you’ve found the perfect image with the perfect subject, but it still needs a bit more richness. This quick method will help you take things up a notch by adding some dramatic lighting. For example, I’ve downloaded this Bigstock photo of a little girl with wings. Adorable, isn’t she? Let’s give her a lil’ drama, though. First things first, we’ll open the image in Photoshop.
1. Duplicate the photo’s layer. A quick way to do this is to hit command-J (Control-J on a PC) with the layer selected.

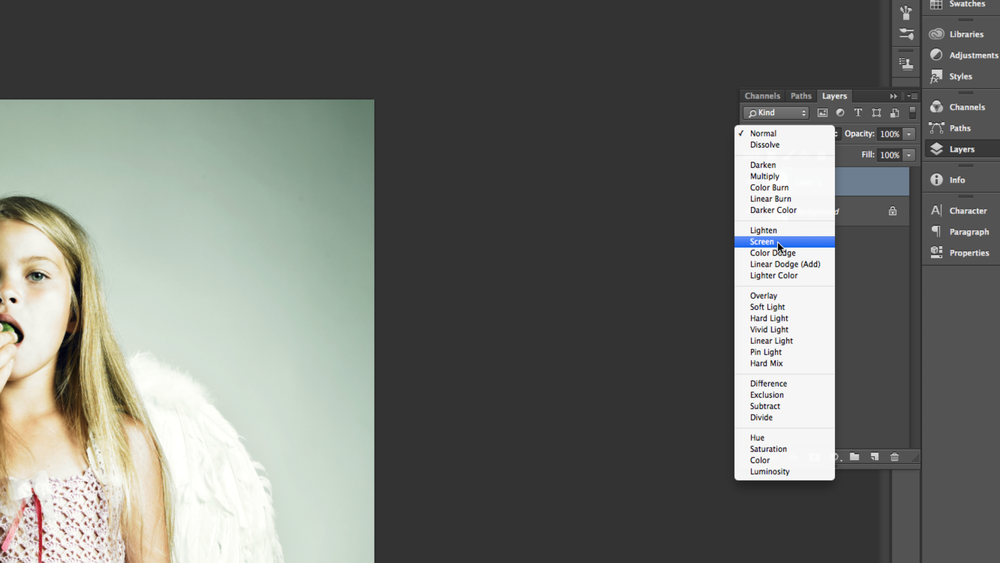
2. Set the layer’s blend mode to Screen. Use the blend mode pulldown menu to and select “screen”.
3. Duplicate the new layer. Again, keep the layer selected and hit command-J (control-J on a PC).

4. Set the new layer’s blend mode to Multiply. Again, use the blend mode pull-down menu to select “multiply.”

5. Give the layer a Gaussian Blur.
- Go to Filter.
- Then Blur.
- Then Gaussian Blue.
- Then use the slider to set the blur at a level that you like.
You can also lower the opacity of this top layer if the effect is too intense for your project.


Ta dah! Our little angel. Look how rich, dramatic, and eye catching this photo is.

Here are a few other examples of this “dramatic lighting” method being used.


We hope you enjoyed this Photoshop quick tip. We’ve also provided a tip on how to punch up an photo’s vibrancy, if that’s your thing. Happy creating!
RELATED POST:


