
There are many ways to create seamless patterns in Illustrator, but I‘ve found many of them to be too simple and limiting, or even worse, too complicated. Through practice and experimentation, I‘ve found a method that gives me the creative flexibility I‘m looking for, but is also easy enough to be achieved in minutes instead of hours.
This basic to intermediate tutorial shares a step-by-step method for creating a seamlessly repeating, offset pattern. With a little bit of patience, this pattern-making technique will help you unlock a new world of creative freedom.
Please note that throughout this tutorial, I refer to PC shortcuts. If you‘re a Mac user, remember to use the Cmd key whenever I say Ctrl.
Let‘s get started.
1) Create a new 400×400 document.
Press Ctrl+N to open the New Document dialog box. Enter 400 pts for the Width and Height values. Click OK.

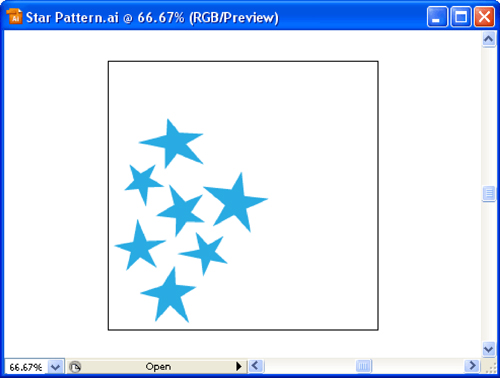
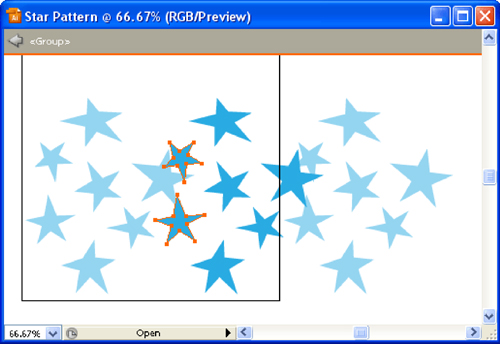
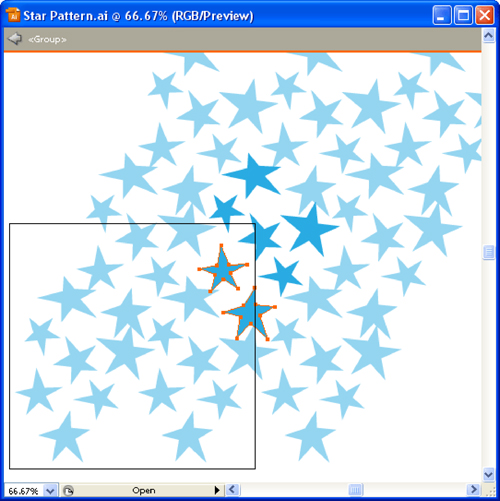
2) Fill a quarter of your Artboard with stars.
Select the Star Tool. Click and drag on your Artboard to draw a star. Keep drawing stars until you‘ve filled about a quarter of the Artboard. To achieve a more random look, use the Direct Selection Tool (A) to adjust the end points of your stars.
3) Group your stars together.
Use Ctrl+A to select all of your stars. Press Ctrl+G to group them together.
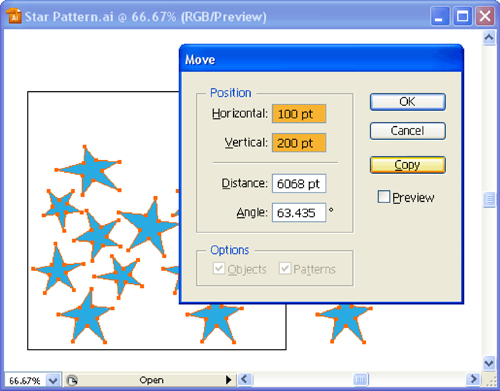
4) Copy your group horizontally by 200 points. Repeat the transformation.
With your group selected, use Shift+Ctrl+M to open the Move dialog box. Set the horizontal value to 200 pt, and Vertical value to 0 pt. Click Copy to apply your transformation.
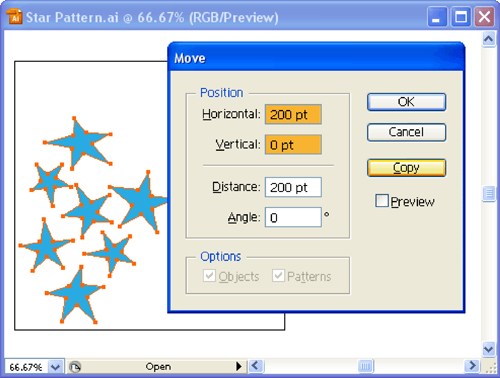
With your new group still selected, press Ctrl+D to apply the transformation again.
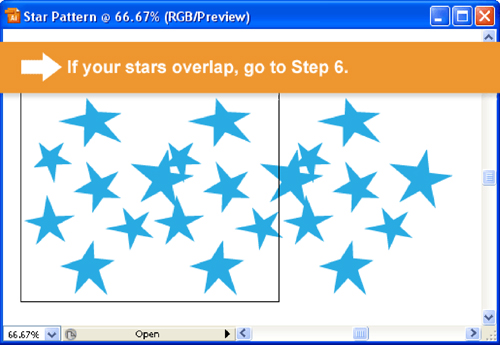
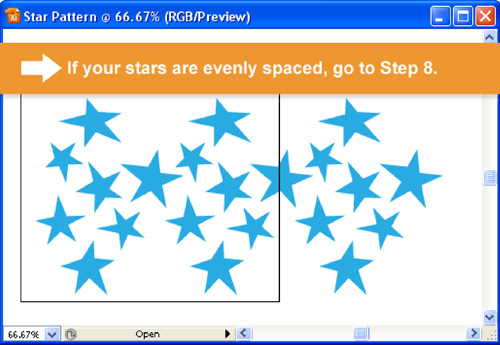
5) Evaluate the stars.
Look at how the three star groups interact with each other. If your stars overlap, proceed to step 6. If they appear to be evenly spaced, skip ahead to step 8.
6) Adjust the stars in your center group.
You should be looking at three groups of stars. We‘ll be working with the group in the center. The right and left groups will act as temporary reference points.
Double click the center group to enter isolated group mode. From here, use the Move Tool (V) to re-position your stars. The goal is to evenly space the stars with the surrounding dimmed stars. In addition to moving them, you may also choose to add or delete stars, resize them, or adjust individual points.
7) Delete the temporary groups and go back to step 4.
Exit the isolated group mode. Select your two temporary groups, and press Delete to get rid of them.
Go back to step 4.
8 ) Copy your groups vertically by 200 points and horizontally by 100 points. Repeat the transformation.
Press Ctrl+A to select everything, then use Shift+Ctrl+M to open the Move dialog box. Set the Horizontal value to 100 pt, and the Vertical value to 200 pt. Click Copy to apply your transformation.
Press Ctrl+D to apply the transformation again.
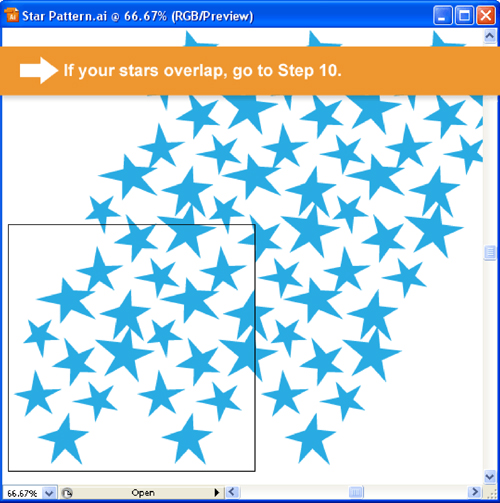
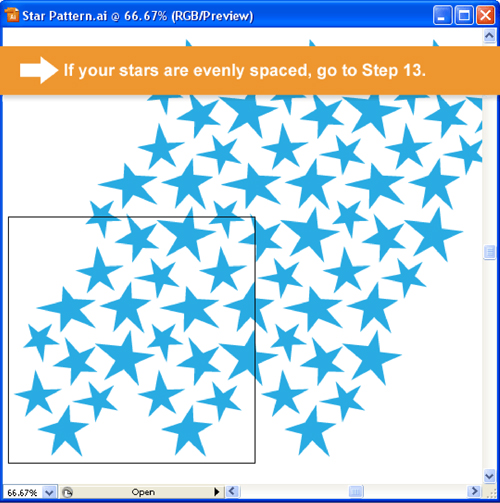
9) Evaluate the stars.
Look at how the stars interact with each other. If your stars overlap, go to Step 10. If they appear evenly spaced, proceed to Step 13.
10) Evenly position the stars in your center group.
You should be looking at nine groups of stars. We‘ll be working with the group in the center. The surrounding groups are temporary reference points.
Double click the center group to enter isolated group mode. From here, use the Selection Tool (V) to re-position your stars. As before, the goal is to evenly space the stars with the surrounding dimmed groups.
11) Delete the temporary groups.
Exit isolated group mode. Select the eight temporary groups (the ones surrounding the center) and press Delete to get rid of them.
12) Copy your group and go back to step 8.
With your group selected, press Shift+Ctrl+M to open the Move dialog box. Set the Horizontal value to 200 pt, and Vertical value to 0 pt. Press Copy to apply your transformation. Press Ctrl+D to apply the transformation again.
Go back to step 8.
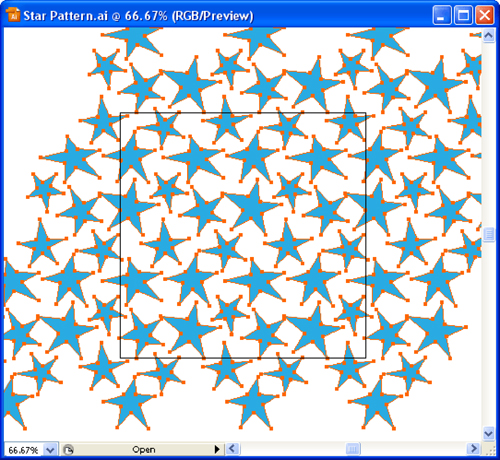
13) Position your stars so they cover your entire Artboard.
You‘re done with the hard part! These last few steps are the easiest and most fun.
Select the far 3 groups to the right, and open Move Dialog box with Ctrl+Shift+M. Enter 200pt for the Horizontal value and 0pt for the Vertical value, then click Copy. Now you should have enough groups to cover your entire Artboard. Press Ctrl+A to select all of your groups, then use the Move Tool (V) to drag them until they cover your Artboard.
With the groups still selected, press Shift+Ctrl+G to ungroup your stars.
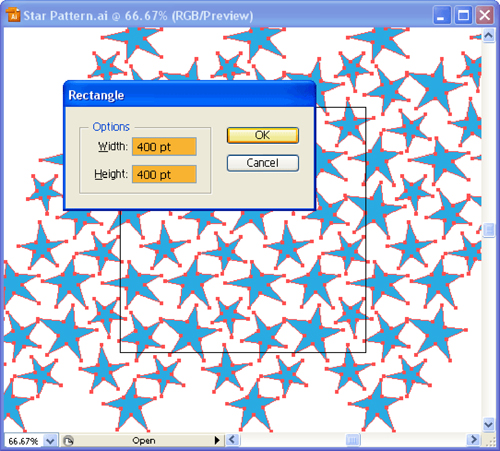
14) Align a 400×400 rectangle to your Artboard.
Press M to select the rectangle tool, then click once on your Artboard to open the Rectangle dialog box. Enter 400 pt for the Width and Height values. Click OK.
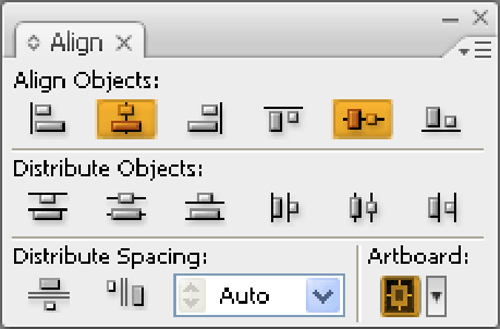
With the square still selected, open the Align panel. Make sure the “align to Artboard” button is on. Click “Vertical Align Center” and “Horizontal Align Center.”
15) Select everything and apply the crop pathfinder operation.
Use Ctrl+A to select everything on the Artboard. Open the pathfinder and press the Crop button.

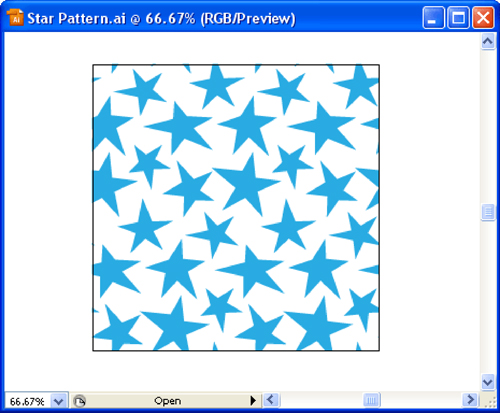
16) Enjoy your new pattern!
Your pattern is finished and ready to go! Drop it into your swatches palette to use it as a fill, copy it into Photoshop for a fun background, or use it in any other number of ways to achieve your desired effect.
I hope you enjoyed this tutorial. Now that you‘re familiar with pattern making, try experimenting on your own to create more complex patterns in an even shorter amount of time. Good luck, and have fun!