Did you know that you can make your own Photoshop brushes? It’s true! In this quick tutorial, I’ll show you how to make a custom Photoshop brush out of this Bigstock vector. Start by opening the vector in Adobe Illustrator.
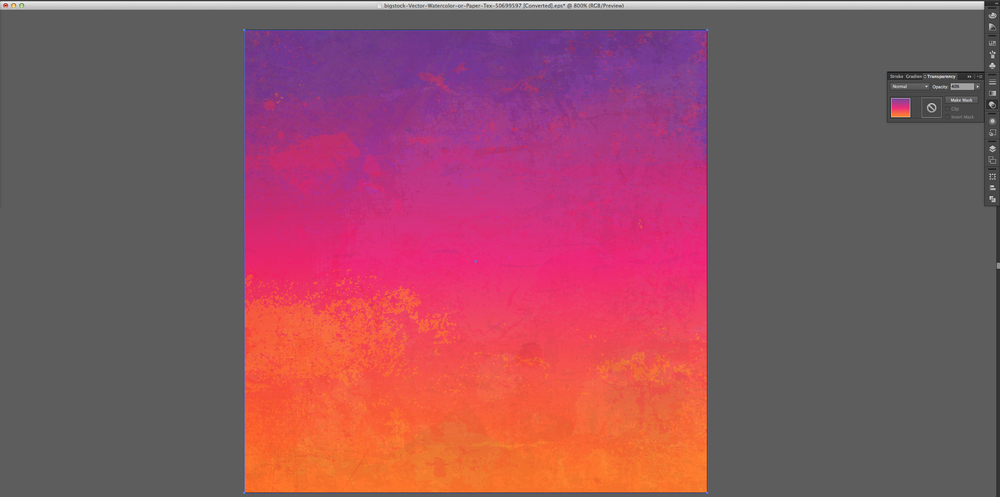
In the Layers palette, find the part of the vector that you would like to use as a brush. Select it.
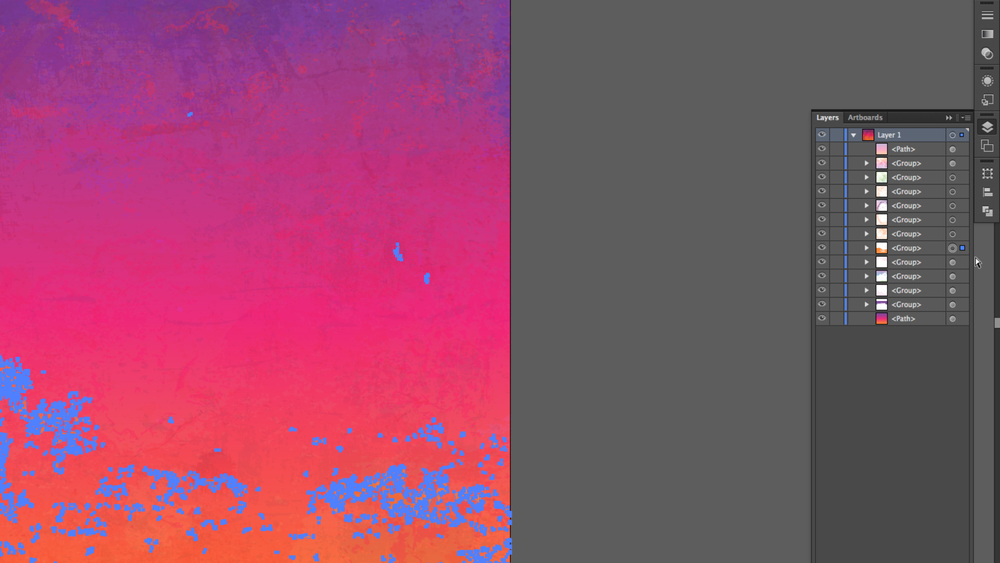
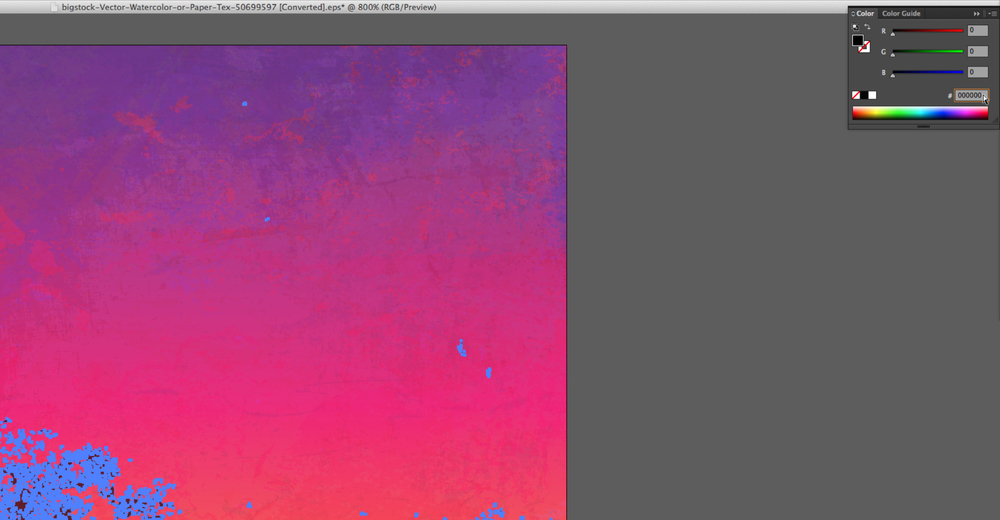
Make sure that the shape is pure black (#000000) and at 100% opacity. Then, with the shape still selected, hit command-C (or Control-C, if you’re on a PC) to copy it.
Then go to Photoshop, and open a new document at 300 dpi. Hit command-P (or Control-P on a PC) to paste the object. You will get a prompt. Leave the selection on Smart Object and click OK. Click Enter on your keyboard to place the object.


With the Smart Object selected, go to Edit>Define Brush Preset.
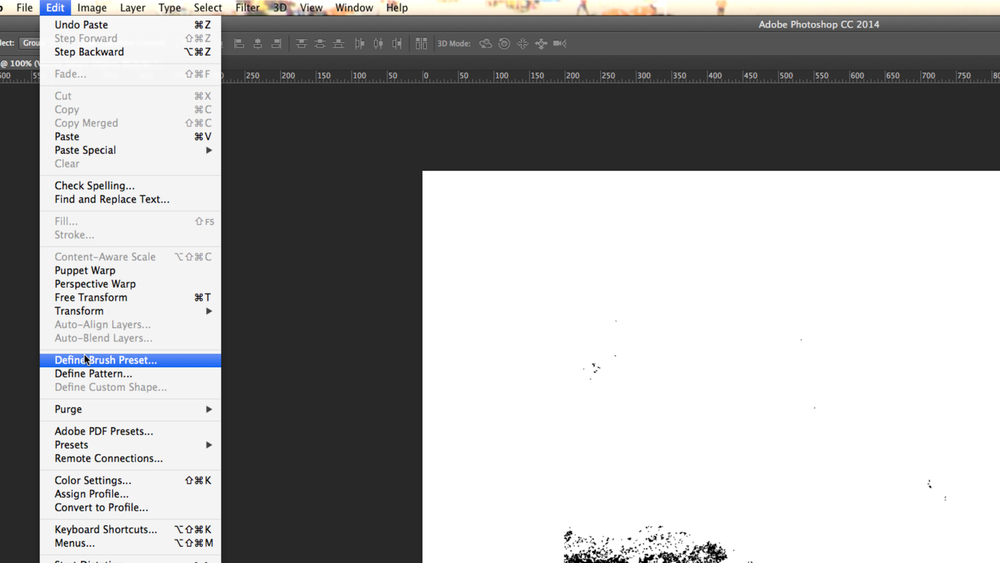
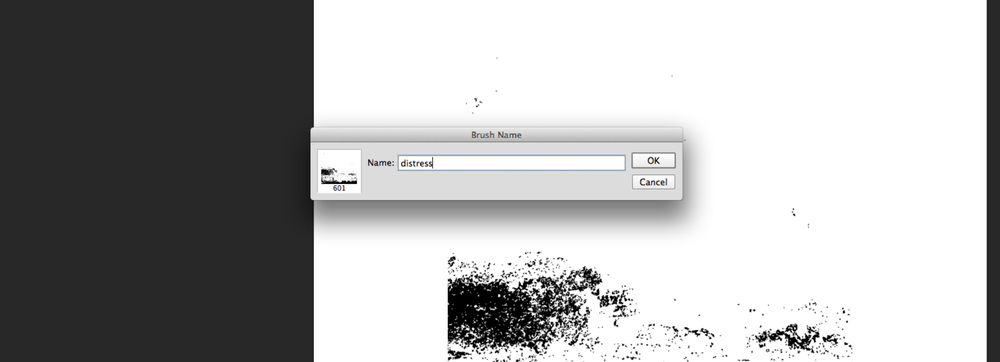
You will be asked to name the Brush Preset. In this example, I am naming it “distress”. It will be saved in your Brush Presets.
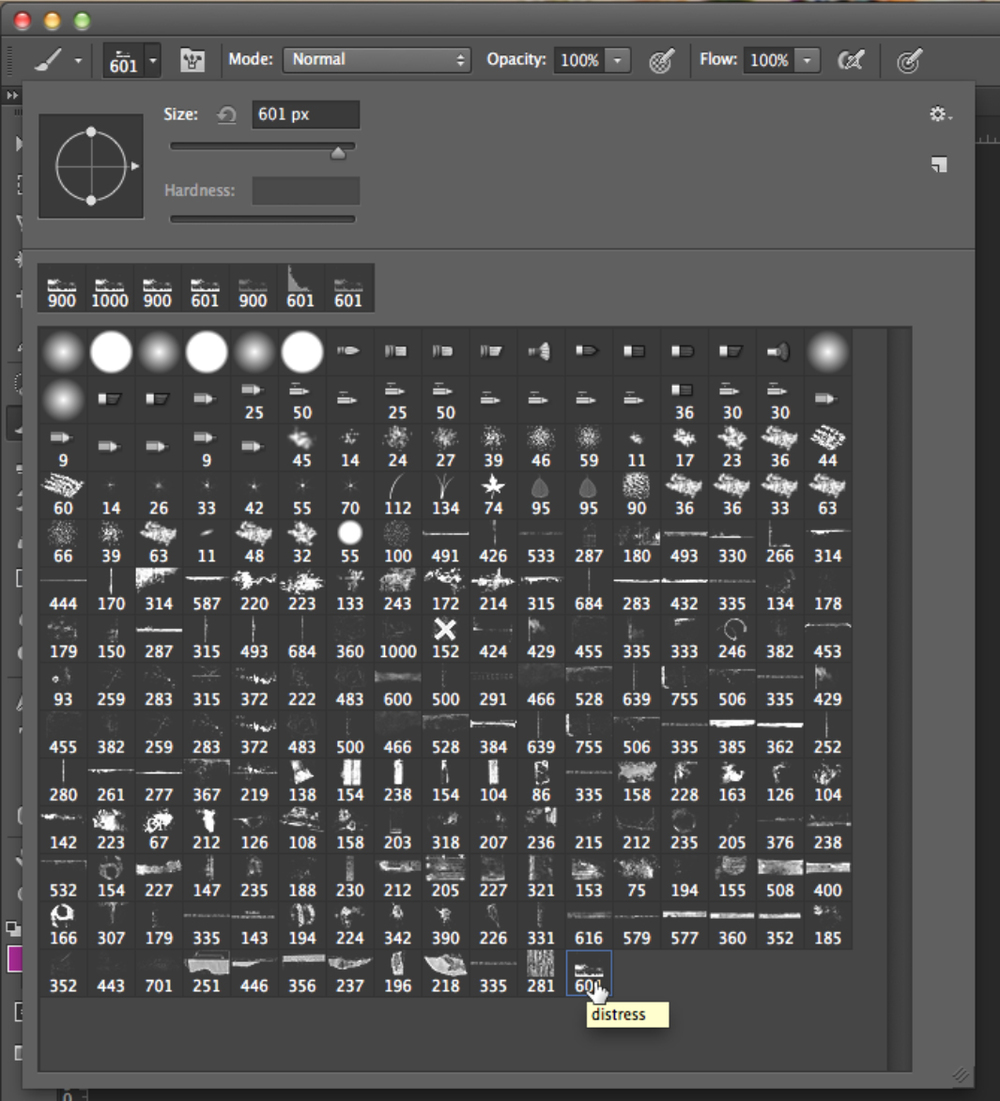
To use your new brush, open a new document. While in the Brush tool, select the pull-down menu. Look down at the bottom of your brushes and there it is. Select it!
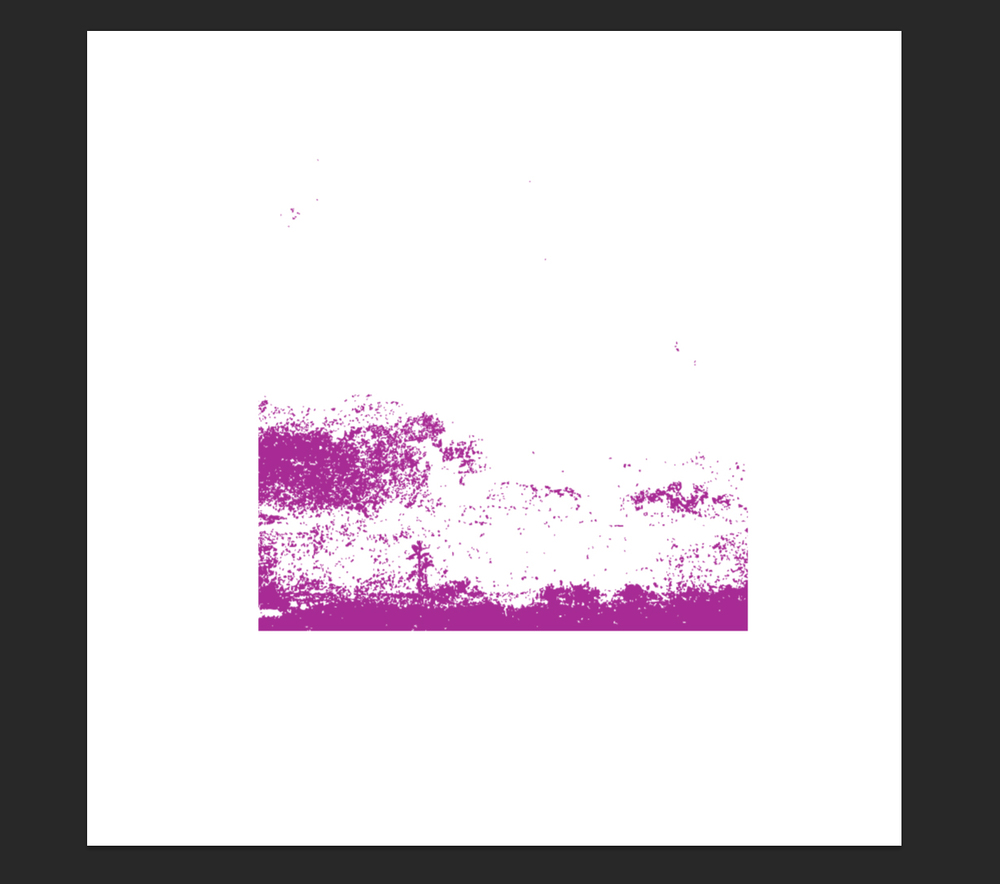
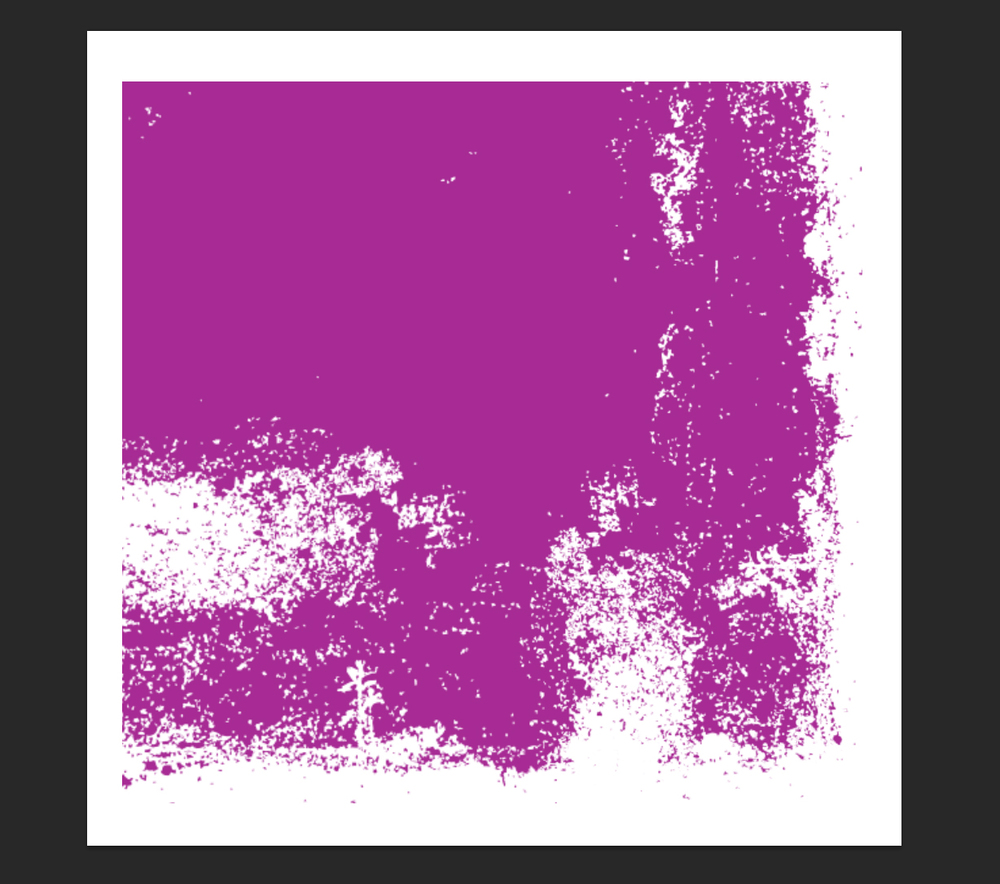
Now you can paint with that brush. In this example, the brush I have made acts as a texture, or a way to distress things in Photoshop.
In the following image, I have made a box and then used the Eraser tool with my new brush to distress the box.
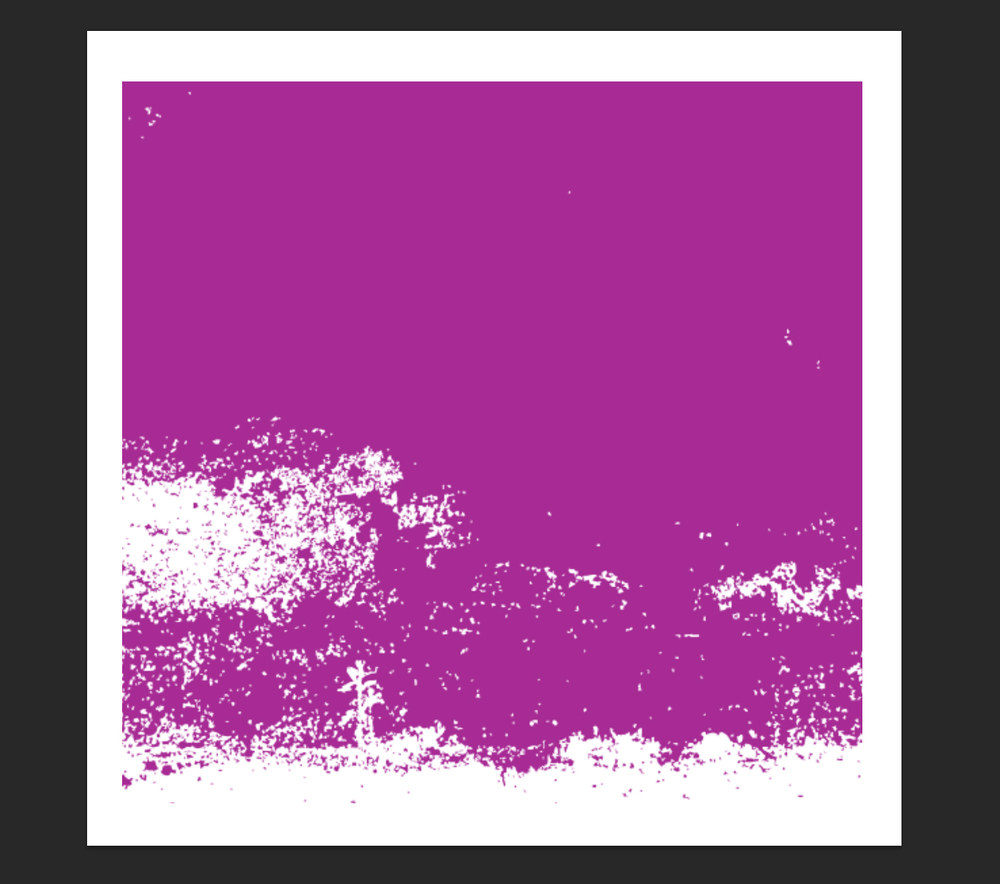
And of course, if you go to the Brush palette, you can flip or rotate the angle of the brush.
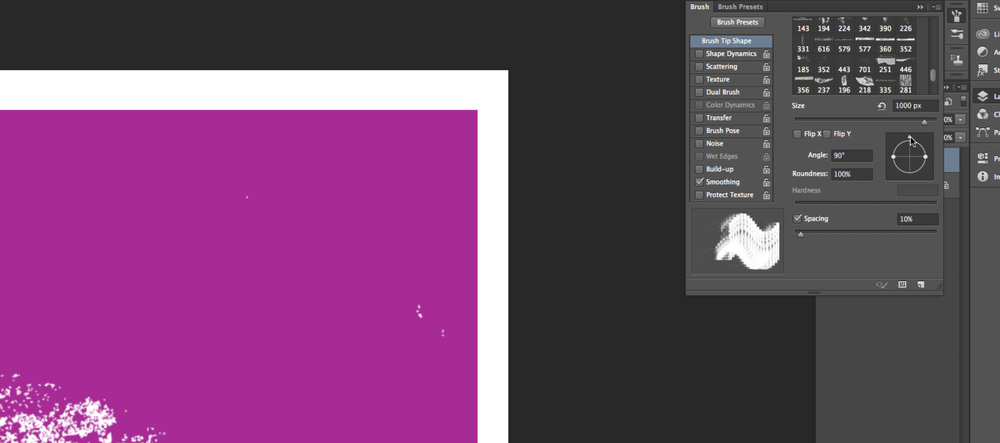
So, I can now distress a different edge.
Please Note: You can use any shape as a brush, and it doesn’t have to be a texture. You can turn a butterfly vector into a brush and use it to scatter little butterflies on photos. You can also take your logo and turn it into a brush to use as a watermark.
I also recommend checking out the Adobe Brush app. With this app, you can take photos, or anything saved in creative cloud library, and turn it into a brush. The brush will be saved in your library and you can simply open up Photoshop and load the brush. Give it a shot!


