Turning Your Sketches into Vector ArtBy Karl Rosencrants, Bigstock Contributor
When creating new illustrations, brainstorming often happens by sketching using paper and pencil. Sometimes it can be hard to transfer those sketch ideas into vector art. Here I will outline two different ways to turn your sketches into vector art.
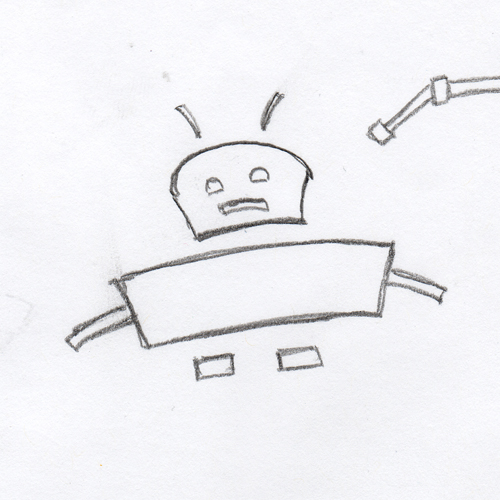
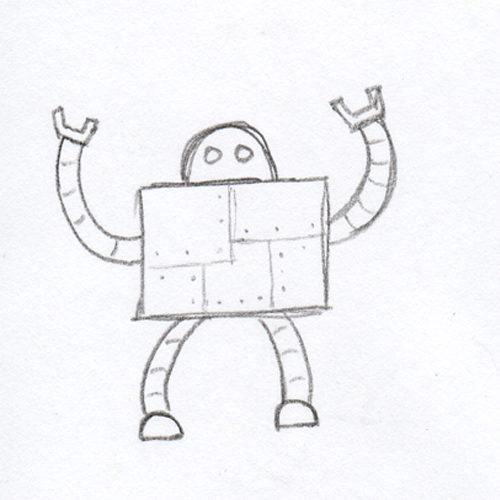
The first step is to sharpen those pencils, get out the paper and start sketching! Just get all your idea out and onto the page. Don’t worry if they don’t look perfect. We will give them better definition inside of Illustrator.
The next step is to scan the sketch pages. Scanning at a resolution of at least 400dpi gives the best definition to some of the smaller sketch lines.
Open the sketch pages inside of Photoshop. Select the favorite sketches out of the bunch and crop them into their own files.
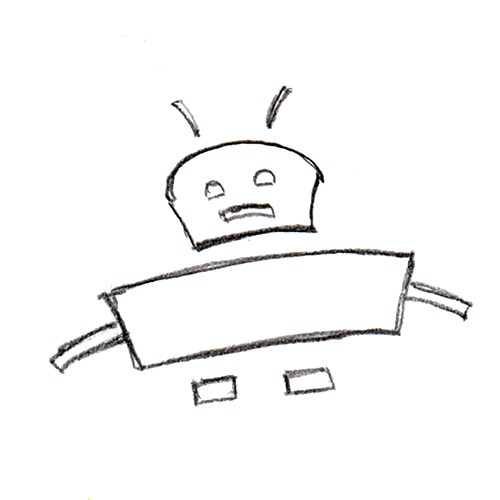
At this point, adjust the Levels. Increase both the Shadows and the Highlights. The goal is to whiten the paper until it is completely white and darken the pencil lines for easier conversion later. Also be sure to erase any lines that aren’t part of the final artwork.
Hint: Hold down Alt or Option, then click on the Highlights slider and the preview in the Levels dialog box will change, turning black for every pixel that isn’t completely white. As you slide the Highlights slider toward the middle, the preview area will turn white for every pixel that turns completely white. The same thing works for the Shadows slider. This will help you ensure that the paper is 100% white, which is important later.
Select the entire canvas, then use CTRL+C or Cmd+C to copy the sketch to the Clipboard. Switch over to Illustrator and paste the sketch onto the canvas.
Here in Illustrator we will explore two different methods of creating vector artwork from these sketches. One is an automatic conversion process and the other is a manual process.
Select the pasted image, and in the properties bar along the top, a Live Trace button will appear.
Live Trace is a command that automatically converts a raster image into vectors. The Levels adjustments done in the previous step will help tremendously with the success of the conversion. The greater the contrast between white and black, the better the automatic conversion.
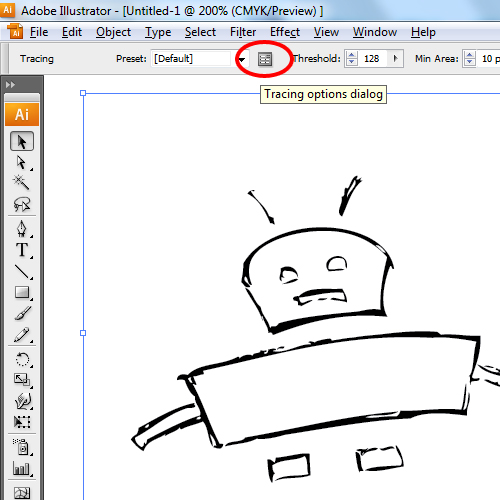
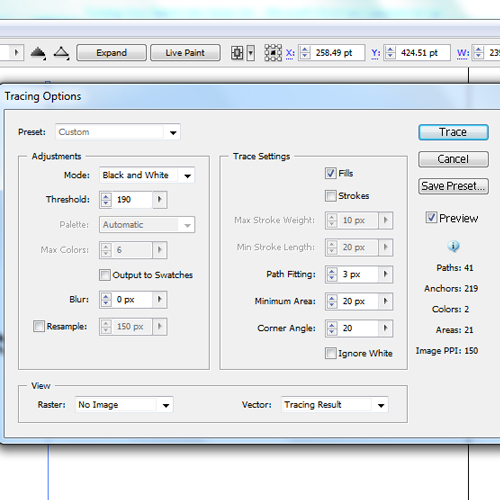
Click Live Trace and the raster image will be converted into a preview of converted vectors. If the conversion doesn’t look quite as you would like, simply click on the Tracing Options Dialog icon.
This dialog box will allow you to adjust the conversion settings, customizing the results. This step is very subjective, so just play with the sliders and settings until the image looks as desired.
Hint: The Mode chooses between Black and White, Color, or Grayscale conversion results. The Threshold setting will help darken and thicken lines when using the Black and White conversion method. The Path Fitting, Minimum Area and Corner Angle will help smooth out the resulting vector lines.
Click Trace inside the dialog box, and now you will see two options in the properties bar at the top: Expand or Live Trace.
Choosing Expand will convert the preview into vector shapes. The vectors are completely editable as any vector would be. You can change the fill or stroke color, adjust the anchor points, move edges, etc.
Be aware, the white background has also been converted into a shape, so if you don’t need it, delete it.
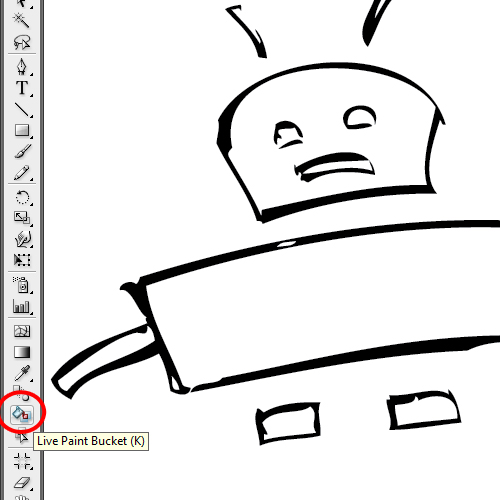
Choosing Live Trace in lieu of Expand will convert the raster image into a special type of vector group called a Live Trace group. All the vector shapes are still editable independently of each other as they were in the previous method. The biggest difference is now the artwork can be colored using the Live Paint Bucket, which is an easier, quicker way to add color to a design.
Activate the Live Paint Bucket, select a fill color, then simply click on an area of the artwork and it will be filled with the selected color. The Live Paint Bucket fills all closed vector areas with color. The active area to be painted will be outlined in Red Highlight to make it clear what area will be filled with color.
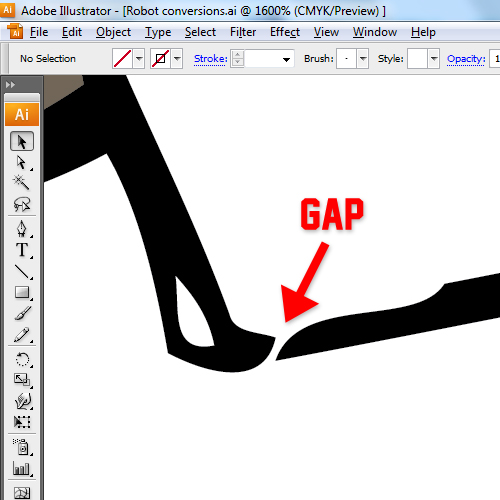
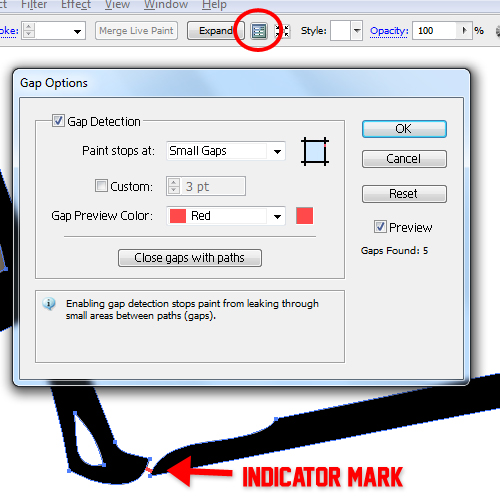
Closing all the gaps may destroy the artistic quality of the artwork, or some gaps might be so small, they become nearly impossible to find. So Illustrator has a built in Gap Detection. Simply activate the Selection Tool, click the Live Paint Group, and the Gap Detection icon appears in the Properties Bar at the top. In the dialog box that opens, you will be able to adjust the settings for Gap Detection. With Preview active, the gaps that will be closed with the current settings will be indicated with a red mark.
Click OK, and now the Live Paint should fill in the area as if it were completely closed off.
The manual method of conversion isn’t nearly as flashy as the previous automatic methods, but allows you to customize the artwork, because you are drawing it from scratch.
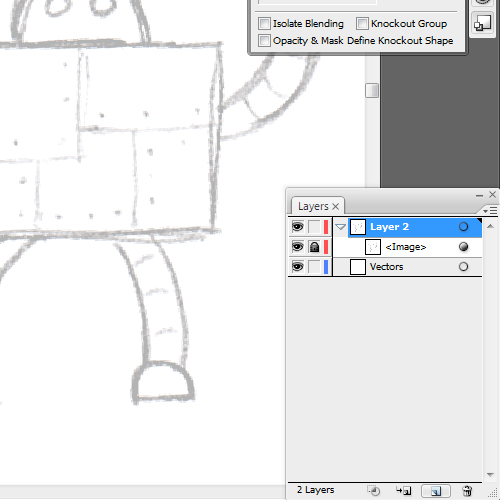
After pasting the raster image onto the canvas, set the opacity of the layer to around 30%, and then lock the layer. Create a new layer under the raster layer in the Layers Palette and name it Vectors.
Now simply use the sketch as a guide and draw the artwork using all of the vector tools; the Shape Tools, Lines Tools, Pen Tool, etc. Do all of the work in the Vectors layer and the sketch guide will always remain visible above your artwork, allowing you to draw underneath it. If you need a better look at the vector art while you are drawing, simply hide the layer that holds the raster image.
Learn these methods and you’ll have freedom and flexibility in creating new vector artwork from your sketches.


