By Karl Rosencrants, Bigstock Contributor
The filters built into Photoshop are powerful tools. They help to add a creative touch to photos or designs and allow almost unlimited possibilities for improvement and enhancements. Thankfully, they are also very easy to use.
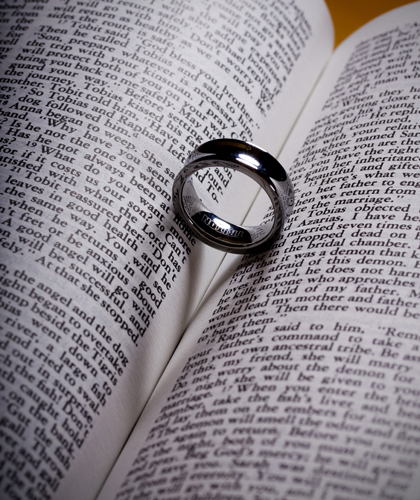
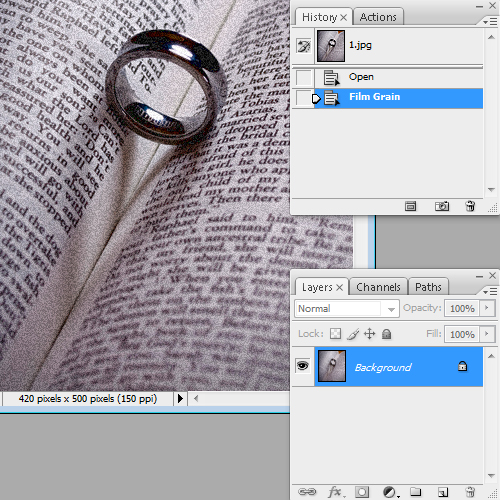
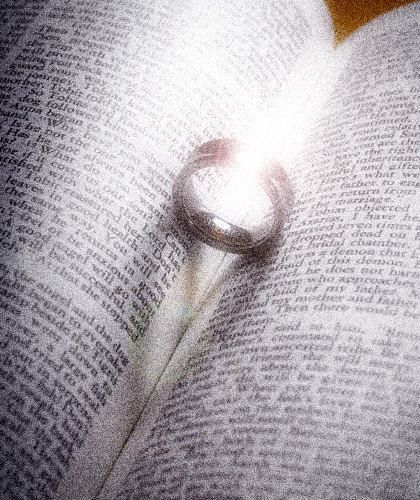
Running filters on an image traditionally meant running filters on the background layer of an image until the desired effect was attained. For example, running a Film Grain filter on the background layer of this image adds a nice touch.
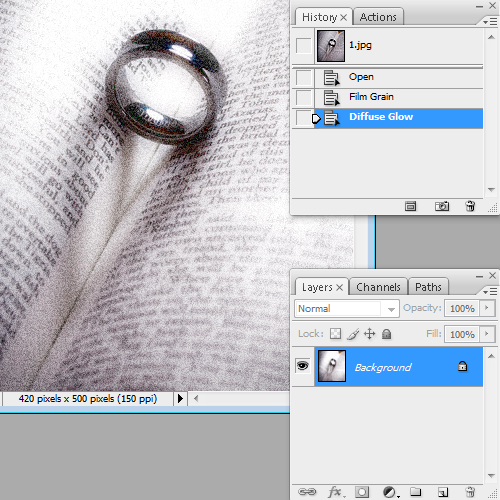
After that, adding a Diffuse Glow adds some great character.
Finally, a Lens Flare can be rendered, highlighting off the ring.
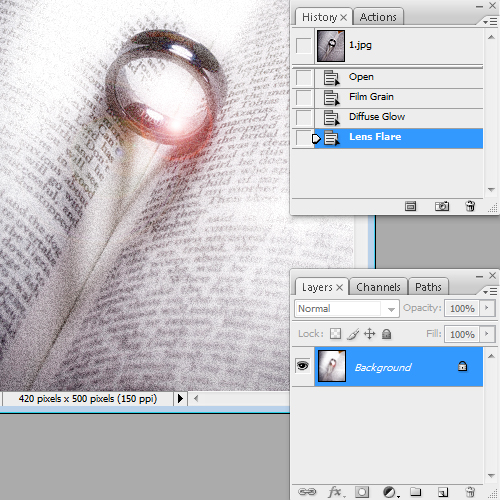
Looking at this finished product, it’s apparent that the Lens Flare should have been added first so that it also had the Film Grain effect applied to it. After all, when film is grainy, it affects everything it captures, flares and all.
The artistic quality of this image could also be improved by intensifying the effects of the Film Grain and Diffuse Glow. To make these changes, it’s necessary to travel back to the very beginning in the History palette and start over, reapplying each filter in turn, playing with the filter settings one at a time.
Redoing the filter work over and over again to get the wanted look can be very time consuming. A much more efficient, and less destructive, way to apply these effects is to apply them as Smart Filters.
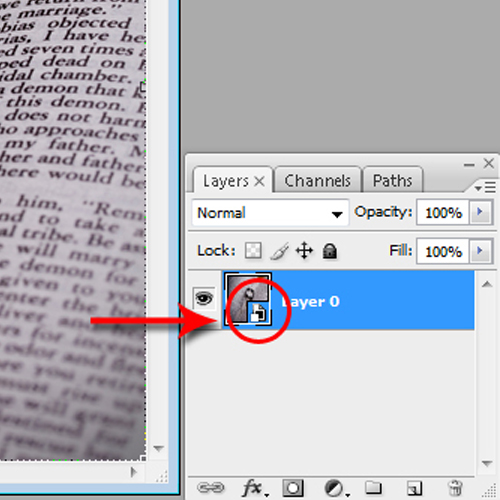
Let’s go back and start from the beginning, only this time using Smart Filters to do the work. First select the Background layer, open the Filter pull down menu and click on Convert for Smart Filter. This converts the current layer into a Smart Object. Smart Objects are pretty handy on their own, but the enhancement it adds to applying filters is one of the best. The little box in the thumbnail view of the background layer indicates that it has been converted into a Smart Object.
Apply the Film Grain, Diffuse Glow and Lens Flare filters again, in that same “wrong” order. Because the background layer is a Smart Object, something very different takes place in the Layers palette.
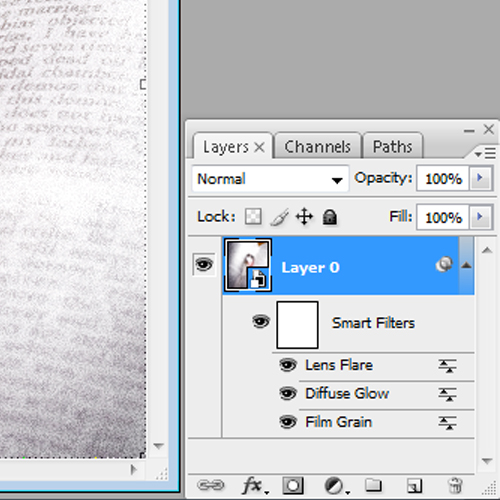
Each of the filters that have been applied to the image now show independently in the Layers palette, much like Layer Styles do when applied to a layer. Clicking on the Eye icon next to each name will turn that filter on or off. The small slider icons next to the filter names show that each filter is still able to be edited.
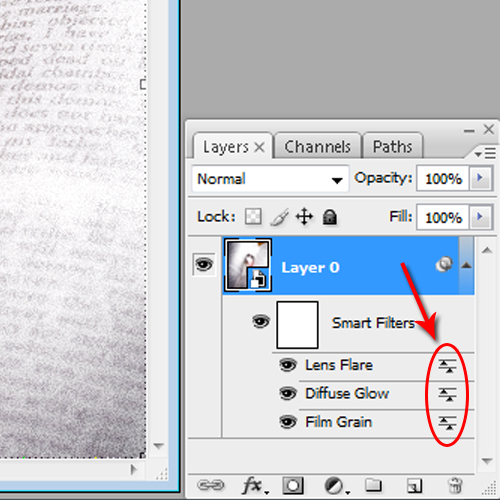
Double clicking on the name of the filter will reopen the Filter dialog box and the settings can be adjusted for different looks, such as adding a heavier grain to the Film Grain filter and even changing the position of the Lens Flare in the image. The filters can also be dragged up and down in the Layers Palette so they are applied in a different order, which can dramatically change the final look of the image.
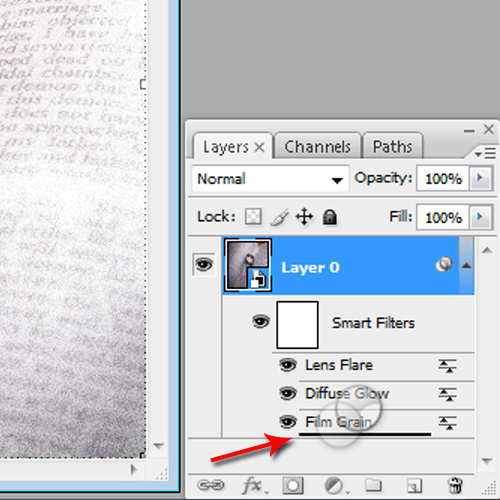
When dragging the filters to a new position, the mouse pointer will turn into a double circle and the heavy black line shows where the filter will be dropped in the stack when the mouse is released.
Filters are applied in a “bottom first” order. The filter at the bottom of the list is applied first, and then filters are applied in order as the list works up, with the topmost filter being applied last.
For the image above, the Lens Flare filter was placed at the bottom of the stack. Double-clicking on Film Grain and Diffuse Glow allowed adjusts to those filters easily. Now the image looks more natural with the Film Grain affecting everything in the image, and was created quickly and easily.
Another great benefit of applying these effects as Smart Filters is that the original artwork has not been altered. Double clicking on the thumbnail of the background layer in the Layers Palette will reopen the original artwork in its own window, completely untouched! So not only are Smart Filters a more efficient way to apply filters, they are also non-destructive.
RELATED POSTS: