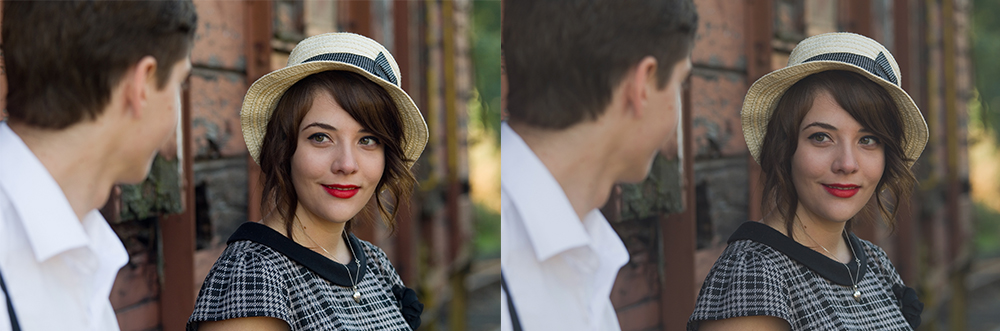
This superfast tutorial will teach you how to give a vintage-esque matte effect to a photo in two easy steps. For this example, I’ll use this photo of a cute couple, but this effect should work on any sharp photo.
1. Curves Adjustment Layer
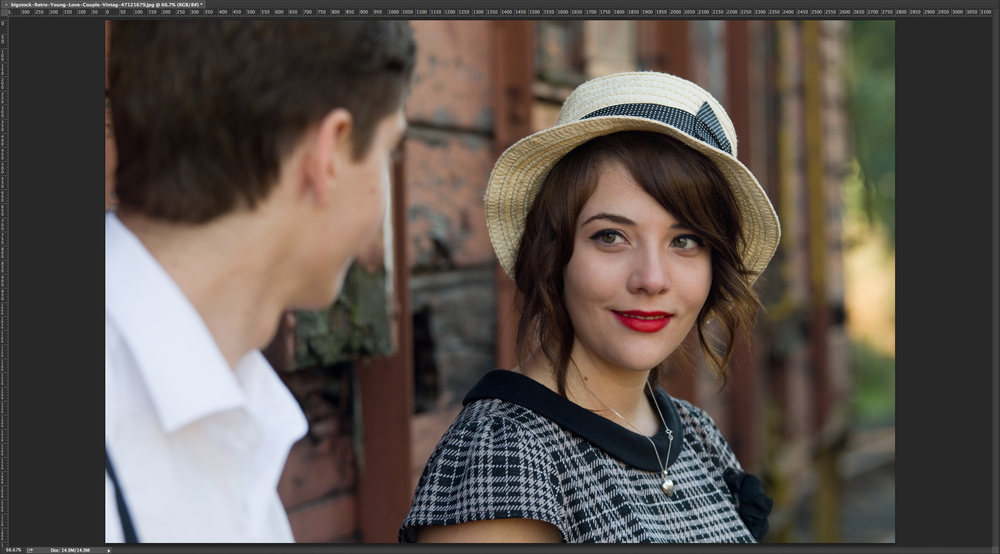
First things first, let’s open the image in Photoshop. In the Layers palette, add an adjustment layer by clicking on the black and white circle icon. In the drop down menu, select Curves.

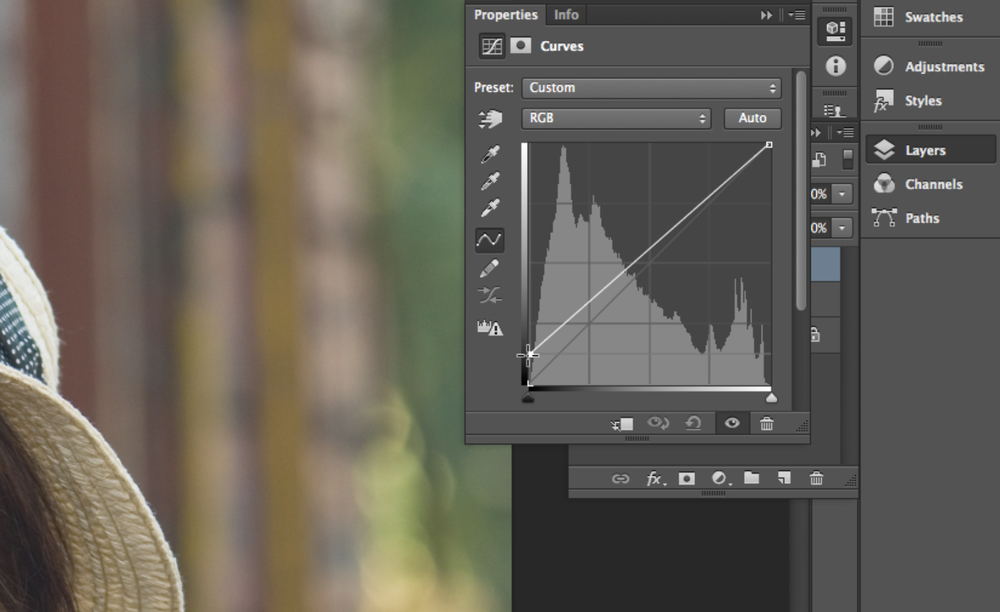
Click the far left point of the curve and drag it up, as shown below.
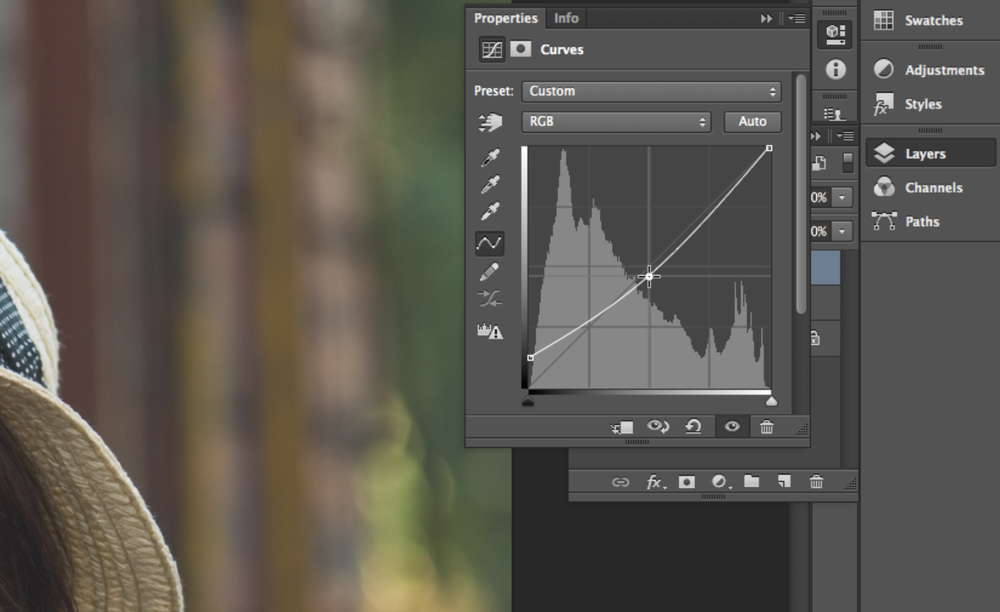
Then, click the center of the curve and drag it down a little bit, as shown here.
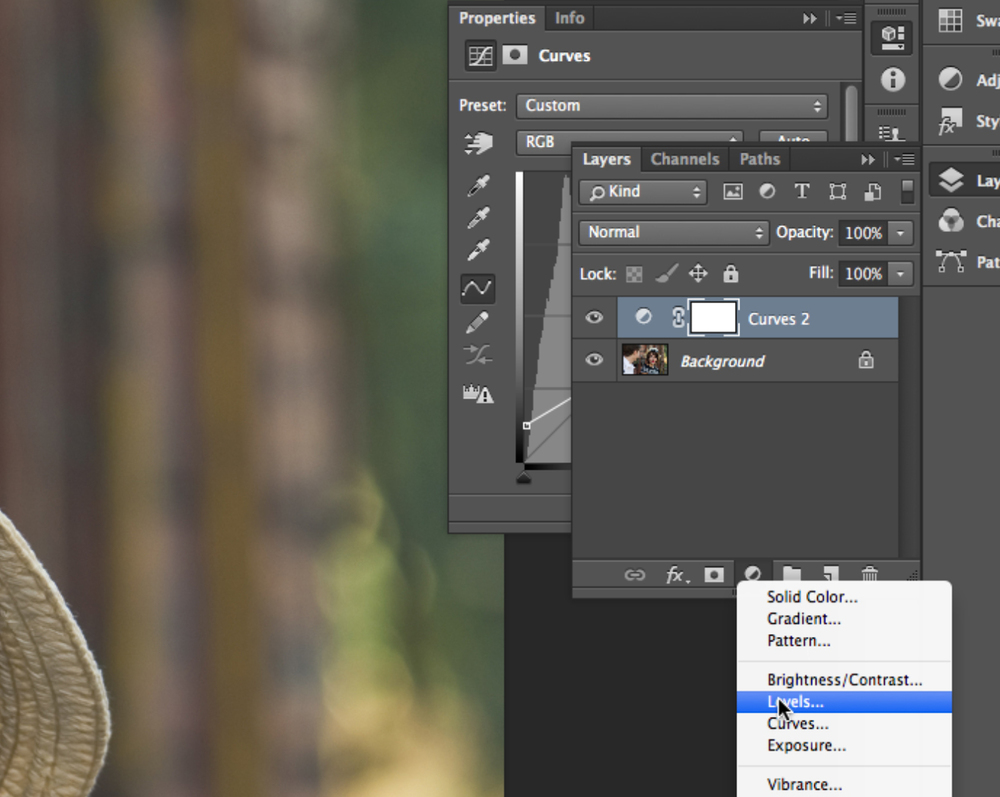
2. Levels Adjustment Layer
In the Layers palette, add an adjustment layer by clicking on the black and white circle icon. In the drop down menu, select Levels.
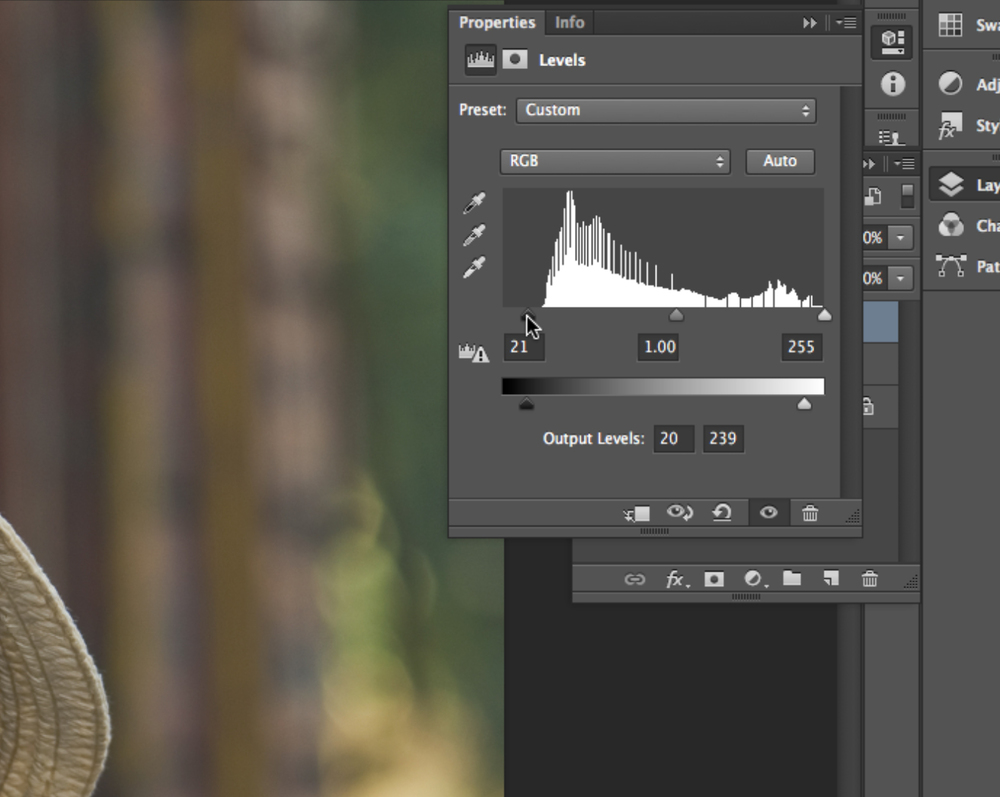
On the bottom slider, click and drag both arrows in towards the center.

To make up for the loss of contrast, click and drag the left arrow on the top slider.
The beauty of adjustment layers is that you can continue to play with their settings until you have the effect you want. You can even lower the opacity of each of the layers to make them more subtle.
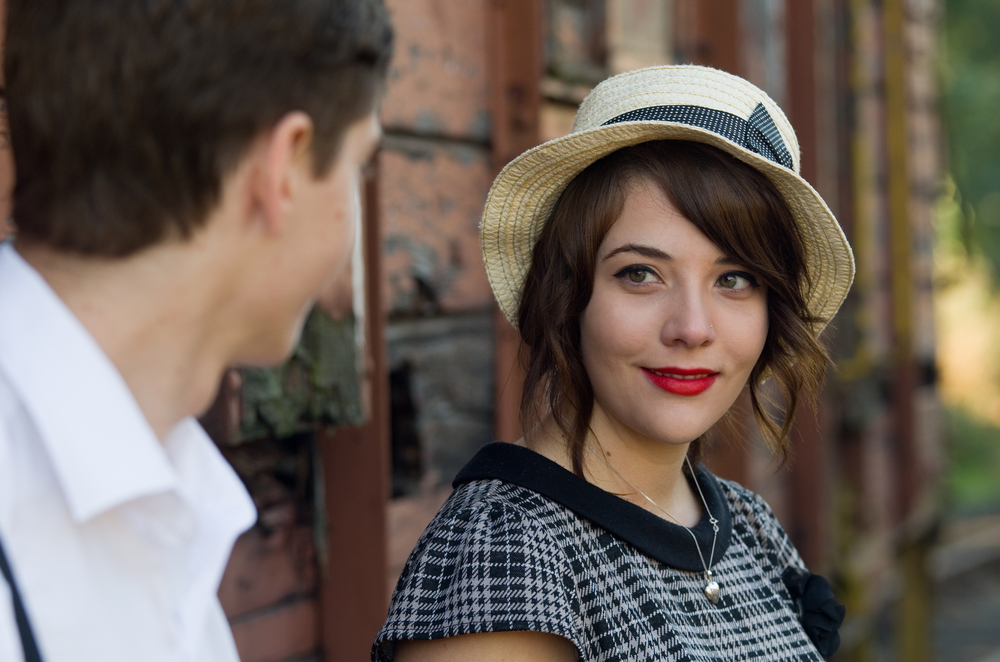
Here is the image I started with:
And here is the final image:
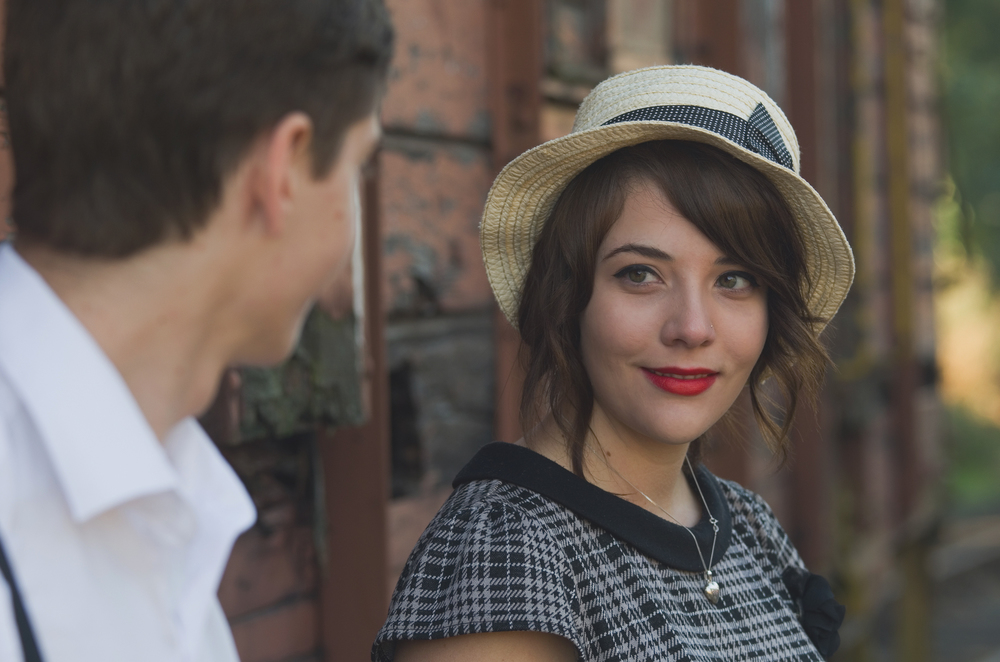
Ta daaaaah! And, should you ever need any royalty-free stock photos, be sure to check out our collection at Bigstock.com.
RELATED POSTS: