
How to Create a Fire Illustration in PhotoshopBy Karl Rosencrants, Bigstock Contributor
There are many different ways to “draw” fire, and in this tutorial we will be aiming to create some realistic looking flames.
For this exercise, begin by creating the canvas wider than it is tall. The wider the canvas, the more room you will have in a later step. I am working with a 650px by 500px for this example.
Start with a black background and set your foreground color to white. Use the Pen Tool to create the general shapes of the flames. Keep the body of the flames fairly narrow, as the wider the body, the less you will be able to color it later.
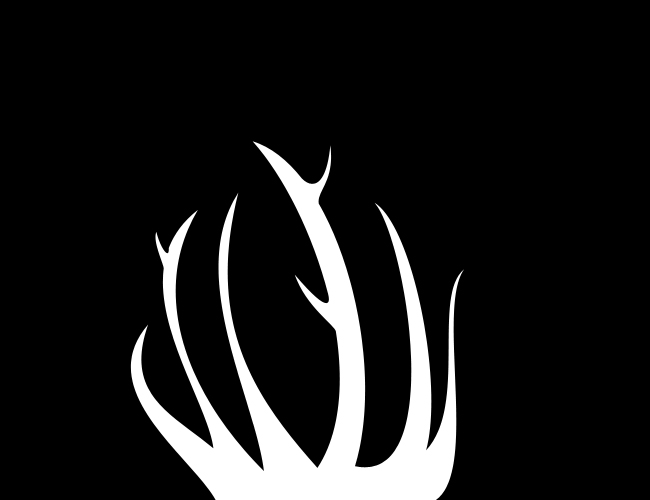
Create a new blank layer and name it Flames. Hold CTRL or Cmd and click on the thumbnail view of the vector shape to load the white area as a selection. Since the foreground color is already set to white, with the new blank layer selected, press ALT or Option + Backspace to fill the selection with white.
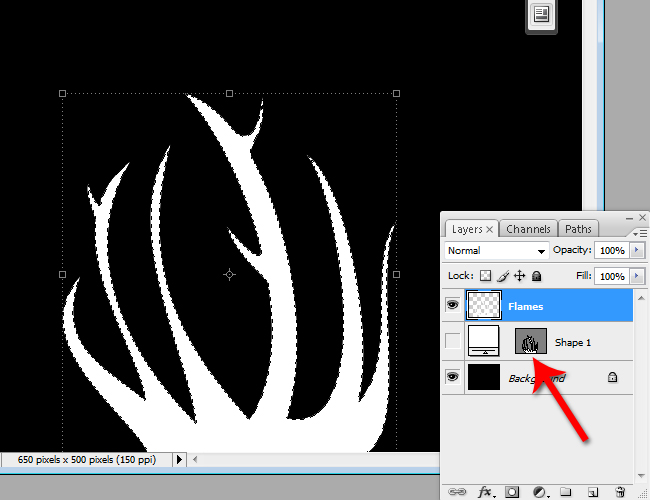
Hide the vector layer. Transform and rotate the Flames layer by 90 degrees and align the bottom of the fire with the right hand side of the canvas.

Next, from the pull down menus, select Filter > Stylize > Wind… In the settings, select Wind as the Method and bring the wind in From the Right.
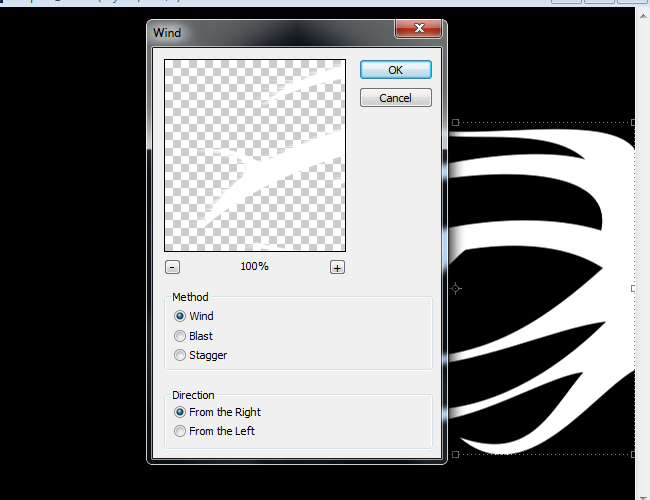
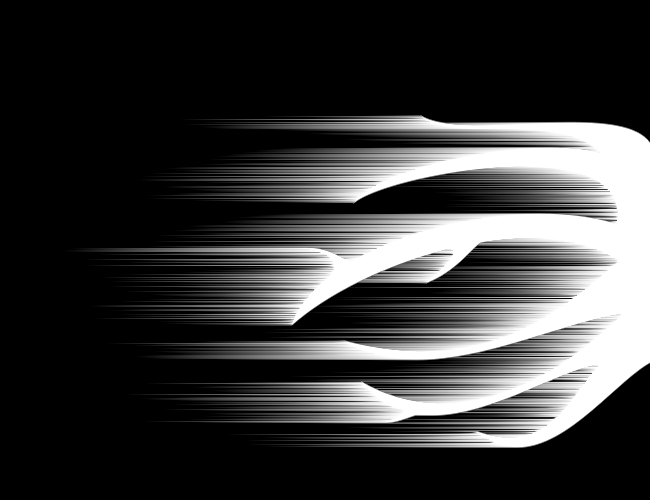
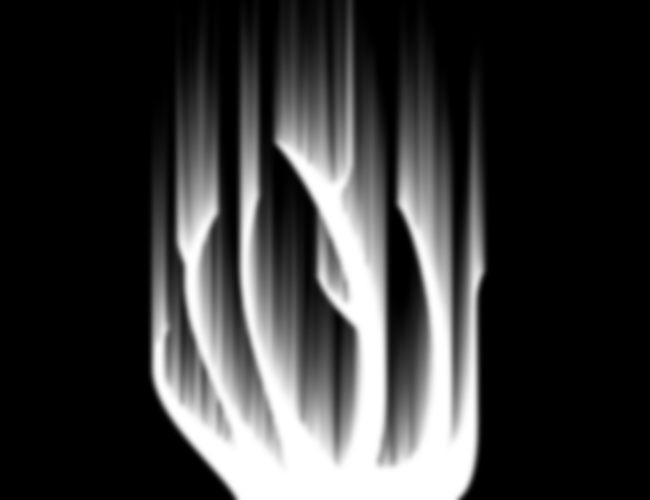
This will create the beginning of our flickering flames. Press CTRL or Cmd + F to run the filter two or three more times, until there are very prominent lines leaving the body of the fire. The wider your canvas, the longer you can makes the flame lines. If the lines leave the visible canvas area, they will end abruptly, ruining the look of the illustration.
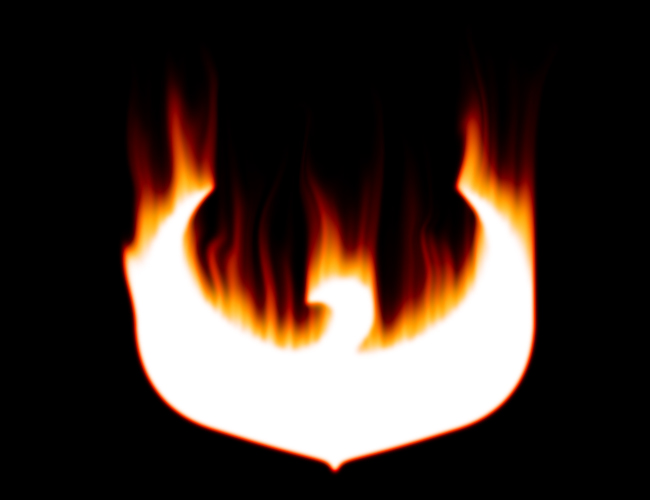
Rotate the flames back to vertical, and add a Gaussian Blur. The goal is to blend a majority of the finer lines together, yet to maintain some dimension to the flames. Here I used a 2.7 pixel blur.
With the flame layer selected, press CTRL + ALT + Shift + E or Cmd + Option + Shift + E to blend all the visible layers into one, new layer. Name the new layer Red Flames. The newest layer now contains the white flames as well as the black background, all in one layer.
This accomplishes two things. It allows us to more easily see what we are doing in the next step when we use the Liquify Tool. And it allows the design to be colorized. The Hue/Saturation will only colorize gray scale tones. It does not affect pure white or pure black and up until this step, the flames have been draw with pure white color. Blending the two layers together creates all the gray tones in the layer.
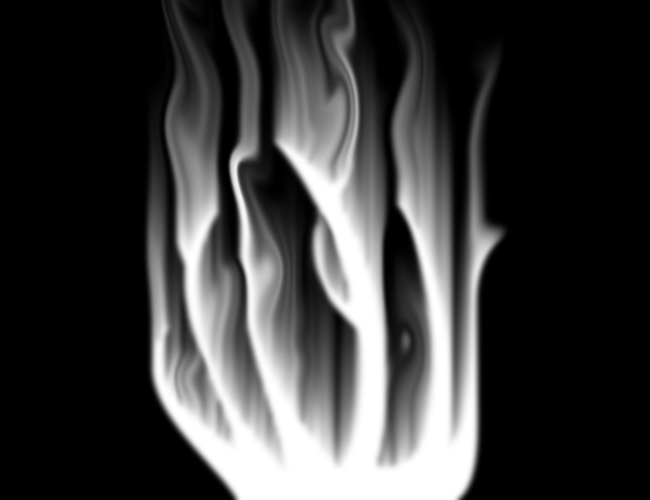
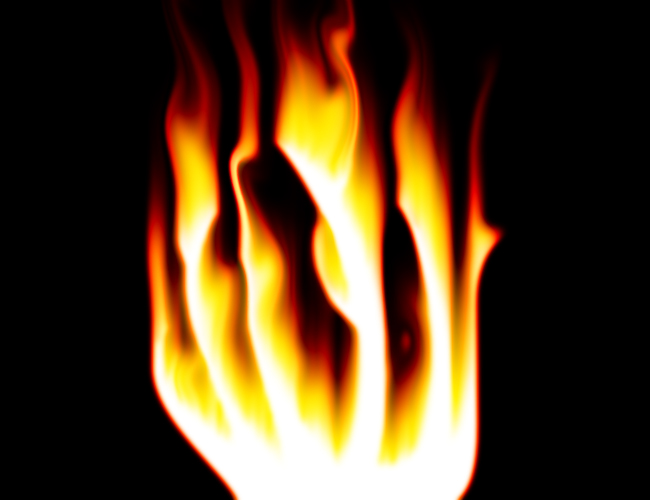
With the Red Flames layer selected, select Filter > Liquify. Using the Forward Warp Tool and the Twirl Tool, push the extended flames around to create the waves that naturally occur in a fire. This part takes some trial and error. Just keep pushing the pixels around, undoing when necessary, until an acceptable look is achieved.
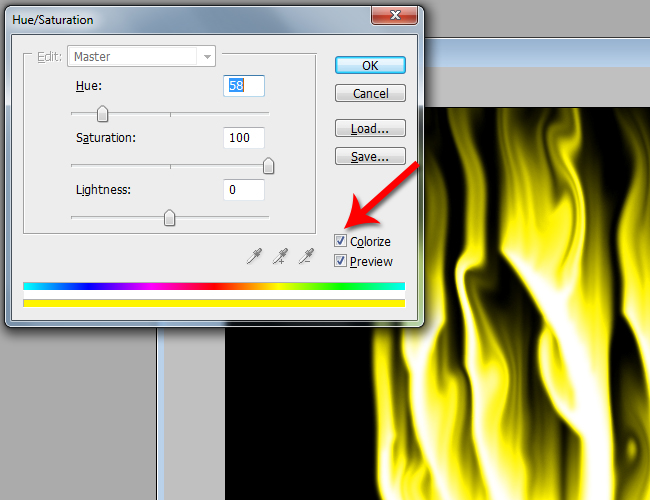
Duplicate the Red Flames layer and name the new layer Yellow Flames. Press CTRL or Cmd + U to bring up the Hue/Saturation dialog box. Make sure to check the Colorize box in the dialog window first. Turn the Saturation all the way up to 100 and slide the Hue slider until you find a bright, rich yellow. Click OK.
Temporally hide the Yellow Flame layer, and then do the same thing to the Red Flame layer, only this time select a rich red color with the Hue slider.
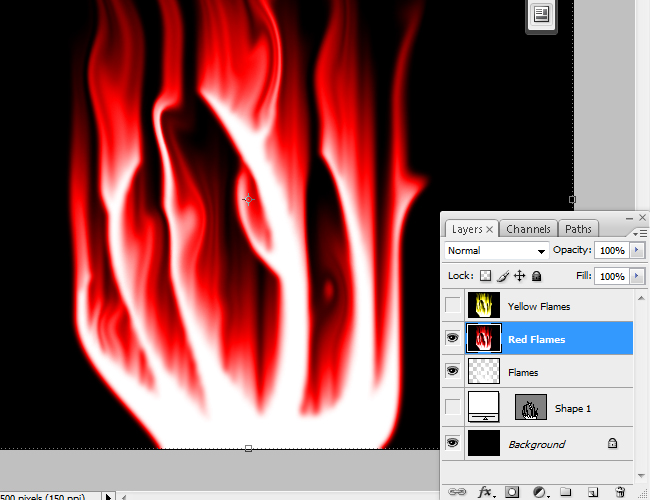
Turn the Yellow Flame layer back on, and in the Layers Dialog box change the Blend Mode for the Yellow Flame layer to Hard Light. This brings out a nice gradient of colors in the flame.
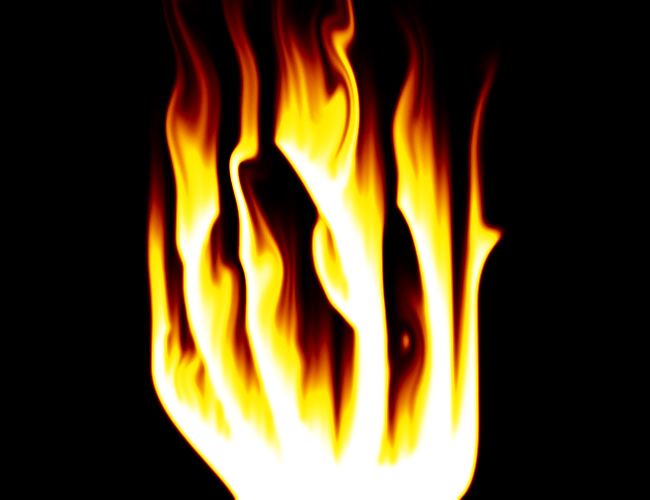
Last, add a Gaussian Blur to the Yellow Flame layer to blend away a little more of the definition of the flames and bring out the red color a little more. I used a 7 pixel blur in the image below. This should create a pretty realistic looking flame effect.
This same technique can be used on any shape to create some really unique graphics.
Was this helpful? Check out previous tutorials from Karl Rosenkrants here, here and here
