
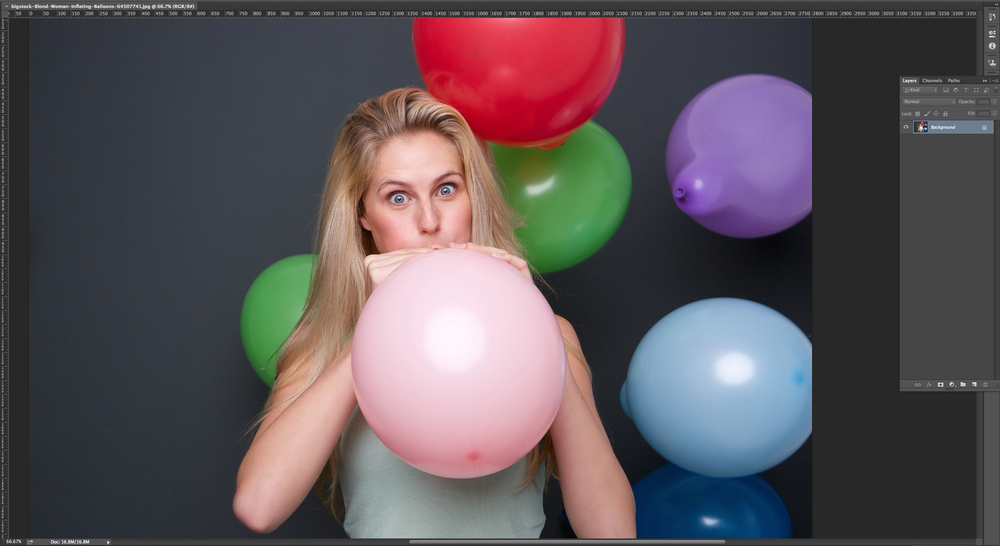
This method to punch up the vibrancy and saturation of a photo is mega fast and easy. For this example, I’m using this fun Bigstock photo.

1. Open the File in Photoshop.
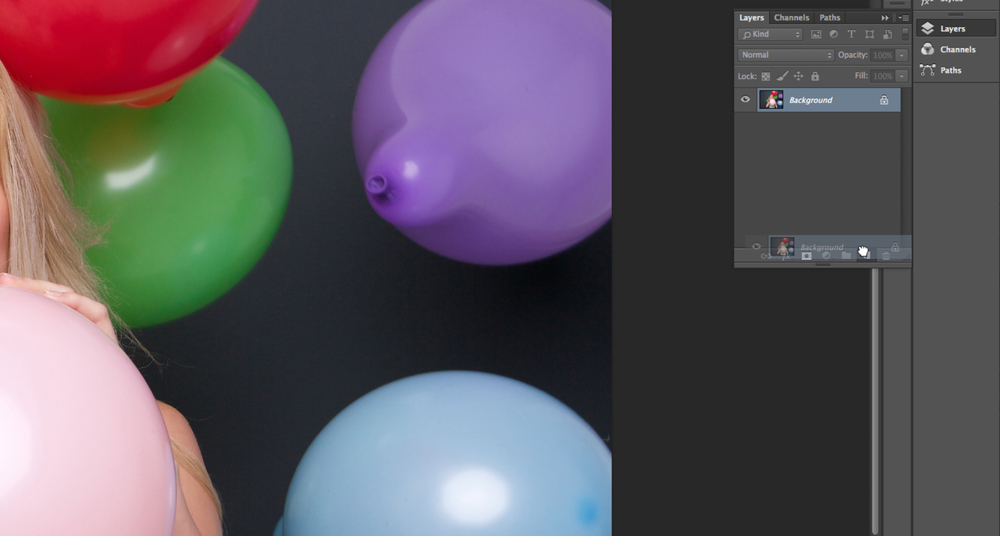
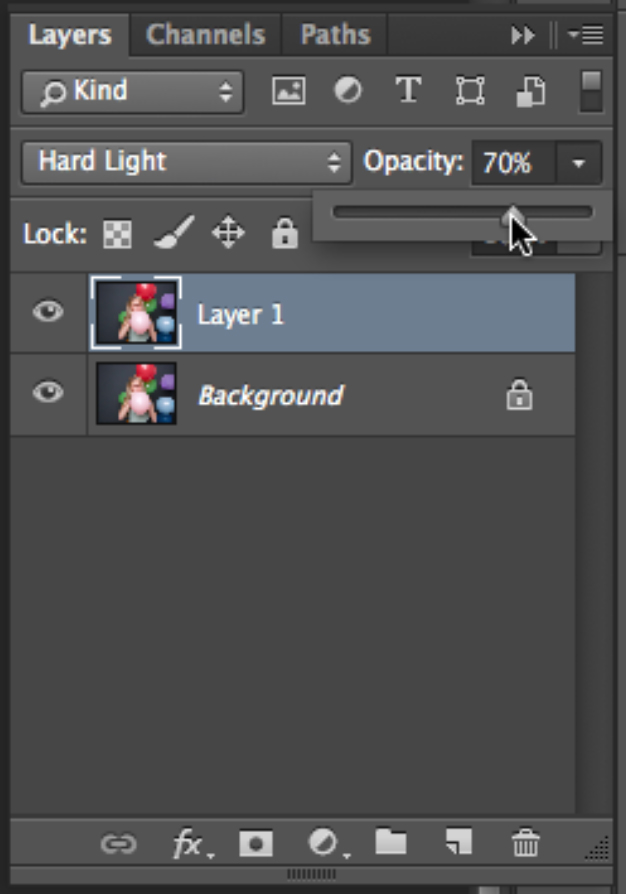
2. Duplicate the Background Layer. A quick way to do this is to select the Layer, and then hit Command- J (Control-J in Windows). Otherwise, in the Layers palette, you can drag the Background Layer to the New Layer icon at the bottom of the palette.
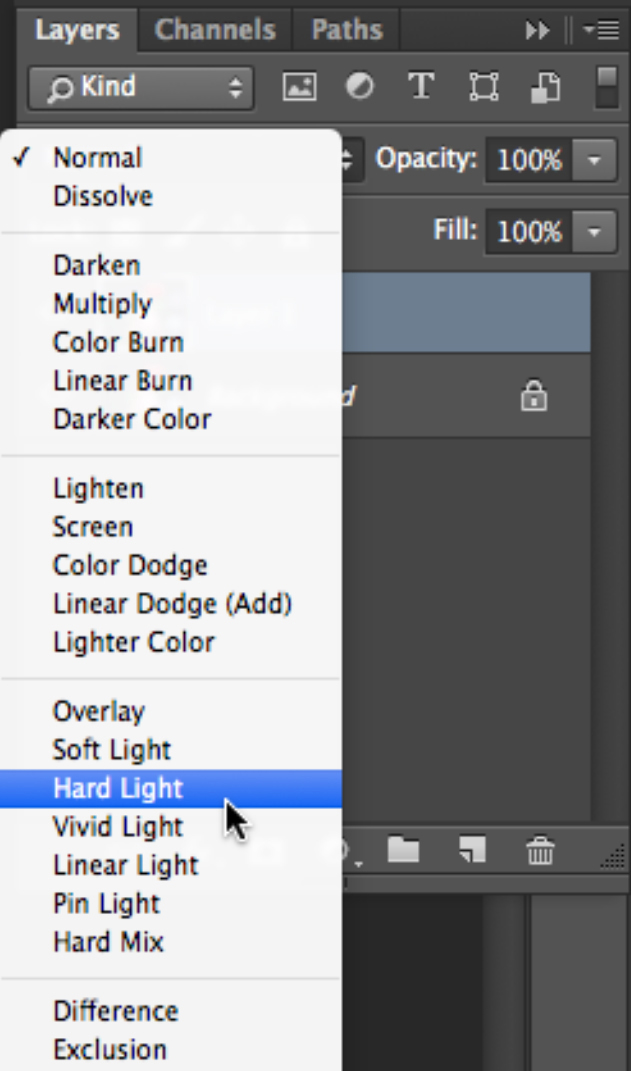
3. Change the blending mode to Hard Light. With the new top Layer selected, use the pull down menu in the Layers palette and select a Hard Light blending mode.
4. Adjust the Opacity (optional). If you feel the vibrancy is too much, you can pull it back by lowering the opacity of the top layer.
Ta dah. Here’s our final beautiful vibrant product!

But why stop there? You can go on to give the model in your photo sparkling eyes with this quick Photoshop Tutorial. Happy creating.
