Sometimes you just want those eyes to pop! In this quick tutorial, I’ll show you how to get those eyes sparkling so they can make the model in your Bigstock photo stand out and help your projects really shine.
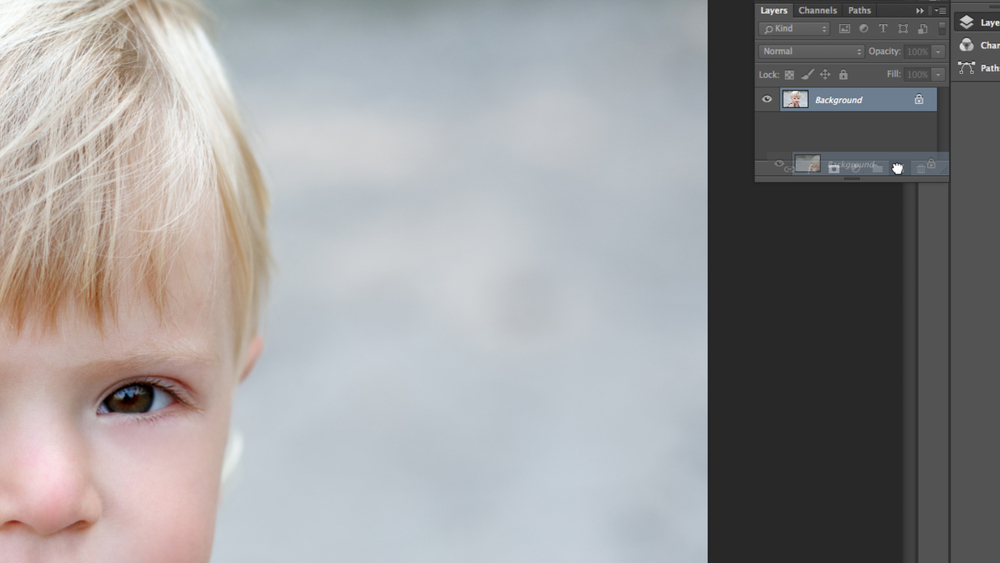
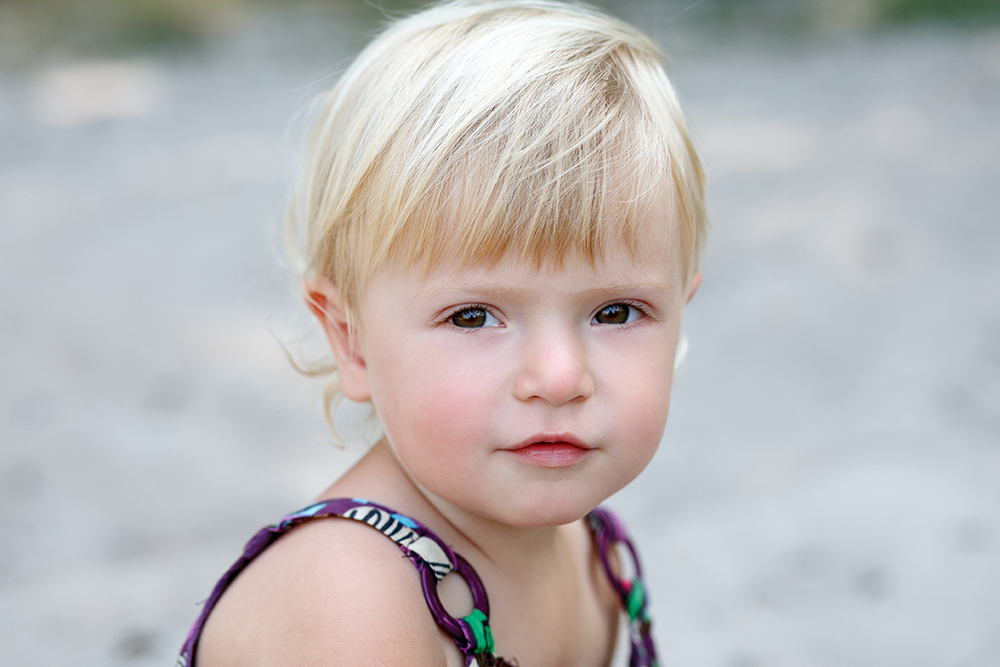
1. Open your file in Photoshop and copy the Background layer. I’m using this already-beautiful brown-eyed girl photo as an example, but any eye color will work.
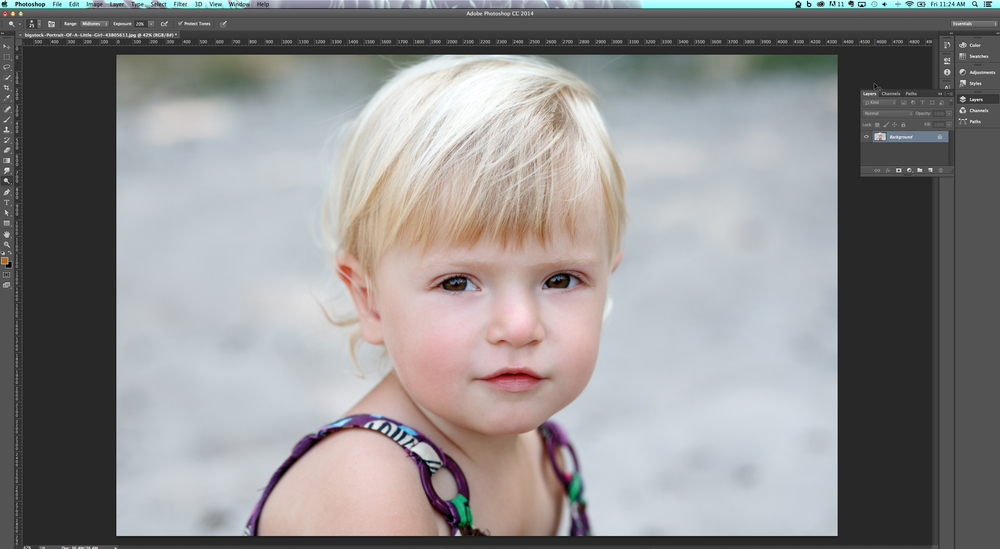
In the Layers palette, copy the Background Layer by dragging it to the New Layer button.
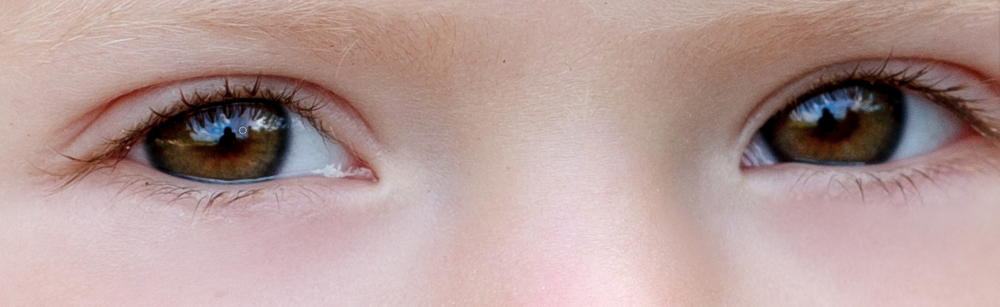
2. Dodge the Iris. Select the Dodge Tool from the tool bar, and try the following Dodge Tool settings. (The settings may vary depending on the photo!)
Brush Size: Something that’s similar to the width of the iris.
Brush Hardness: 10%
Range: Highlights
Exposure: 20%
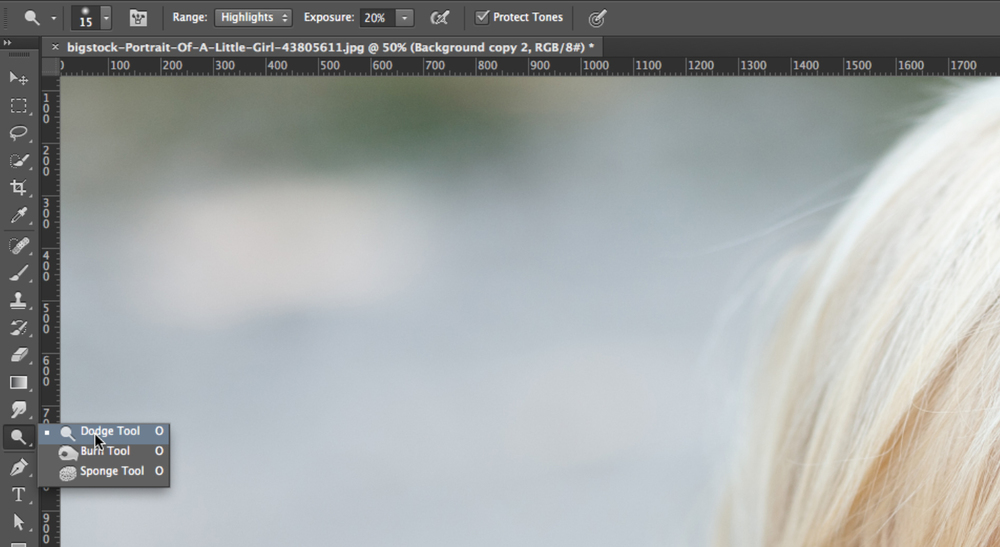
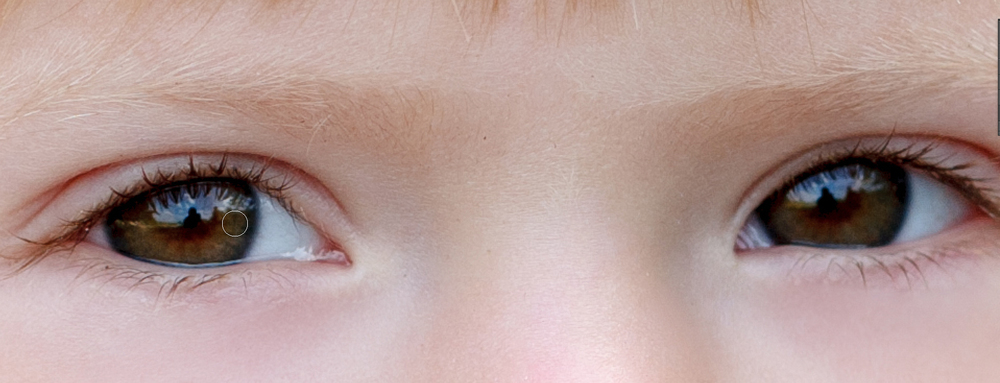
Use your Dodge Tool brush to lighten the iris or eye color area.
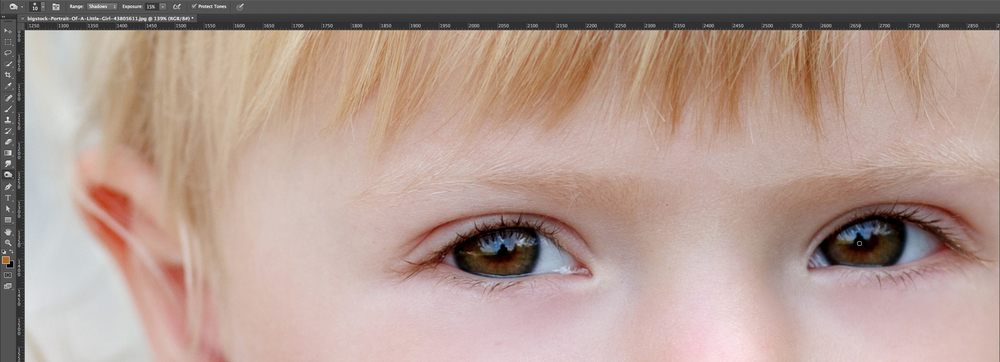
3. Burn the outer edge of the iris and the pupil. Select the Burn Tool from the tool bar, and try the following Burn Tool settings. (Again, the settings may vary depending on the photo.)
Brush Size: Something that’s works for the size of the eyes
Brush Hardness: Somewhere around 8%
Range: Shadows
Exposure: 15%
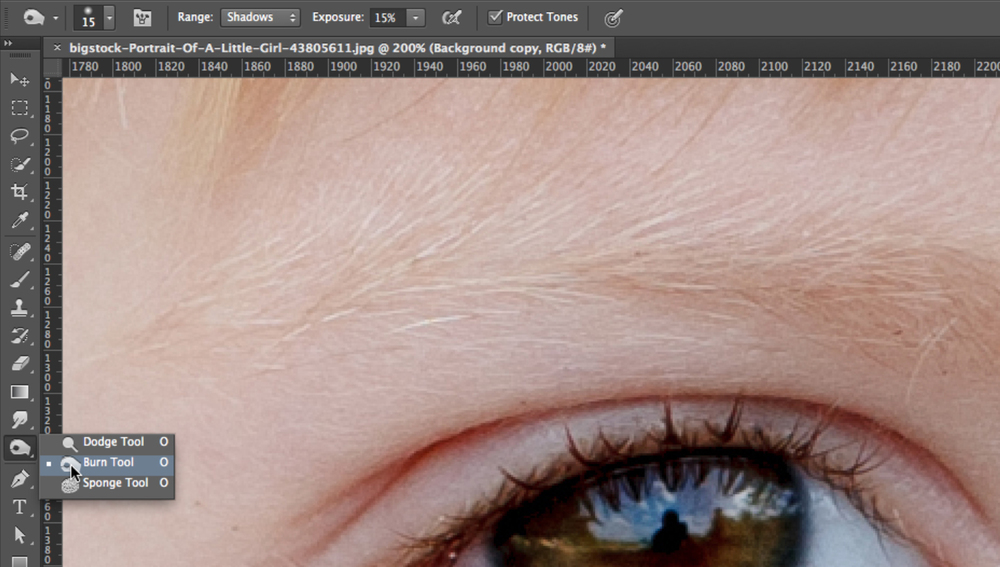
Use your Burn Tool brush to darken the outer edge of the iris and the pupil.
4. BONUS: dodge the reflection highlights and burn the eyelashes. To add that extra pop, use the Dodge Tool in the reflection areas of the eyes. For a bonus bonus, use the Burn Tool across the eyelashes, and the eyes will pop just a bit more.
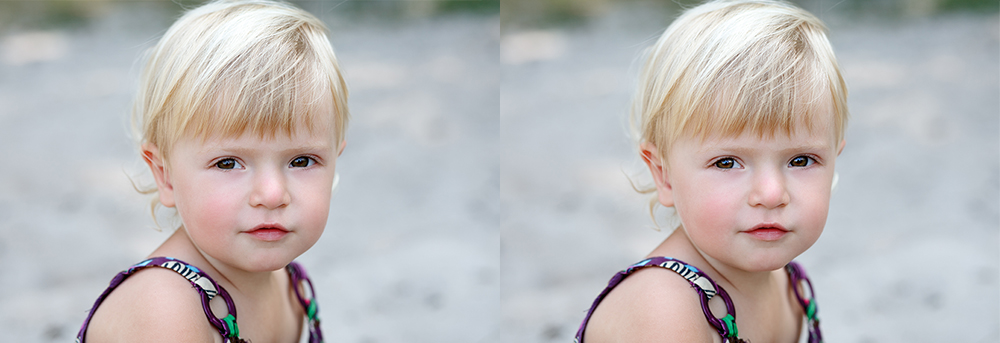
Here’s the before version of the photo:
And here’s the beautiful but subtle after!

For even more cool Photoshop ideas and other photography tips check out our other Bigstock tutorials. Have a great day!
RELATED POSTS: