
A Photoshop tutorial by Art Director and founder of Pureworks, Victoria Jordan.
In this next tutorial, we’re going to be compositing a single face from many other faces. Sometimes, when you work in a marketing department, as I have for most of my career, it becomes necessary to have a certain level of retouching skills. I worked with someone once who took an inordinate amount of photos with her eyes closed, and we almost always had to composite the perfect picture together when we needed one for a recap of an event. We’d take her open eyes from one shot and layer them over her eyes in the shot that was perfect everywhere else. Hopefully this will be fun, (in a Frankenstein kind of way) but it’s also pretty useful in real world situations.
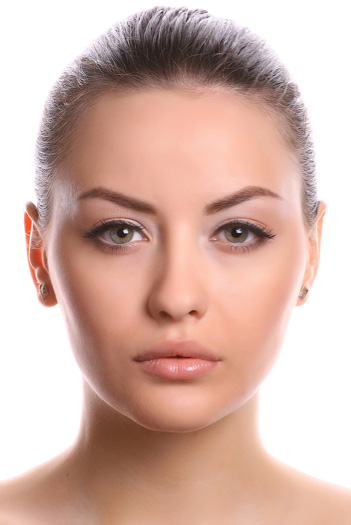
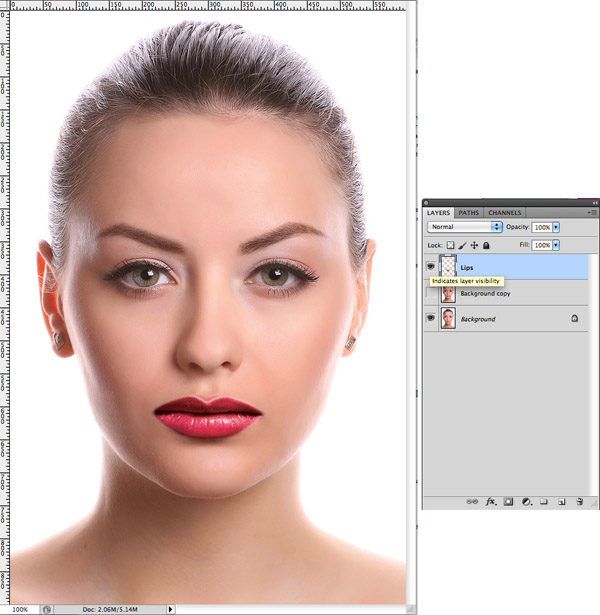
To start off, I’ll pick my base face. I’m going to pick someone with nothing obstructing their face, no hair, sunglasses, etc. This fashion portrait by Bigstock contributor Bibacomua should be perfect.
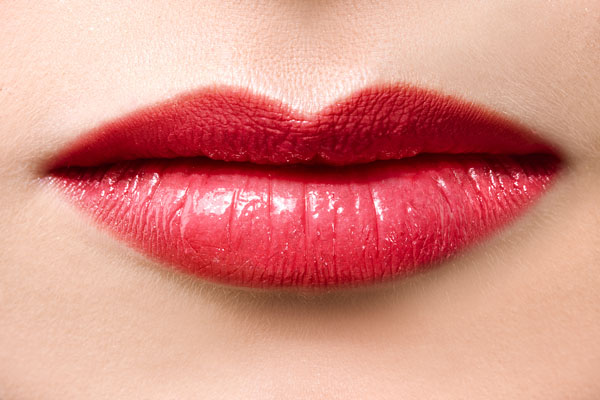
I’d like to make her look a little more high fashion and dramatic, so I want to make her lips red. There are ways to go in and add color to her existing lips, but for the purpose of this tutorial, we’re going to choose lips from another model in another stock photo.
It’s important that the lips are head-on, facing the same direction as our base models face.
Now, I’ll draw a rough selection around our red lips with the Lasso tool.
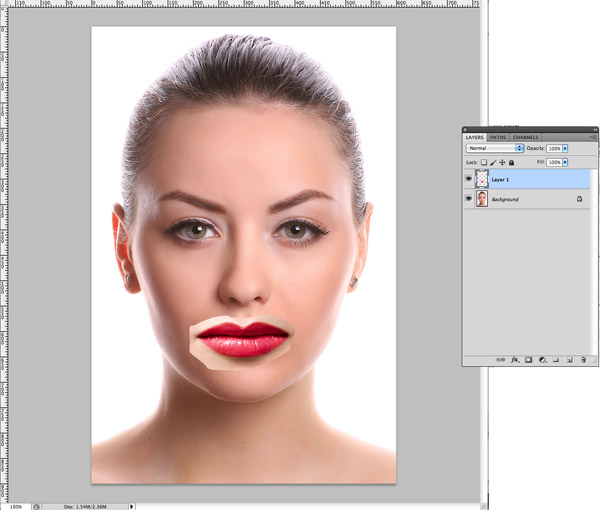
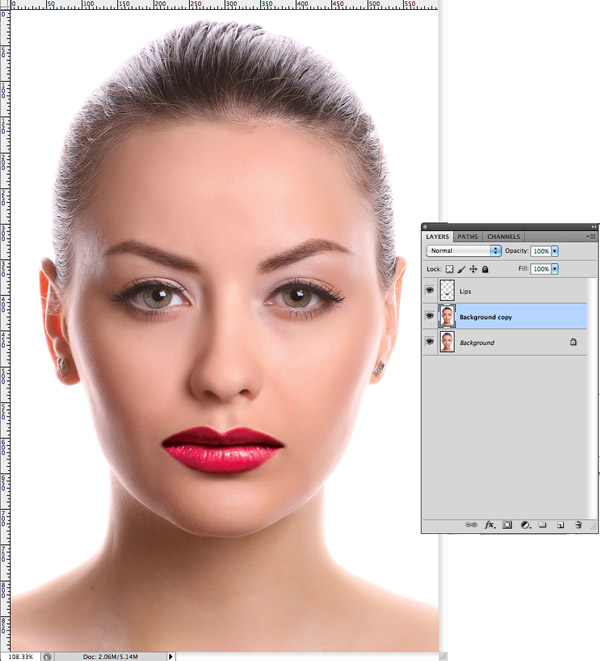
I paste the photo of lips into a new layer, naming it “Lips” and bring the layer opacity down to 50%.

The next step is to scale and rotate (Command T) our second image down so lips fit the woman’s head.

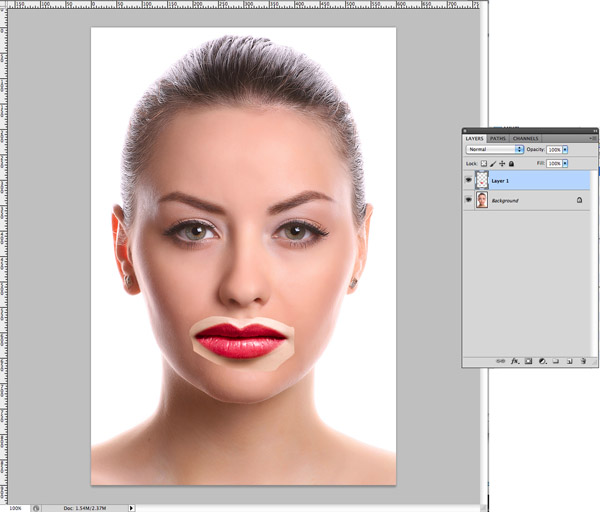
Now, I’m going to bring up the opacity on the “Lips” layer so I can really see where I stand.
The first thing I’m going to focus on is the shadow on the lips. They are darker on the right side, while our models face is darker on the left, so I’m going to flip the lips (Edit > Transform > Flip Horizontal).
The next thing I’ll do, will be to try to get the flesh tone on the Lips layer to more closely resemble the flesh tone on our background layer. To do that, I’m going to use the Levels tool. I’m more comfortable working in CMYK when it comes to Levels, so I’m going to change the mode of this image (Image > Mode > CMYK. If you choose to do this, make sure not to Flatten the image when the dialog box comes up after choosing CMYK – you want to keep your layers), but you can stay in RGB if you like.
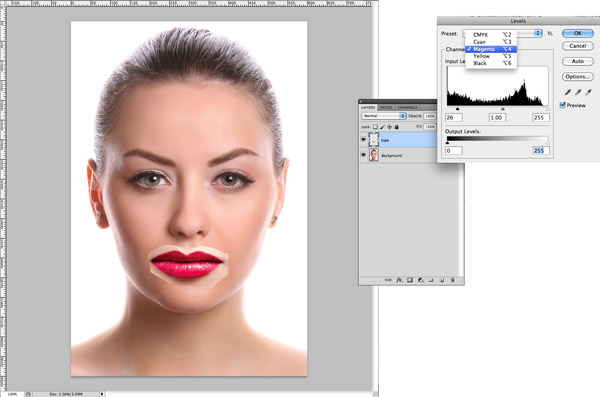
Now, I’m going to select the Magenta level, because the background image has a more magenta hue than the Lips image, and I’ll bring that level up until it matches the background layer.

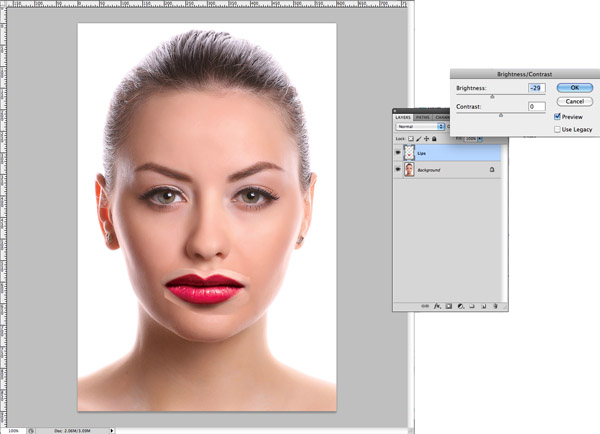
There’s a subtle difference, but I can see the flesh tone is getting closer. I’m also going to go in and darken it a bit, because the lighting on the 2 images is different. It doesn’t have to match perfectly because we’ll be deleting it, but it will save some time when we’re cleaning up the edges of the lips later.
Using the Magic Wand tool, I’ll select the flesh around the models lips in order to delete it. I’ll also include the shadow under her bottom lip, because we might need it. I got a pretty good selection, but I don’t want to delete so sharply around her lips, so I’m going to contract the selection by 2 pixels (Select > Modify > Contract). This will pull the selection away from the lip line. I’m also going to feather the selection by 1 pixel so that the transition is not so harsh.
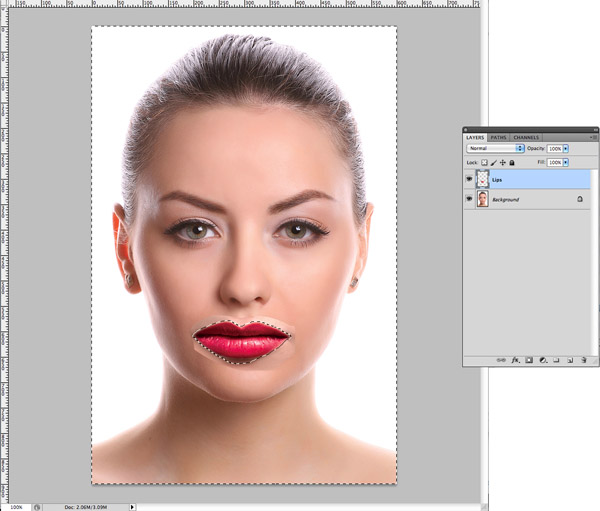
So now, I’ll delete and see how my new lips look. They look a little too big for her face so I’ll play with the scale and rotation a bit to get the size closer.

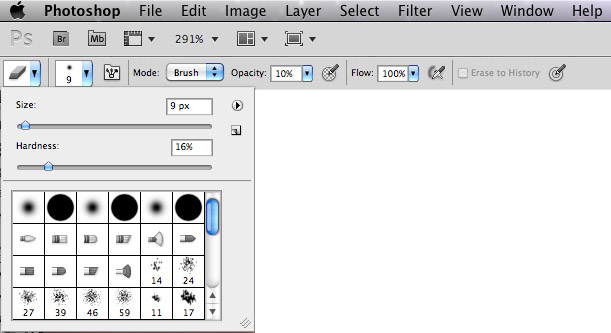
Next, I’ll to tweak the edges of the lips so we don’t have any of the light outline remaining. I’ll also fade out the shadow under her bottom lip a bit using the same technique. Using a soft edged smaller Eraser tool, I’ll zoom in and begin to erase the lighter bits, zooming out every once in a while to make sure I’m not taking too much away. The Eraser tool has a lot of adjustments you can make, including the hardness of the brush (how feathered the edge will come out) and the opacity (how much the eraser will erase). For this, I’ll keep the brush small, the edge soft and the opacity light so I can make sure I don’t erase too much.
One of the tricks to compositing images, is to pick the RIGHT images. Everything seems to be lining up, and our shadow seems to be integrating well. As soon as I’m finished fading the shadow and edges, I can take a look and see if there’s anything poking out from under my Lip layer that shouldn’t.
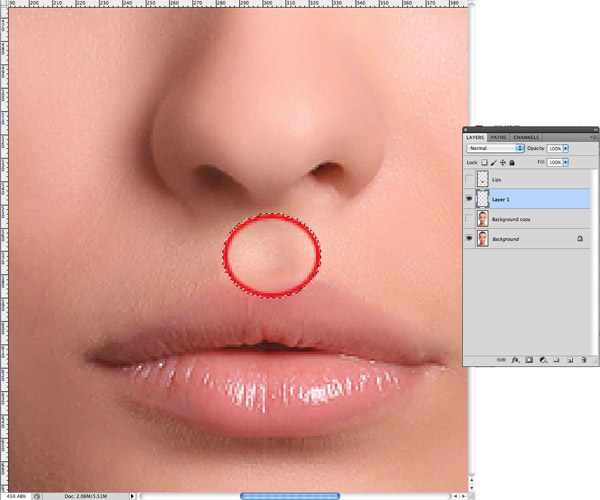
I see a tiny bit of the Background model’s lip above the center of the Lips, so I’ll go in and duplicate the background layer (so I always have the original) and remove that.
I’m going to use the Clone Stamp tool to do this. First I’ll adjust the size, hardness and opacity of the tool just like I did with the Easer. I’ll Option + click to select the area I’d like to mimic, in this case it will be the dip in above her lip.
Then I’m going to begin to clone over what I’d like to erase (the top of her lips). As you clone, be careful to clone in the direction of the flow of light and shadow.
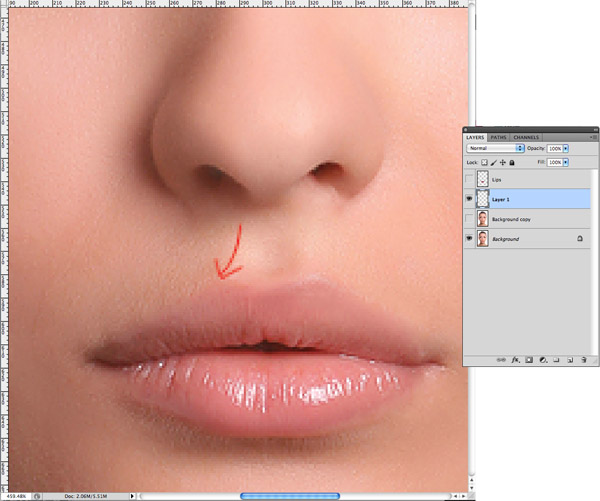
Here we are…
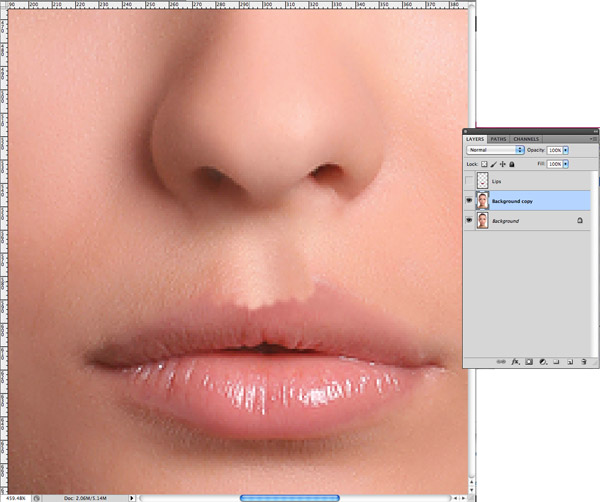
Now, I’ll turn on my Lips layer and zoom out to see where we are.
Now that we’ve extended that dip in her lip, we can line up the dip and the curves in her upper lip properly. It’s just a matter of scaling until it looks right to your eye.

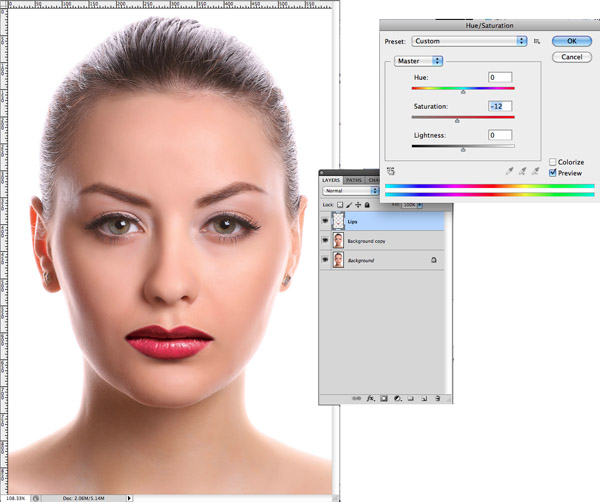
The last thing I’m going to do, is take out some of the vibrance in her lip color, as it doesn’t seem to match up with the rest of the photo. To do this, I’ll use the Hue/Saturation palette and bring down the Saturation (Image > Adjustments > Hue/Saturation).
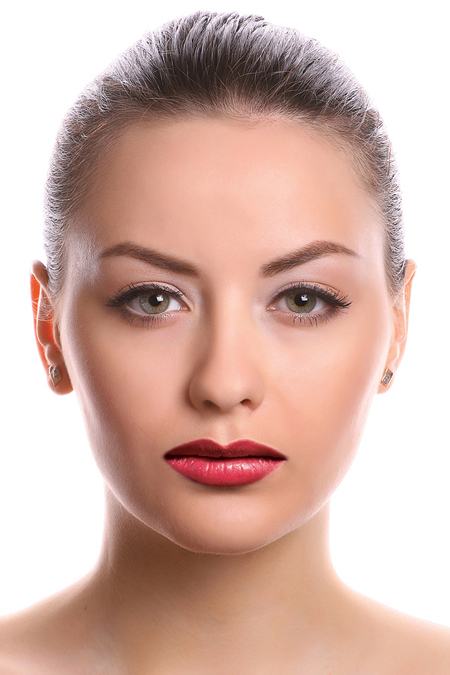
And there we have it!
Next time, we’ll add another feature!
