One of the most common photography techniques is to shoot against a seamless white background to keep all the focus on the subject. This may be cool for a product catalogue, but when designing a website or brochure, a white background might not work. The good news is that it’s easy to remove white backgrounds with Photoshop or similar editing software. With these four steps below, you’ll be able to make overlays, and use graphics in a way that looks clean, finished, and professional. (Note: If you’re using a Pen Tool, scroll down to the bottom of the post for an advanced tip!)
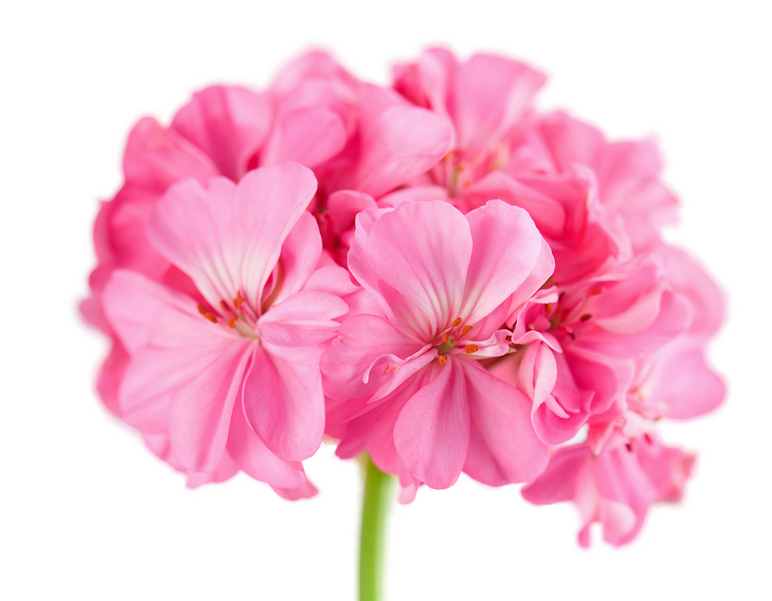
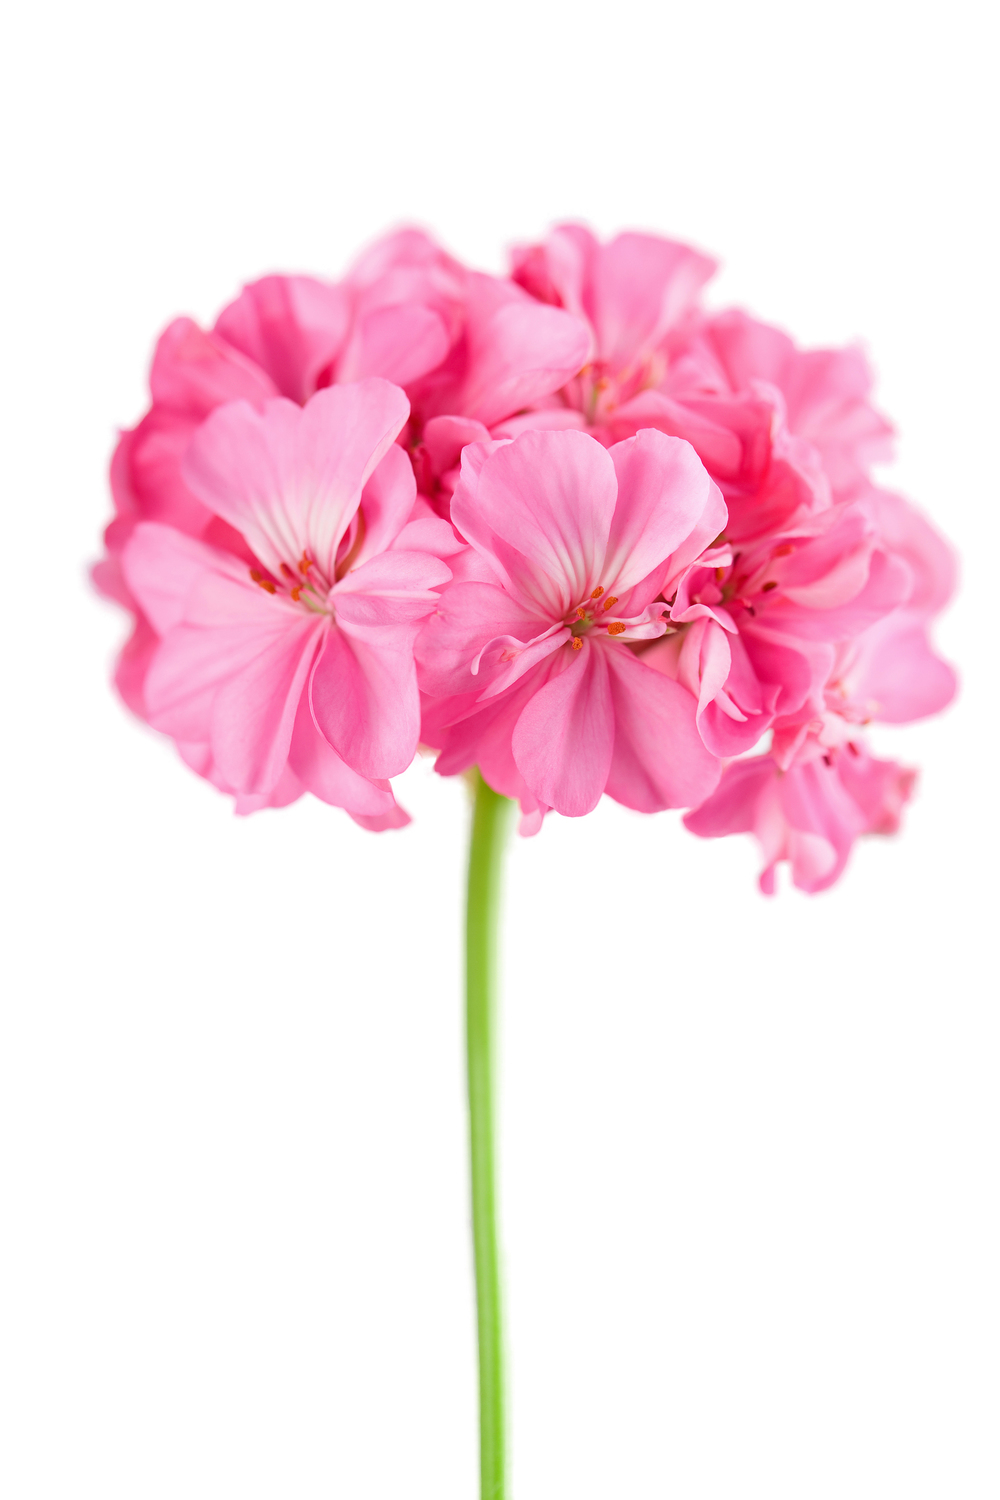
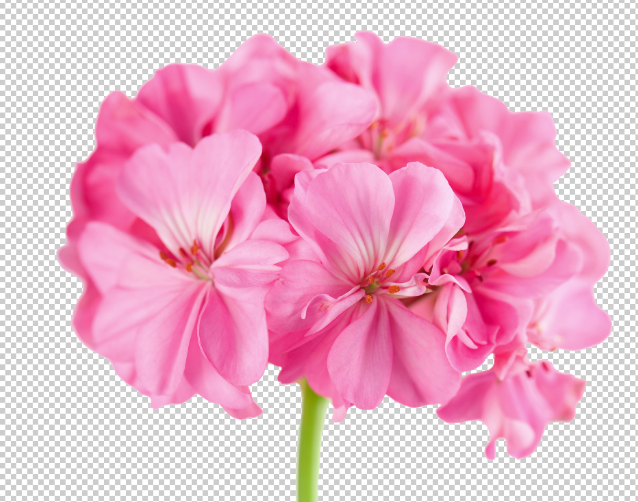
For this tutorial, I’m going to use this very pretty royalty-free Bigstock photo of a pink flower.
Step 1: Unlocking the Background Layer
The first thing you’ll need to do is unlock the image layer. When you attempt to remove the white background on a locked layer, it will either stay white or change to whatever color you have selected for the background. Unlocking the image layer lets you erase parts of the image so that the background becomes transparent.
Go to the Layers panel along the right side of the window and double-click the lock symbol on the Background Layer. This will bring up a “New Layer” window. Click OK to replace the Background Layer with a new, unlocked layer. Alternatively, you can right-click to create a duplicate – but unlocked – copy of the background layer that supports transparency.
Step 2: Deleting the Background
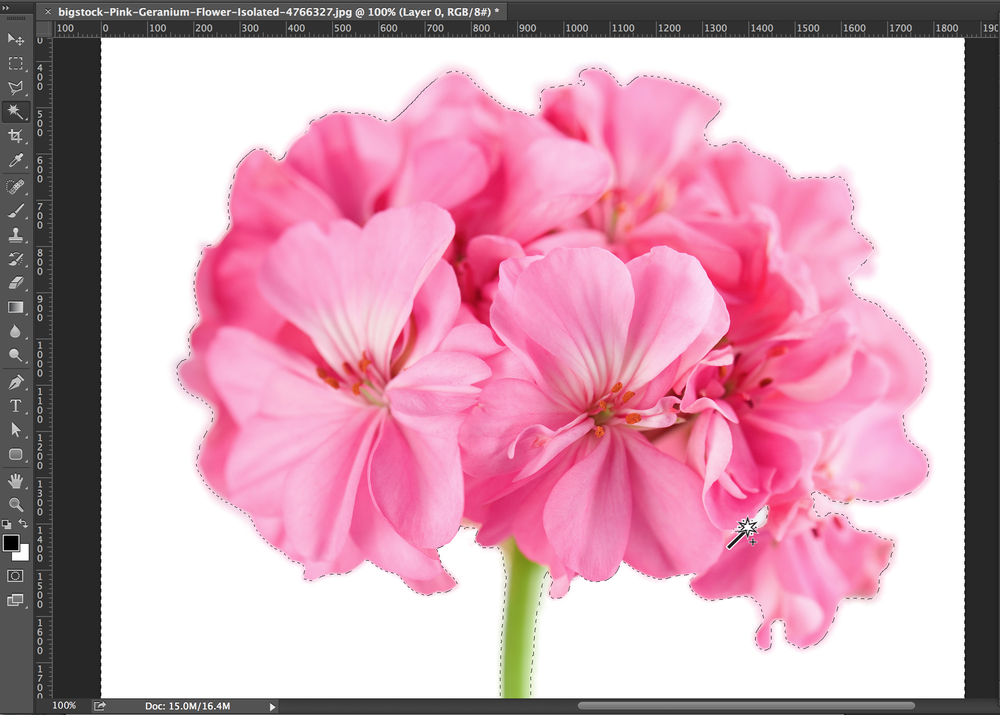
With the image layer unlocked, select the magic wand tool and click on the white background. Press the Delete key, and a gray checkerboard pattern should appear in the areas you’ve just deleted. The checkered pattern lets you know that the bits of the background you’ve deleted are transparent.
Keep in mind that the magic wand tool isn’t always perfect. Before you press the Delete key, make sure that the tool didn’t inadvertently select something you wanted to keep, such as white clothing items or lettering. You’ll also want to make sure that it deletes everything that you don’t want, such as shadows on the backdrop. You can adjust the amount of color that the magic wand selects by changing the tolerance in the Options bar. You can select “Add To Selection” or “Subtract From Selection” settings from the Options bar as well. Use the “Add To Selection” setting to select everything you want to delete, and the “Subtract From Selection” to de-select everything you want to stay.
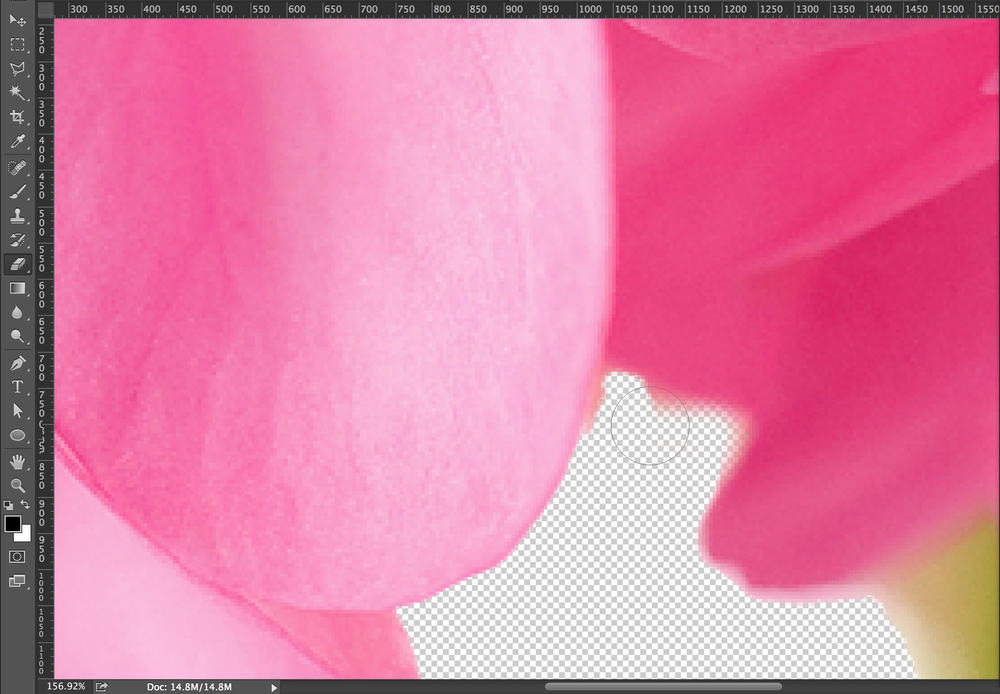
Step 3: Cleaning Up the Edges
Unless you’re working on a line drawing or an image with similarly hard edges, it’s likely that you’ll need to go back and clean up the edges of your subject once you’ve deleted the majority of the white background. To do this, zoom in on your image and use a small eraser to remove any lingering bits of the background or any other elements you don’t like.
The key to cleaning up the edges is in knowing when to use a hard-edged eraser and when to use a soft-edged eraser. You can adjust eraser brush hardness in the Options bar. A hard-edged brush will give you a clean, sharp line. Soft-edged ones, on the other hand, let you adjust the radius and opacity of the eraser, which makes them ideal for edging around elements that aren’t well defined, such as frizzy or wind-blown hair.
Step 4: Saving Your File in the Right Format
Once you’ve removed the background and you’re satisfied with the cleanup job, you’ll need to save the image. This is the most important part of the process to remember, not only because you’ll lose the work if you don’t save it, but rather, the image will revert to a white background if you don’t save it correctly. You also need to know which file formats support transparency and which don’t.
Avoid saving your file as a JPG or BMP, since they don’t support transparency. Instead, go to the File menu and click “Save As.” Then select PNG, TIF, SNAG or GIF as your file format. PNG is the most widely-supported format, which makes it the best choice. However, any of these formats will save your file with a transparent background. Keep in mind that if you used a soft-edged eraser for translucent edging, the GIF format won’t support partial transparency, so you’ll need to choose one of the other formats.
Once you’ve mastered these steps, removing a white background is an easy process that can be accomplished in a matter of minutes. Cleaning up the edges with an eraser is the most time-consuming part of the process, while remembering to save your file in the proper format ensures that you won’t have to go back later and do it all over again.
The best part is that these steps work for any background that you want to remove – not just plain white ones. Even though it will take a little more time to separate your subject from a busy background, these steps will help you get started and ensure your work looks professional. Have fun!
*Advanced Bonus Tip: Use the Pen Tool Instead*
Compared to using the magic wand (mentioned in Step 2), the pen tool is an advanced, potentially faster, and more accurate way to remove the background from your photo. If you have mastered the pen tool, outline the subject of your photo and make a closed shape. Then go to your paths window and with that path selected, go to the window’s drop down menu and select “Make Selection”. You’ll be prompted to select “New Selection” and you can even soften the edges of the selection by adding a feather. Now, with your selection made, you can hit Command + Shift + I to invert your selection, or make the exact opposite selection. Now, hit Delete. Your background will disappear. Ta dah!
RELATED POSTS: