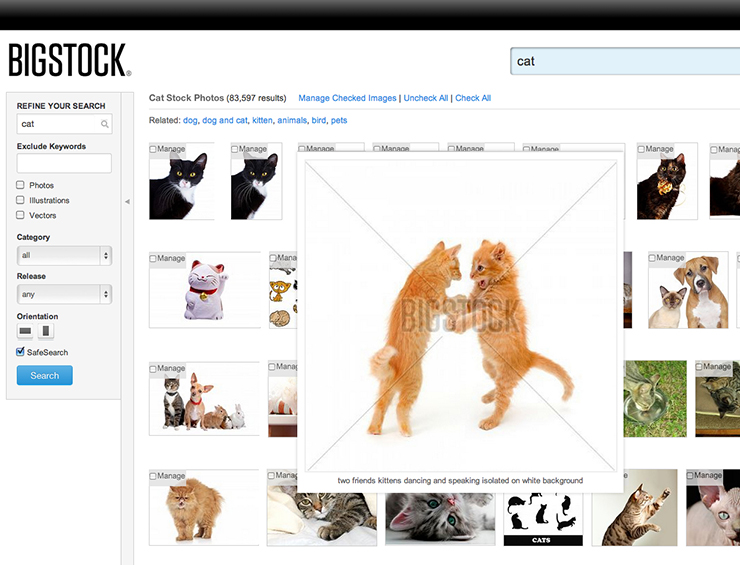
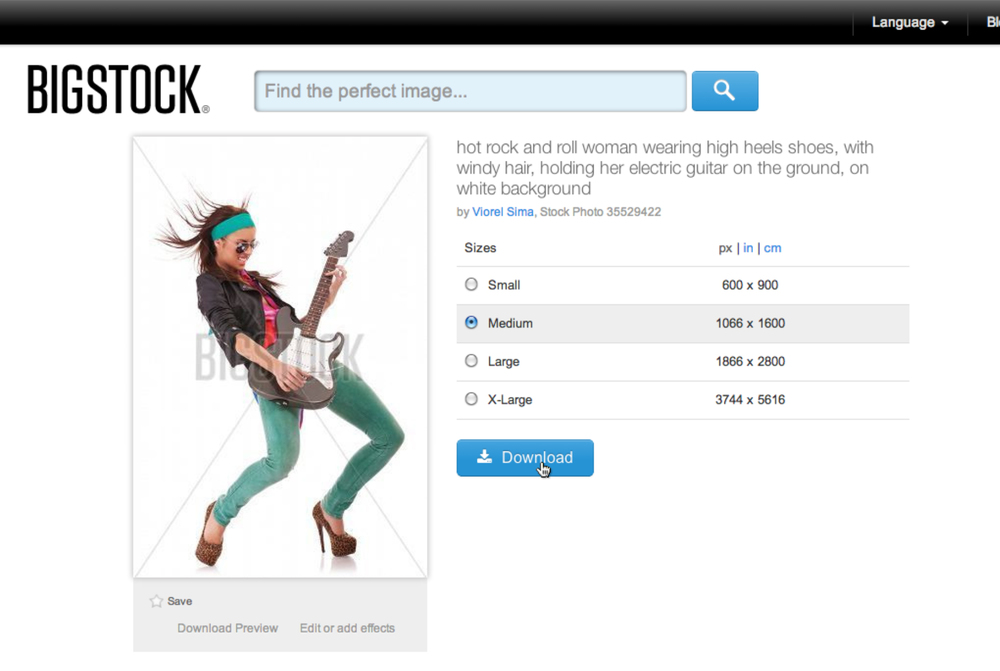
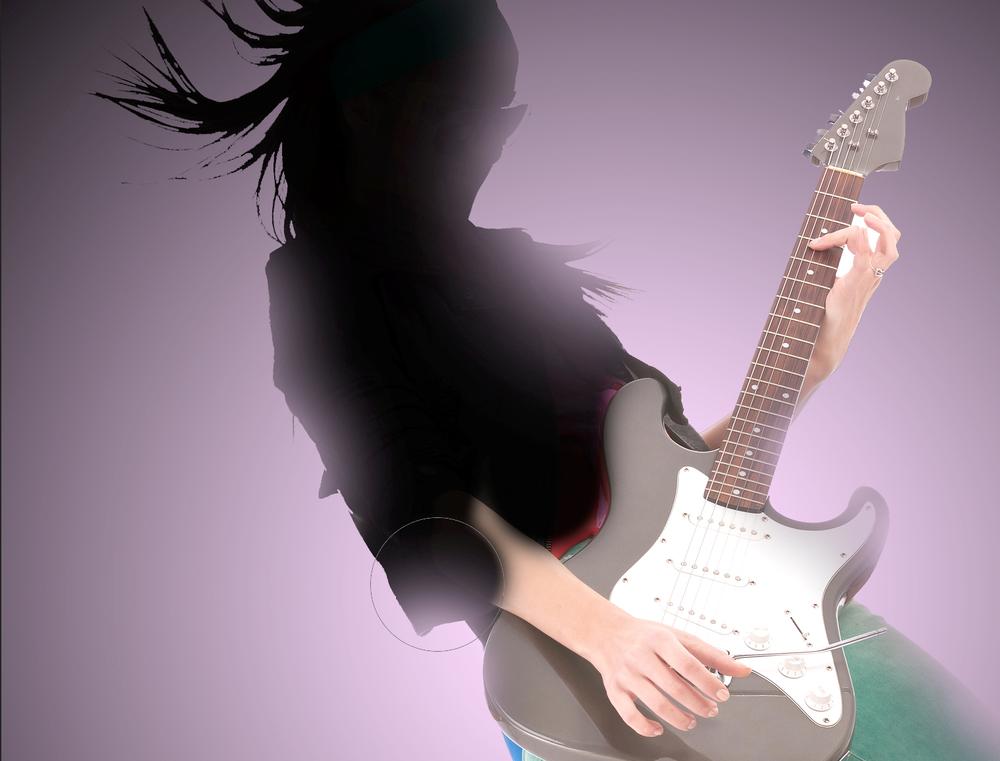
1. Download image, open it and remove the background. At Bigstock, download image 35529422 or any badass rocker image of your choice. Make sure the rocker looks like he/she could be nominated for a Grammy. Download the large size.
Once downloaded, open the image in Photoshop.
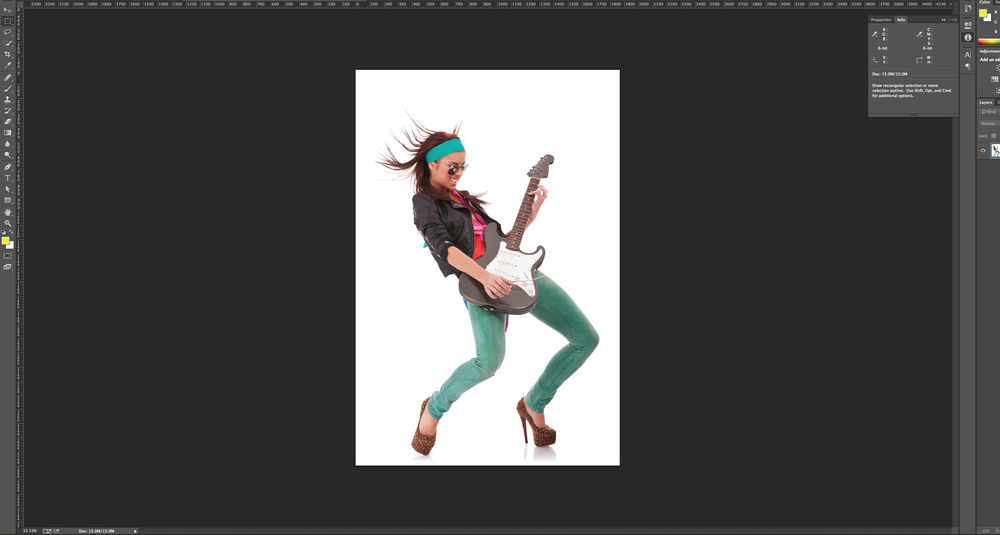
We want to remove the background from this image. For the purpose of this rock tutorial, I have downloaded an image that rocks, but it has a white background. This will make it easier to remove the background. And since we are making a silhouette, there’s no need to be ultra precise. In the layers pallete, Unlock the background layer by dragging the lock icon to the trash can. Select the magic wand tool from the tool bar.
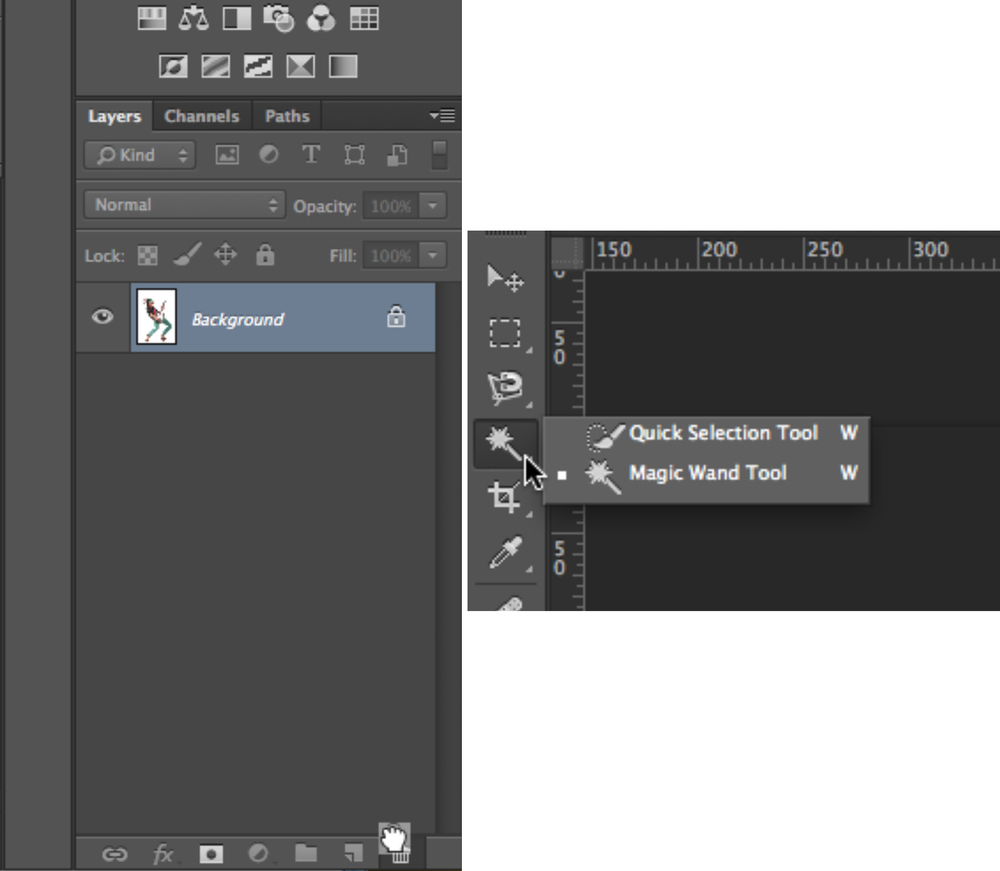
Set your color tolerance to something mid-range, like 32.
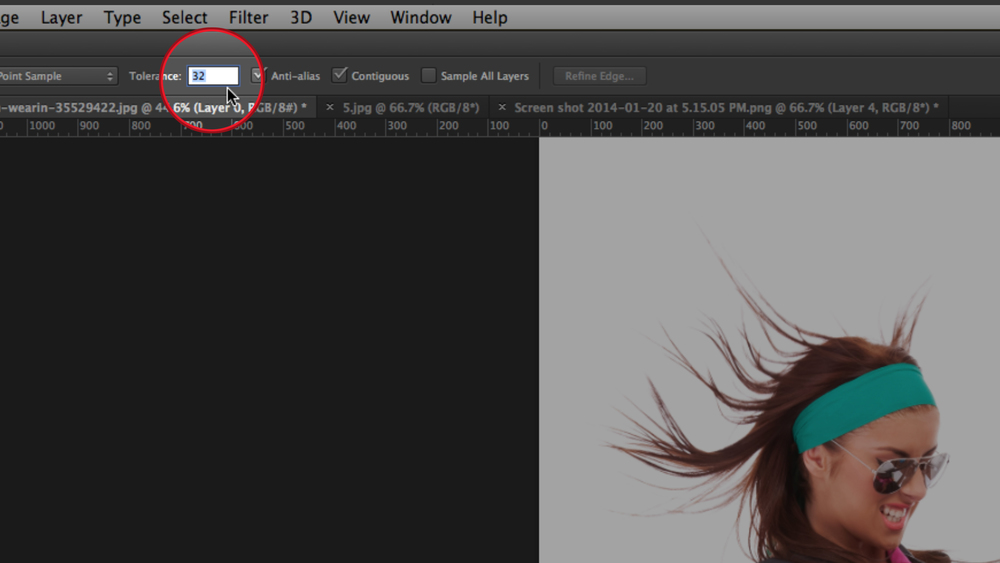
With your magic wand selected click in the white background area of the image, which will select all of the white area. Then press delete to remove the white background
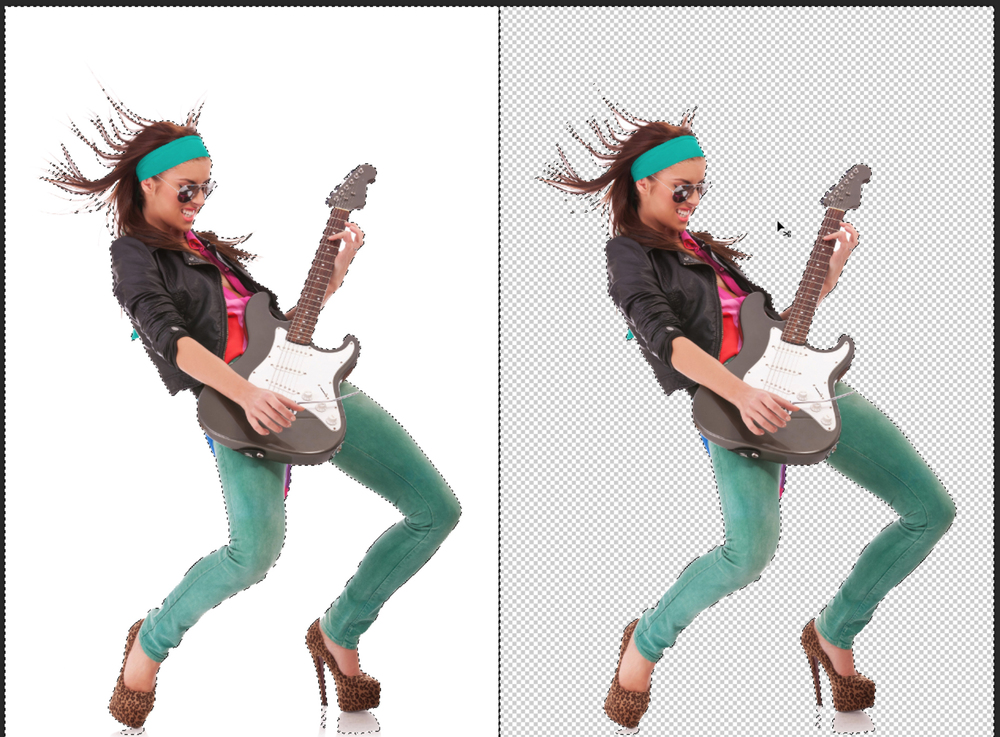
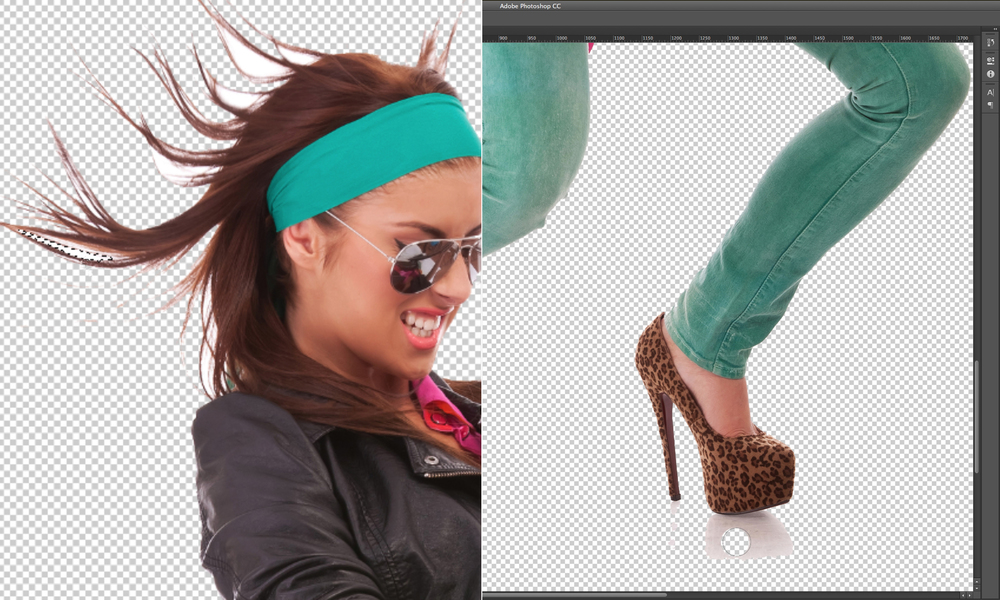
Clean up the image as needed. I am going to use the magic wand tool to remove the white areas between her strands of hair. Using the eraser tool, I am going to get rid of the reflection of the rock n’ roll star’s shoes on the floor.
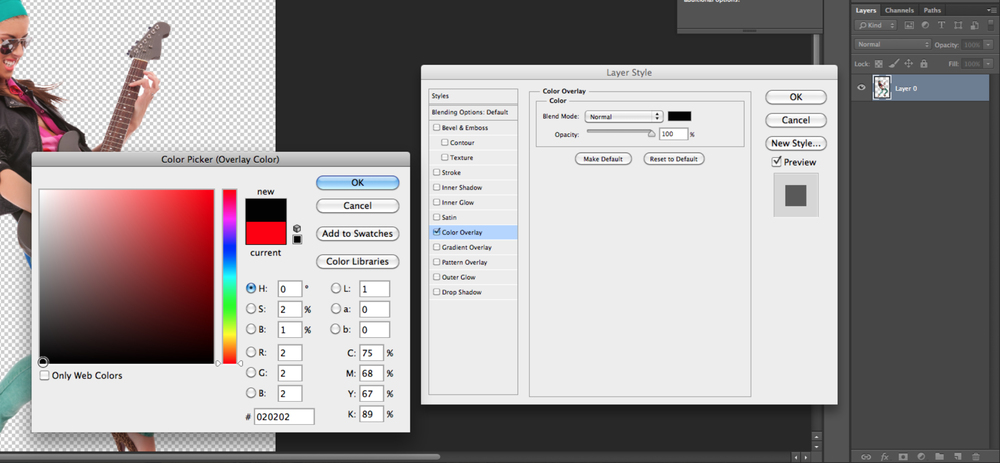
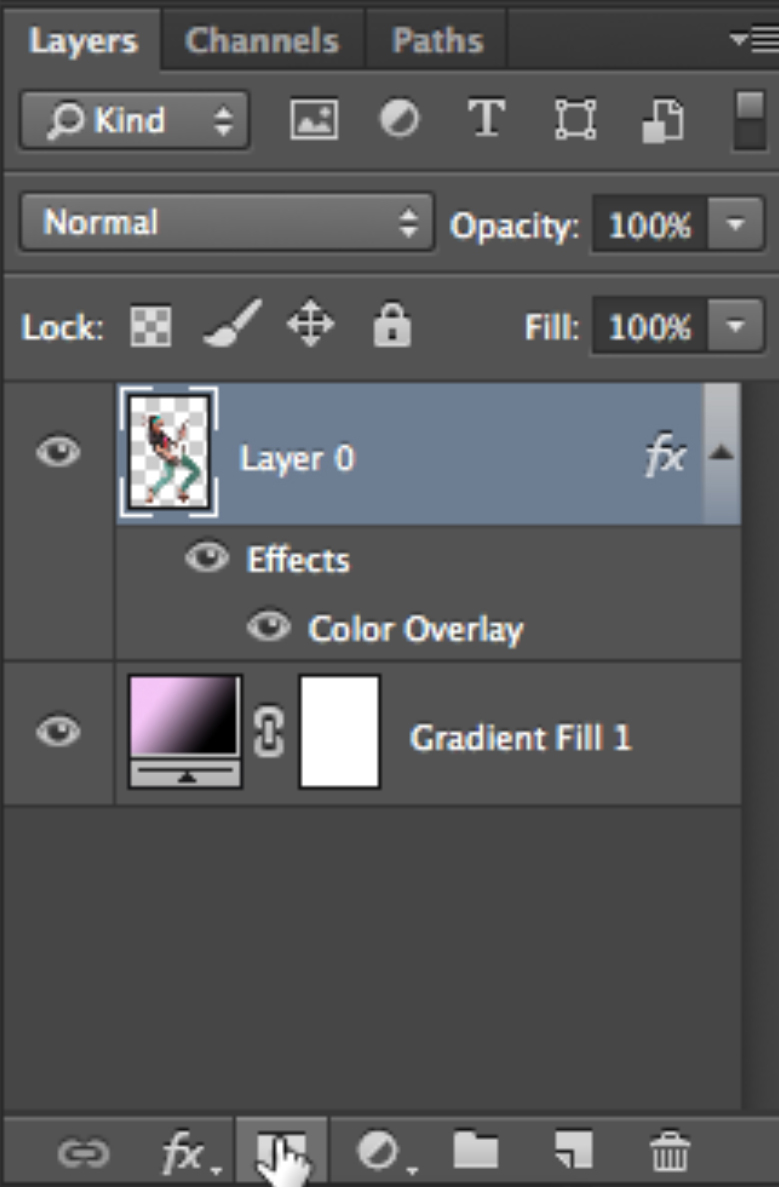
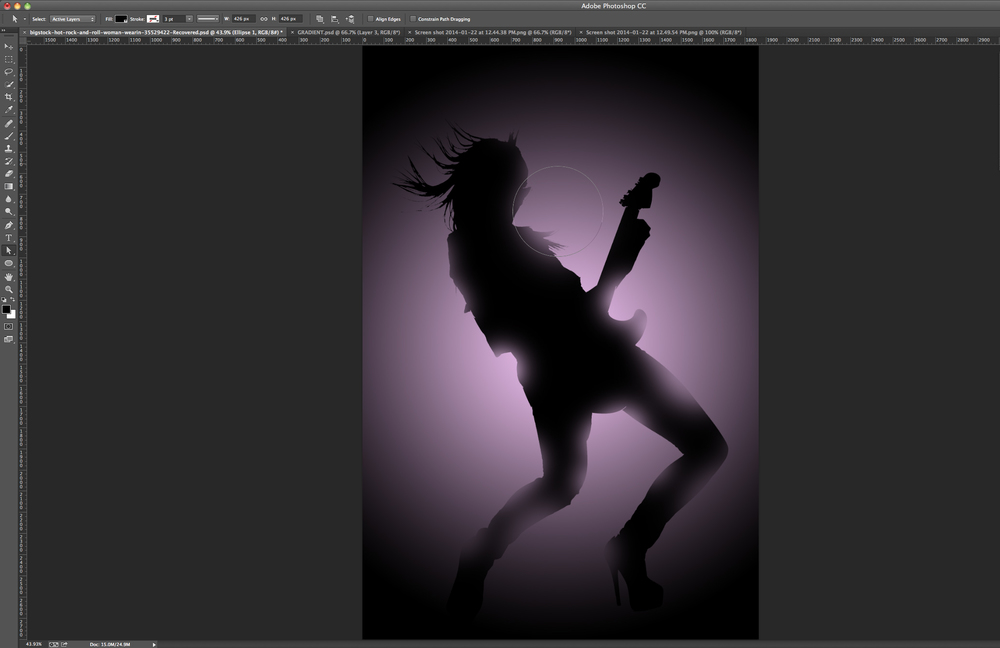
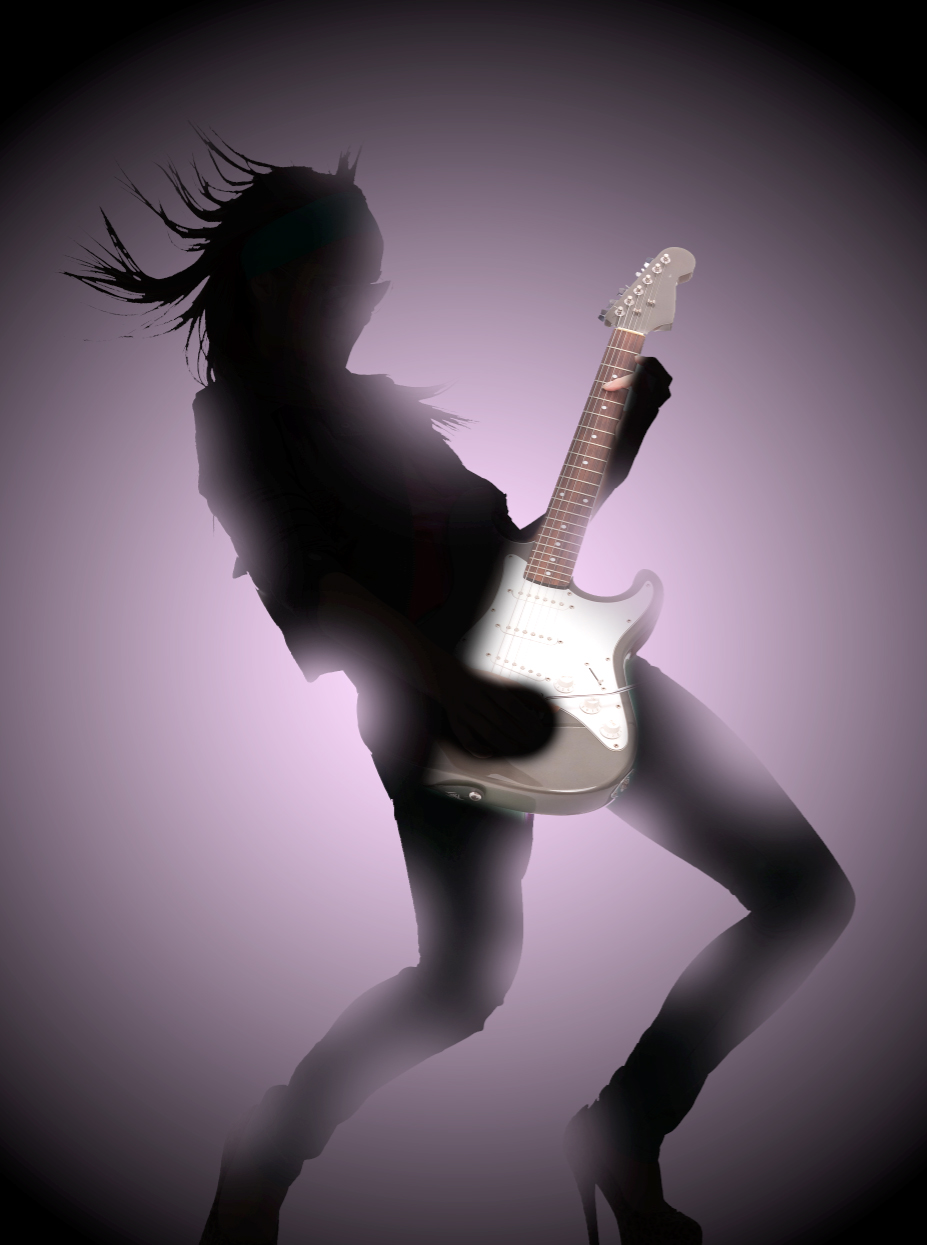
Step 2. Make the silhouette and add a background. Add a color overlay by going to the layers palette and double clicking on the rock star layer (at the right of the layer title).
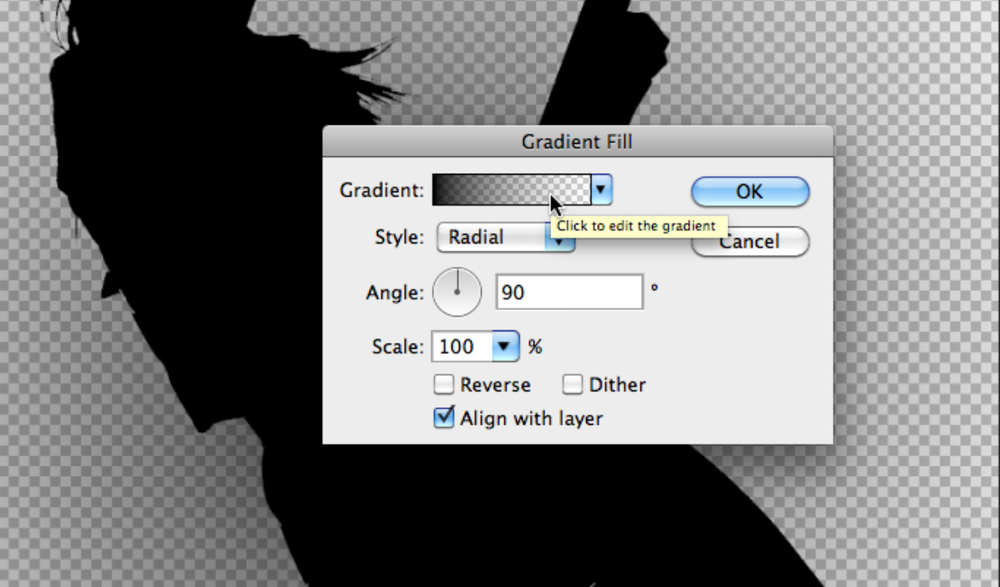
Go to the menu item Layer>New Fill Layer>Gradient. In the dialogue box, click OK. In the next dialogue box select “radial”. Then click on the gradient editor box.
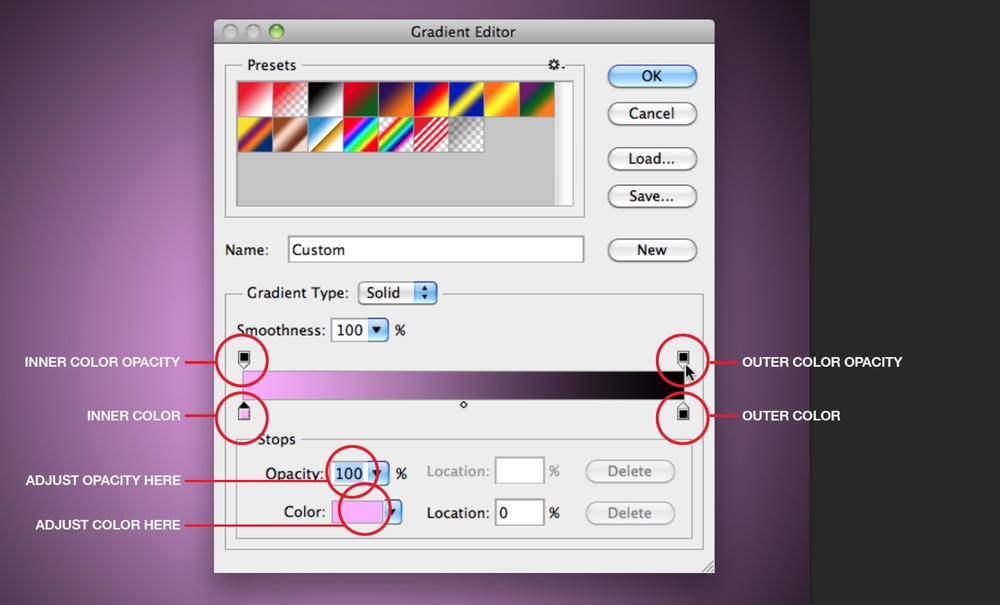
In the gradient dialogue box, choose a dark color for the outside color, and choose a lighter fun rock n’ roll color for the inside color. Make sure the opacity of both colors are 100%. When you are done adjusting the gradient color, click OK. Then click OK again, and you’ll have a new gradient layer, which is probably above your rocker silhouette layer. In the gradient dialogue box.
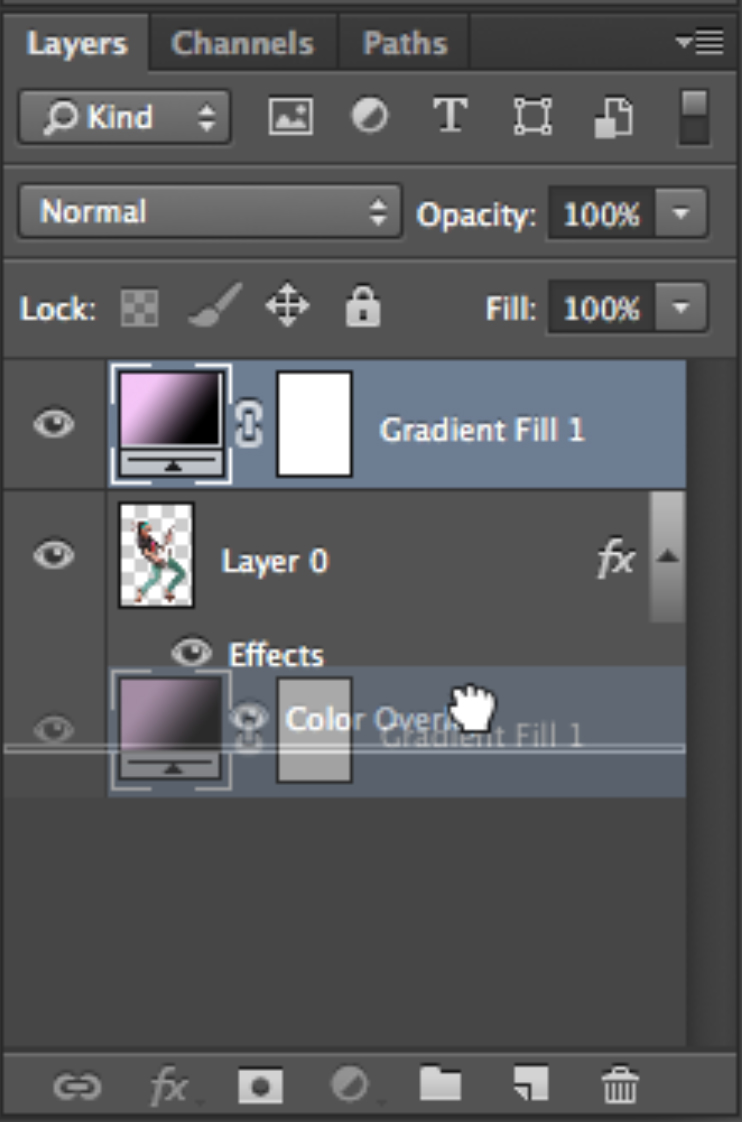
So in the layers palette, move your gradient layer below the rocker layer by clicking and dragging it.
3. Add rock n’ roll effects. Make sure the layer mask is selected by clicking on its thumbnail in the layer pallete.
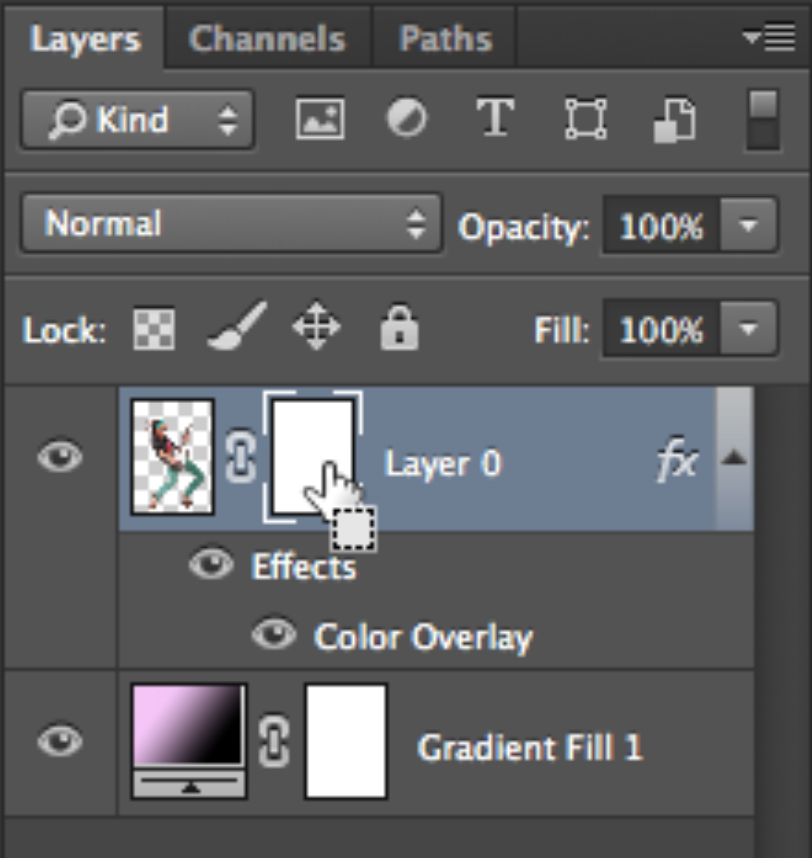
With the rocker silhouette layer selected, add a layer mask. At the bottom of the layers palette, click the add layer mask button.
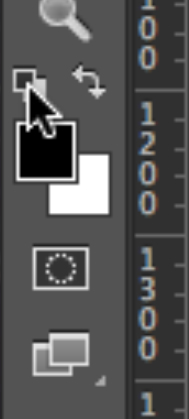
Select black as your foreground color by going to the tool bar and clicking on the default foreground/background setting of black and white.
Select your brush tool from the toolbar and right click (or control-click for mac and alt-click for windows) on the canvas. Select a very soft brush with very little hardness.
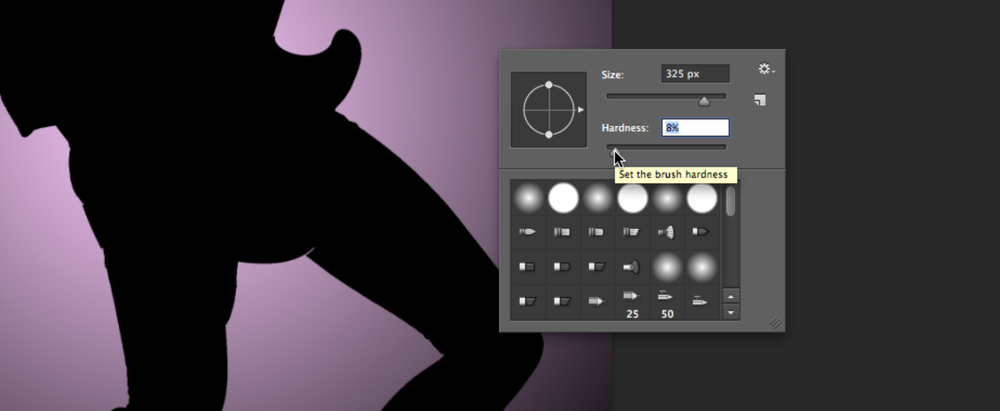
Use the brush tool and click on some of the outer edges of the silhouette to let some light through. (Again, the layer mask should be selected)
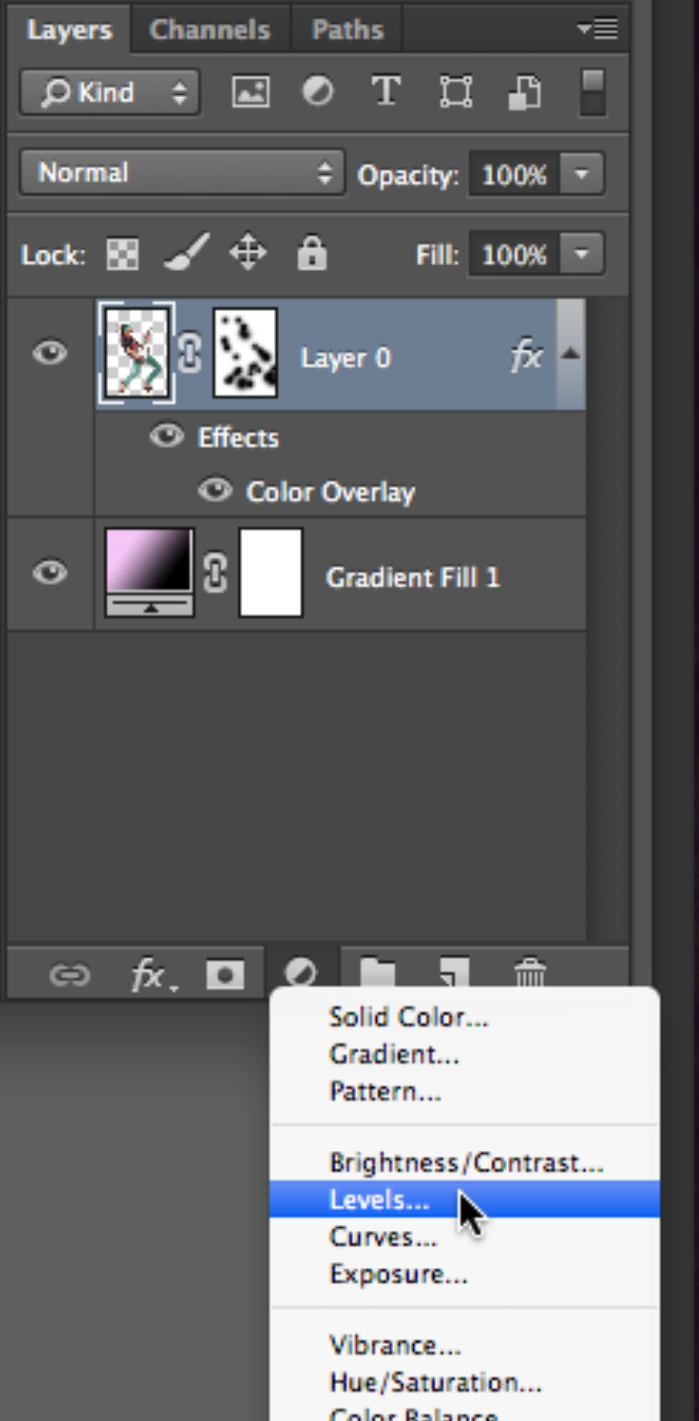
We want to add a little bit more color to the light. Add an adjustment layer. Click on the adjustment layer button at the bottom of the layers palette, and from the pull down menu select levels.
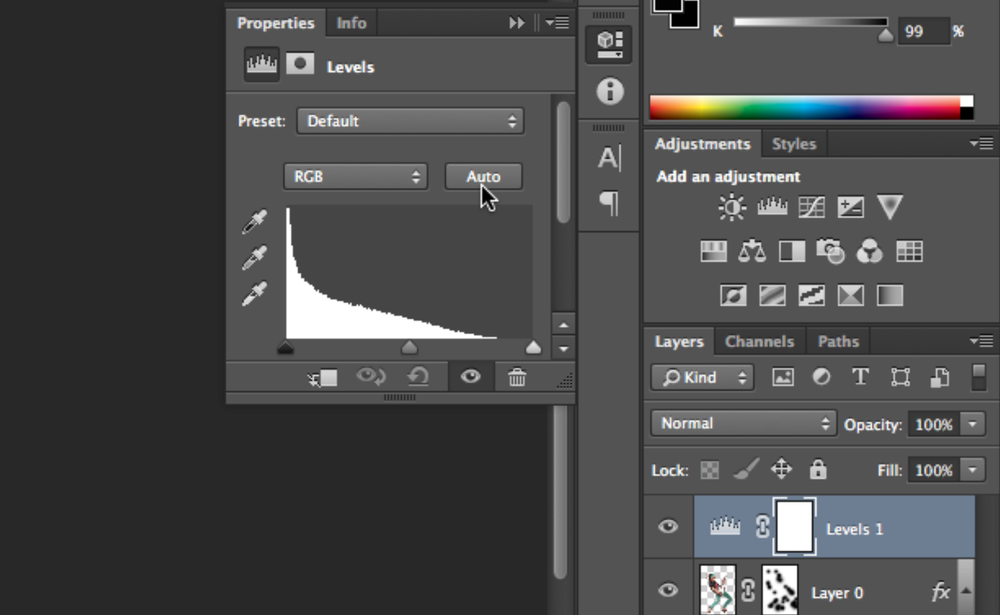
The levels property window will open. For this tutorial, try clicking the “auto” button. If you do not like the way this looks, you can play with the levels sliders to get the color and effect that you like.
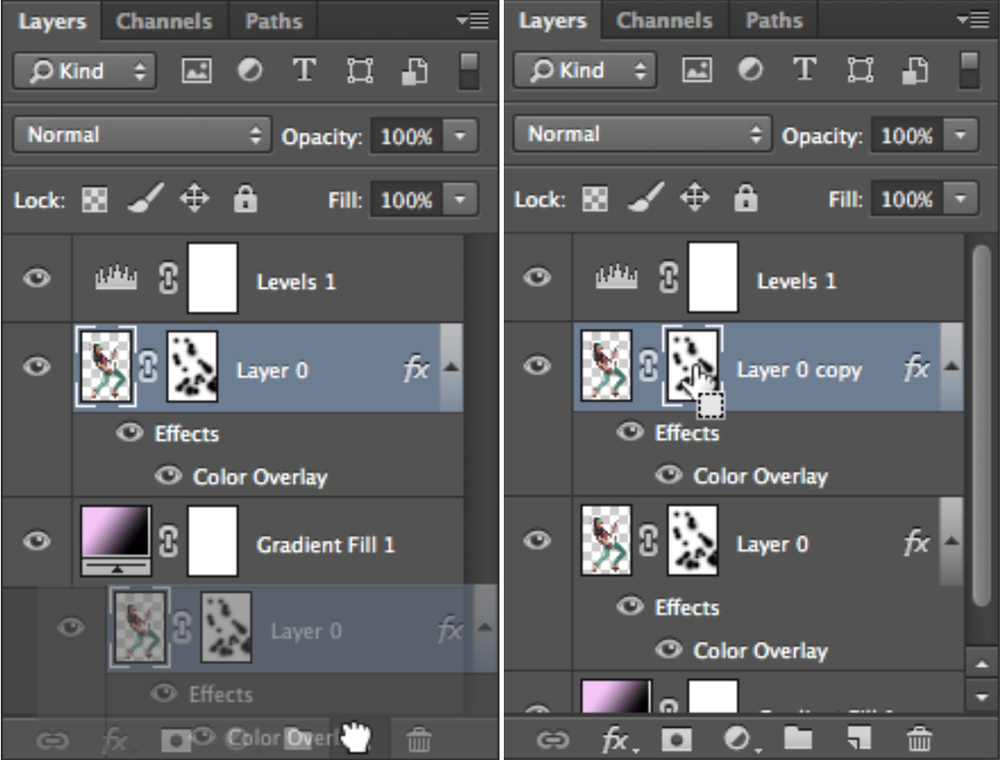
Duplicate the rocker layer. Drag the rocker silhouette layer to the New Layer button at the bottom of the palette, and the layer will duplicate. Within the layer that’s at the top of the duplicate layers, select the layer mask by clicking on its thumbnail.
Once again, select the brush tool. Use it too mask out the rocker woman, brushing the entire rocker but leaving the guitar.
I also chose to brush out her hand, and brush away the top edge of the guitar in order to make it a smooth transition.
Then select the layer thumbnail of the current layer you are in (as opposed to the layer mask) and desaturate the layer by either going to Image>Adjustment>Desaturate or hitting Command-shift-U on a Mac or Cntrl-shift-U on a PC

With the layer still selected, go to the layers palette, and click on the pull down menu and click multiply. Here you can also try adjusting the opacity of this layer a little bit and see if you like it. But for now I’m going to leave mine at 100%.
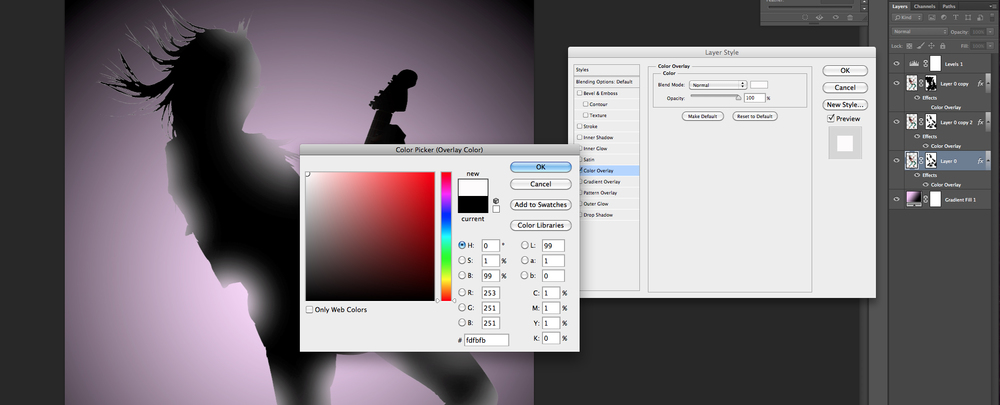
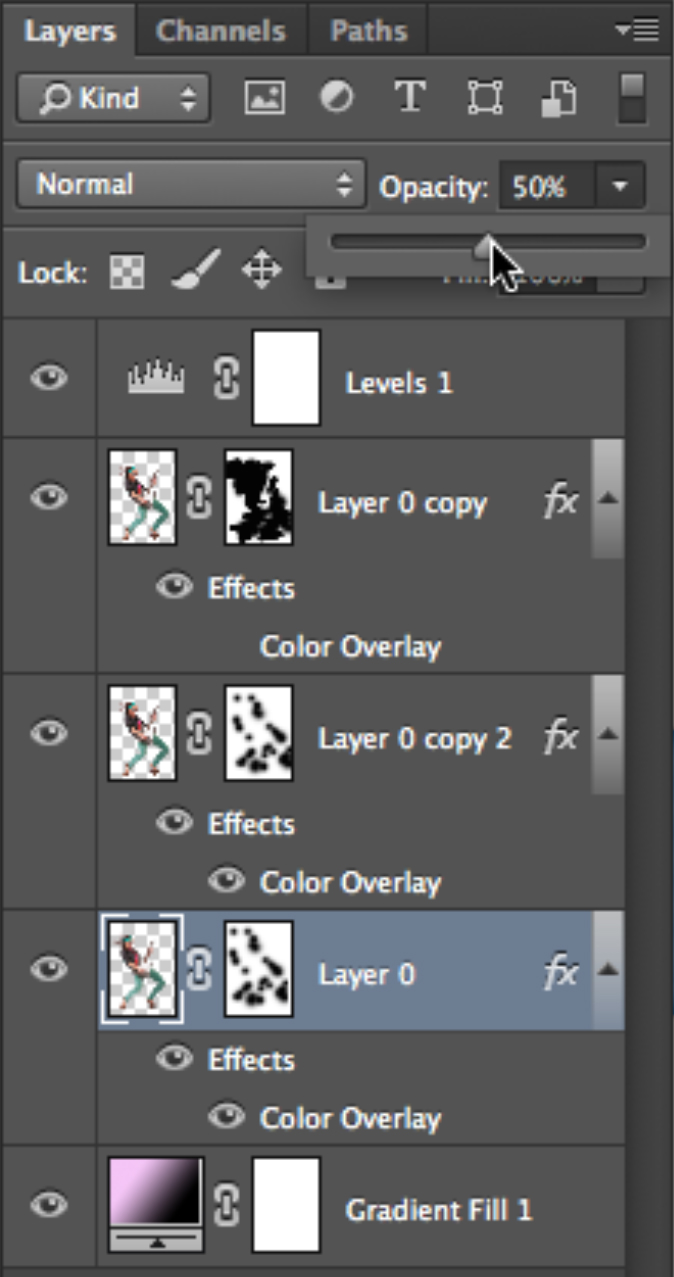
Duplicate the original rocker silhouette layer and select the lower layer of the duplicates. Double click on the layer attribute where it says “color overlay” and change the color overlay from black to white.
With the layer still selected, give the layer a Gaussian blur by going to Filter>Blur>Gaussian Blur. In the Gaussian Blur dialogue box, move the slider to about 16 and click ok.
Choose the black arrow or select tool from the tool bar and move the selected layer several pixels up and to the left.
With the layer still selected go to the layers palette and adjust the opacity to about 50%.
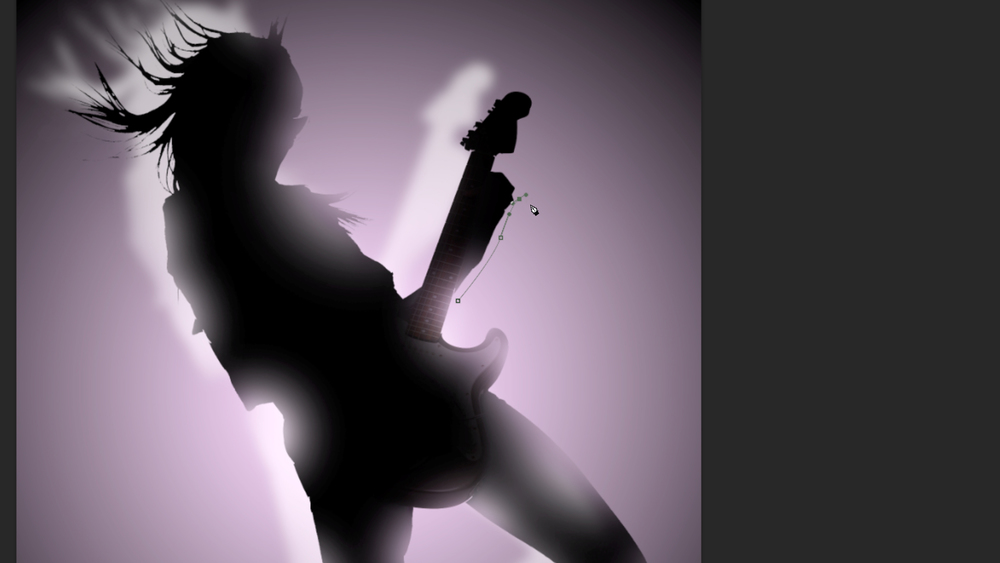
Create a new layer by clicking the new layer button in the layer pallete. Make sure the layer is above the other silhouette layers but below the levels layer. Select the pen tool from the tool bar. Use the pen tool to create some paths around the outer edge of the silhouette.
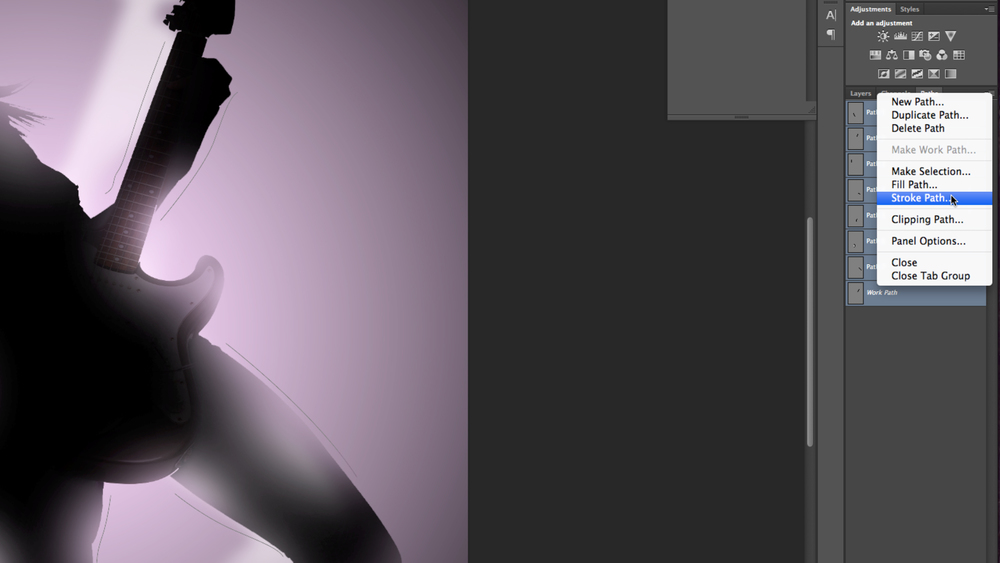
Go to your brush tool and select a small hard brush. Set your foreground color to black. Go the paths palette and with all of your paths selected, click the drop down option menu and choose stroke path. When the dialogue box comes up choose “brush” from the drop down menu and click the box that says “Simulate Pressure” Click Ok
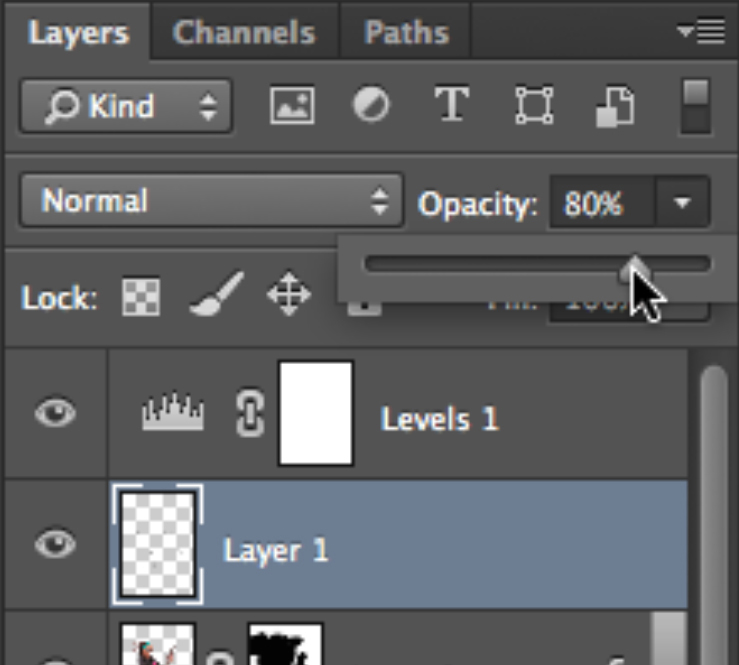
With the layer still selected, lower the opacity in the layers palette to about 80%.
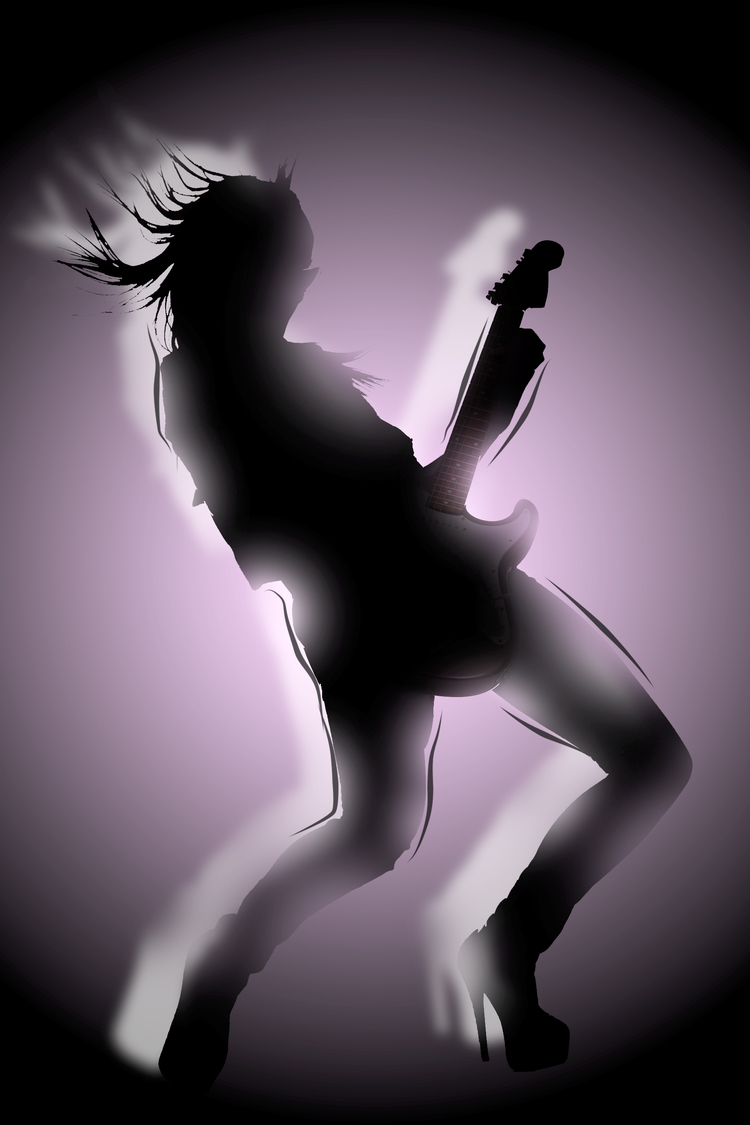
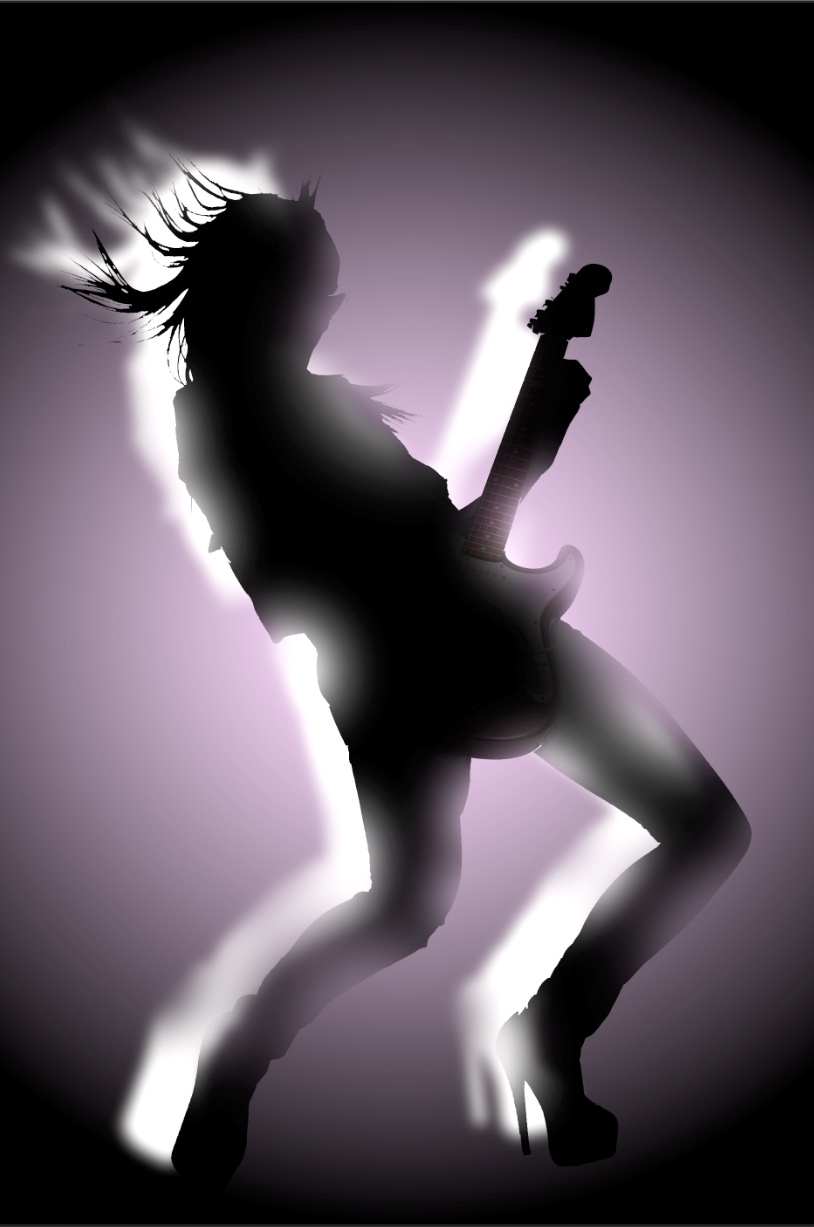
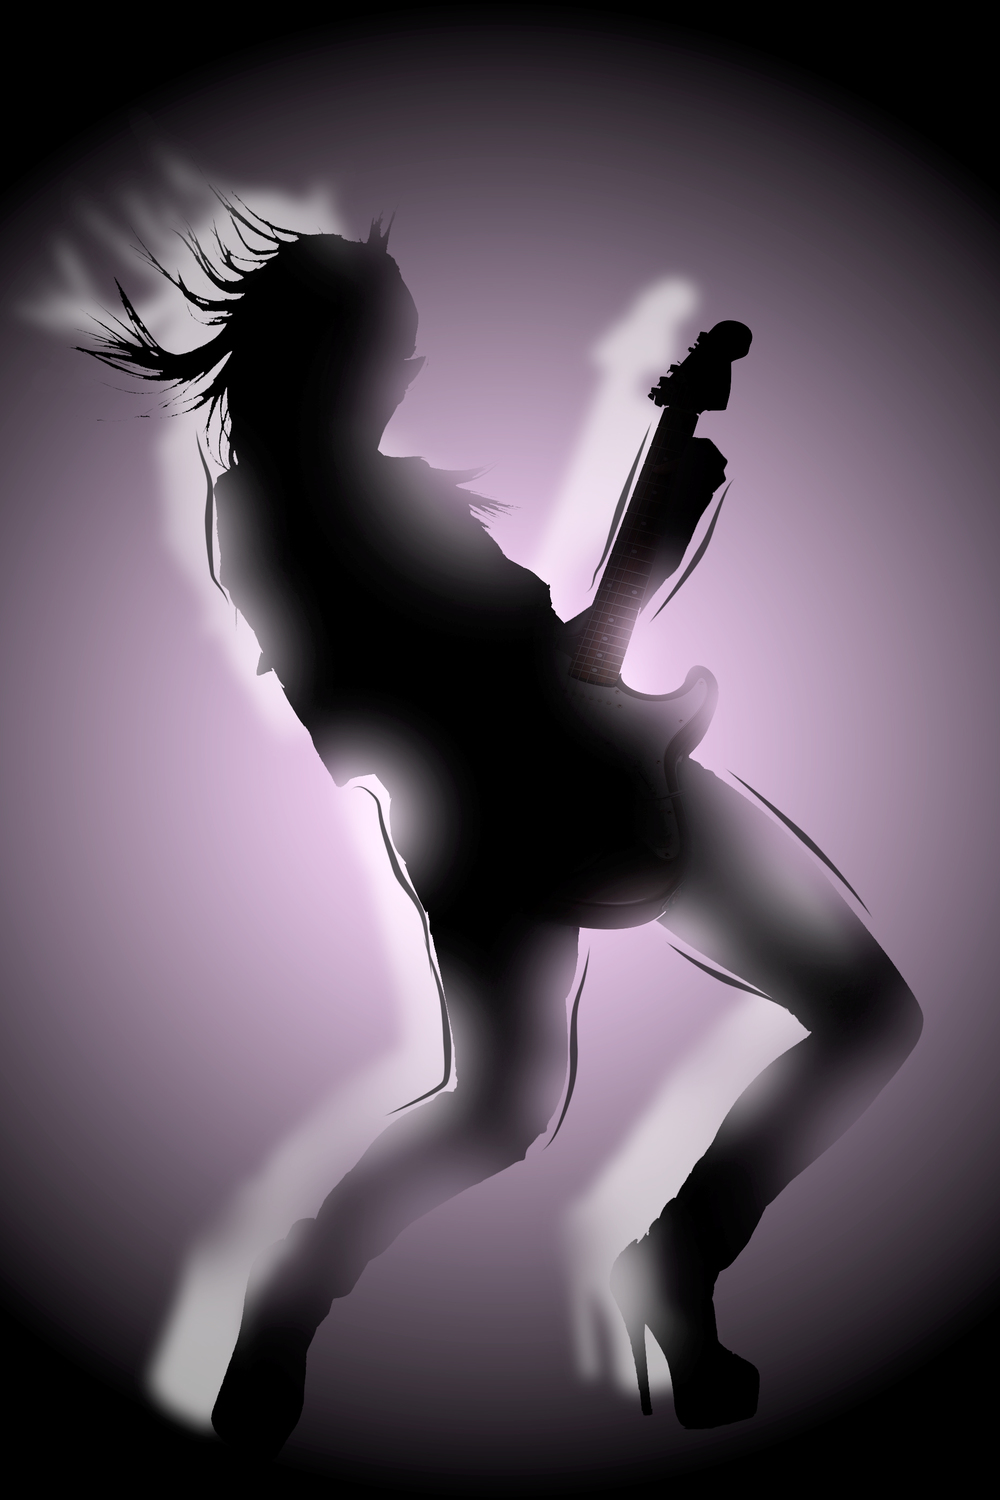
And now you have the most rock n’ rollingest image ever!
RELATED POSTS: