A Photoshop tutorial by Art Director and founder of Pureworks, Victoria Jordan.
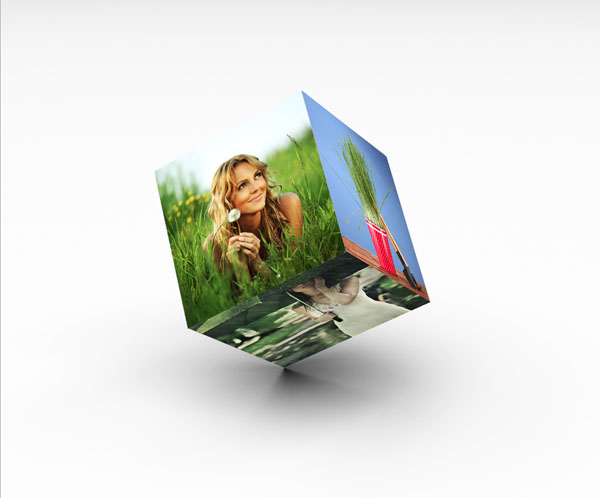
In this tutorial, I’ll show you how to superimpose images onto 3D objects in Photoshop.
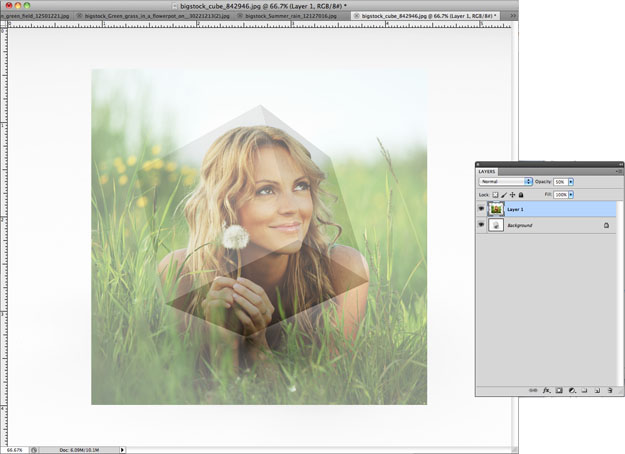
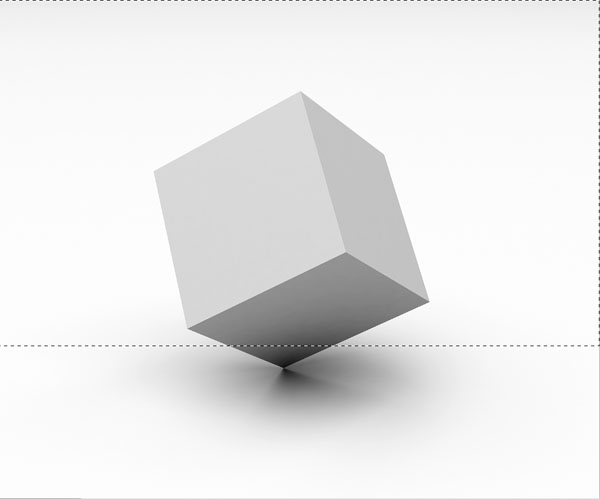
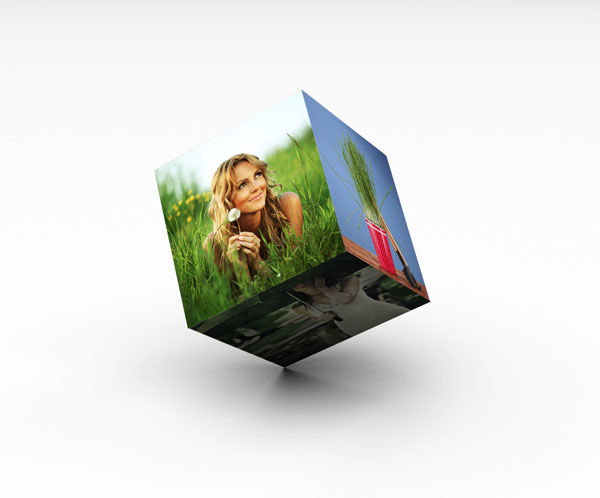
I picked a cube as our simple 3D object, and 3 spring-themed Bigstock photos to go on the sides.


I’m going to copy and paste a square section of one of the images I’d like to superimpose into our cube “document”.
The next step is to make the layer transparent so we can see how we’re placing it onto our cube. I’m going to take the transparency of the layer down to 50%.
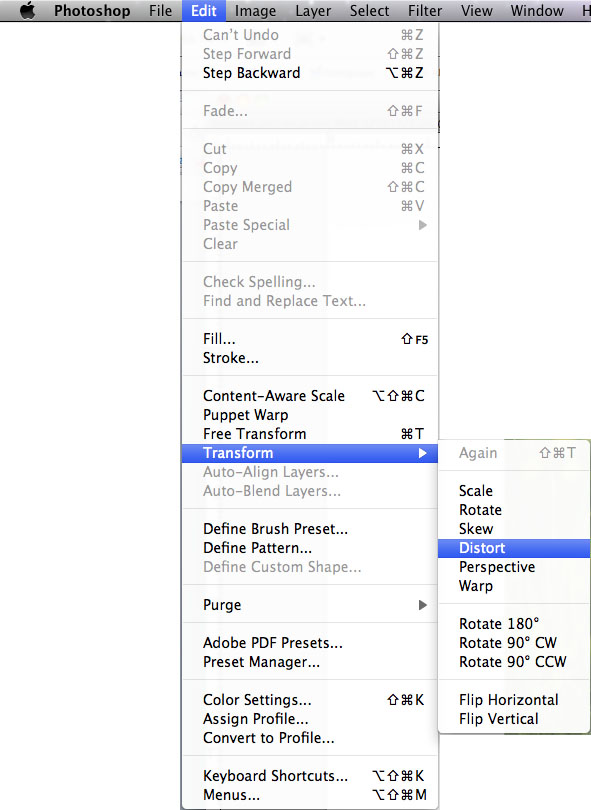
The next step is to go to the Transform sub-menu under the Edit menu and pick the Distort option.
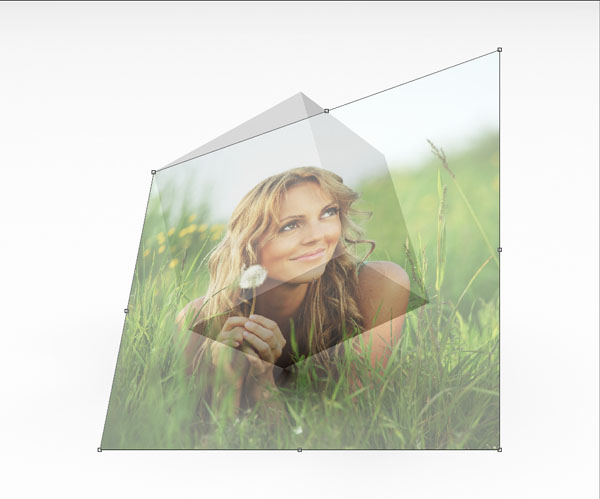
Next, drag each corner of the bounding box to its respective corner on the cube.
Hit return to apply the distortion, and make the layer 100%.
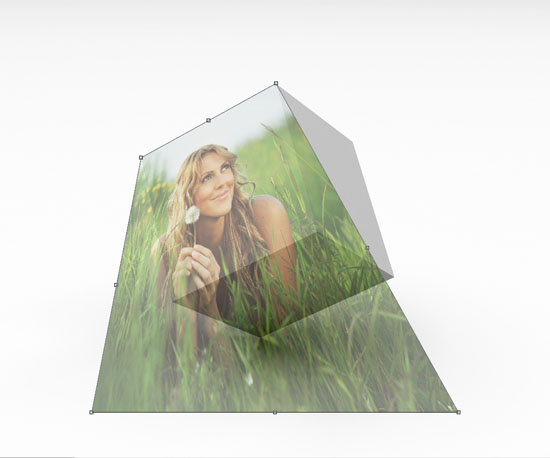
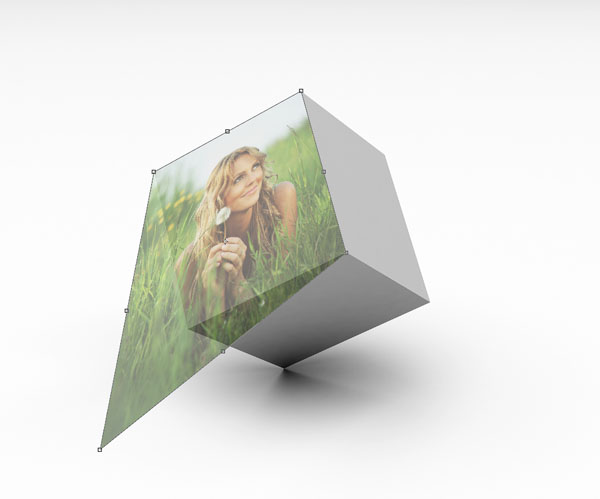
Now, I’ll repeat these steps to add images to the 2 other sides of the cube.
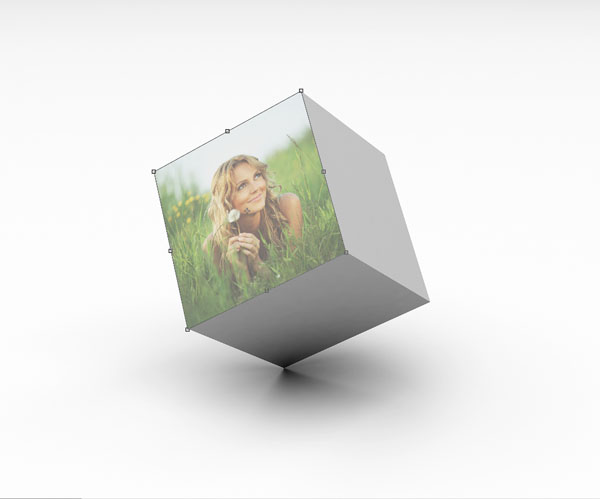
We’ve placed the images onto the different planes of our cube, but at this stage it doesn’t look particularly 3D because it’s missing the shading. We can use the shading of the cube image as a guide.
Check out the sides of the cube, noting which sides are lighter and darker. We see that the front panel is the lightest, the side panel is a bit darker, and the bottom is the darkest with a very dark gradient towards the bottom.

First, I’ll make the side panel a little darker by adding a translucent black box over it. I’ll duplicate the layer with the image I’ve superimposed onto the side panel, then select the empty space on that layer with the Magic Wand.
Go to the Select menu and choose Inverse. Go to the Edit menu and select Fill and in the Contents drop down menu, select Black. Then I’ll take the opacity of the layer down to 15%. That’s given our side panel a little depth and differentiated it from the front panel.
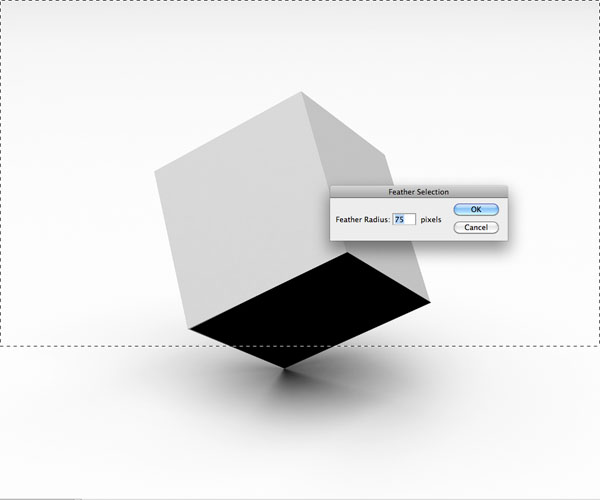
Now let’s move on to the bottom panel. I’ll repeat the same steps, adding a translucent layer of black over the bottom panel. This time, I think I’ll set the opacity to 55% so it’ll be the darkest of the panels. Now, we’ll work on adding the gradient. I’ll duplicate the layer of black I just added, and bring the opacity up to 100%.
Now, using the shading on the original cube as a guide, I’ll select a middle point between the black and the lightest gray on the panel, and select from the middle point upwards.
I’ll go back and turn on the last black layer I created. Now, I’ll feather (http://en.wikipedia.org/wiki/Feathering) my selection by 75 pixels (Select > Modify > Feather)
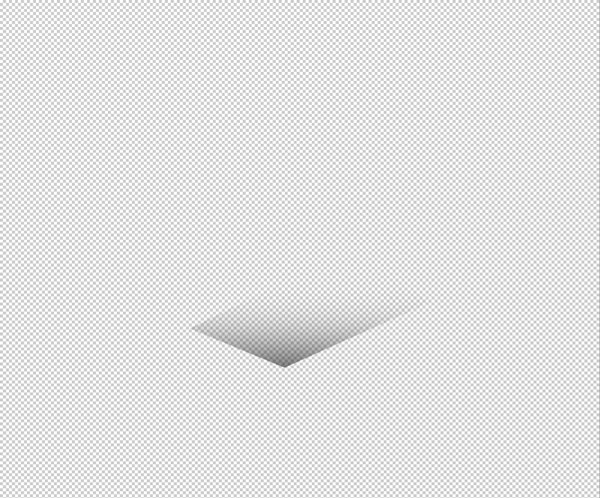
Then I hit delete to create the gradient. I’ll turn off the cube layer so I can see how my gradient turned out.
Now, I’ll turn on the rest of the layers to see my awesome 3D cube!
RELATED POSTS: